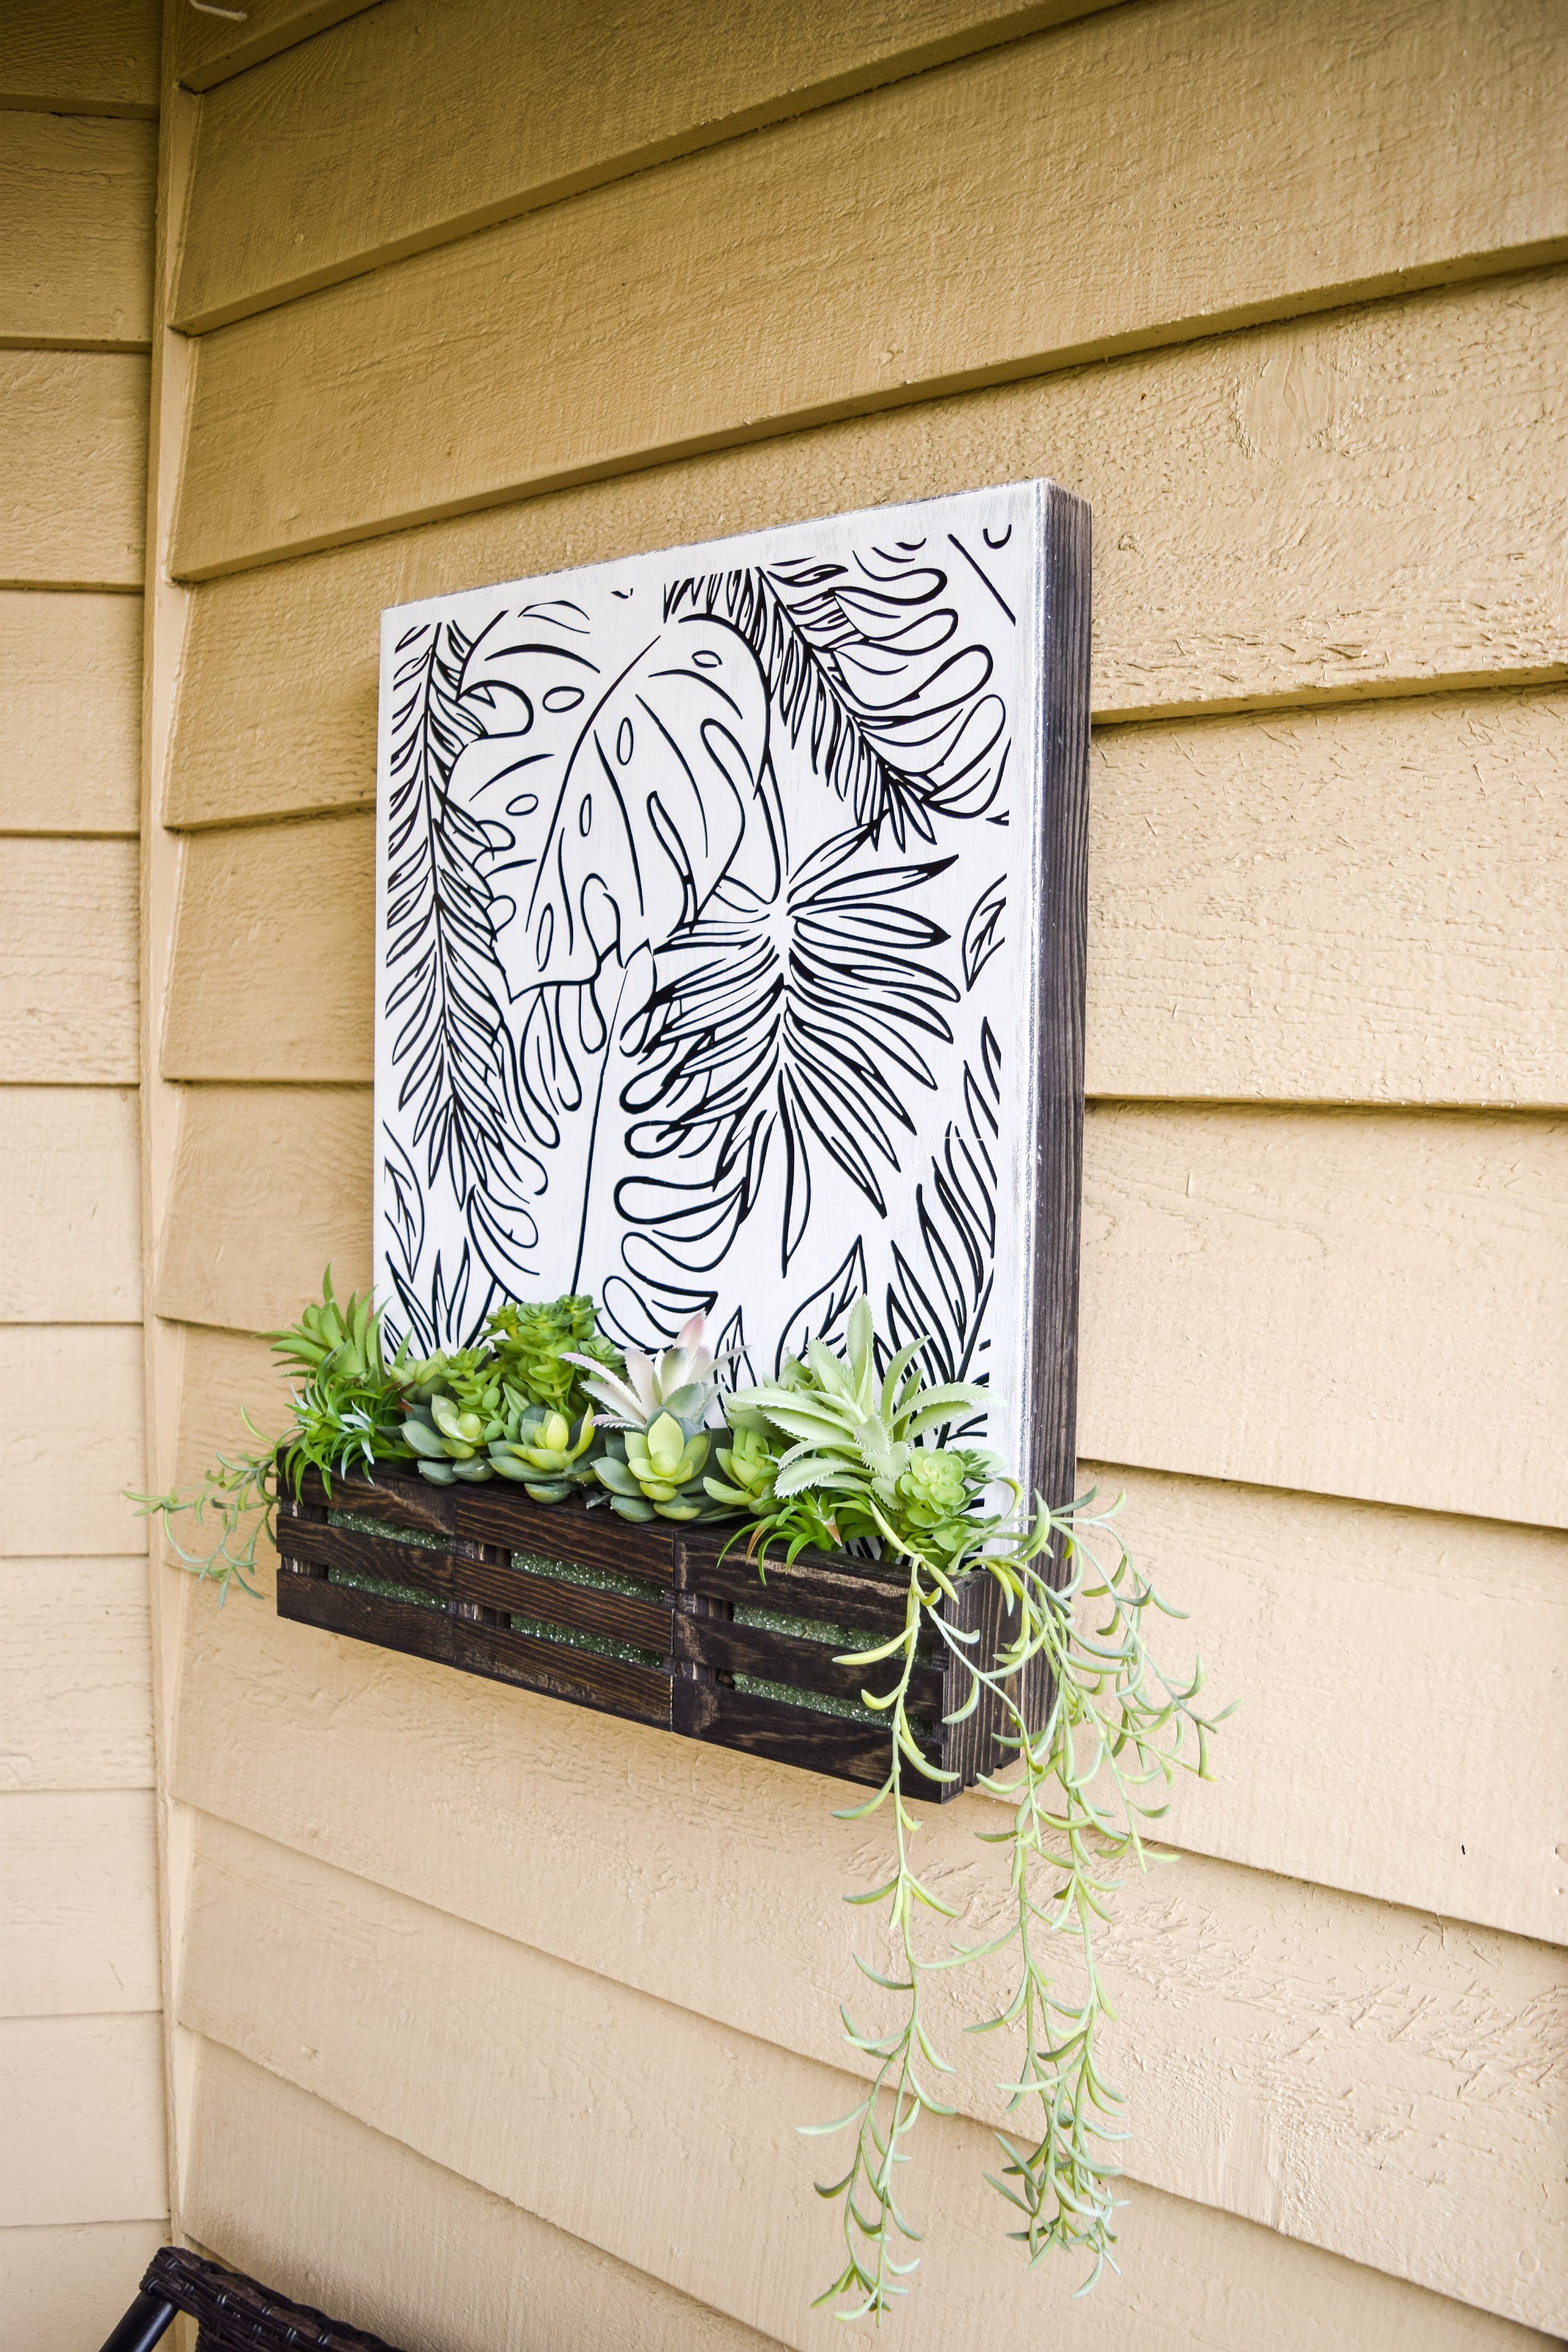
DIY Small Craft Room Makeover
For being an avid crafter, with a space designated in my apartment since before I moved in as my “future craft nook,” it sure took me a long time to finally finish this craft room makeover.
BUT, I finally did it and I am so happy with how this turned out.
First off, though, last week I posted how I organized this space, so if you want to check out part one, click here.
Now onto the makeover. The video below shows the entire process. The before, the DIYs, the styling and the after. Give that video a watch to see my total craft nook transformation.
Then, keep reading for pictures and more descriptions of the space.
The Before
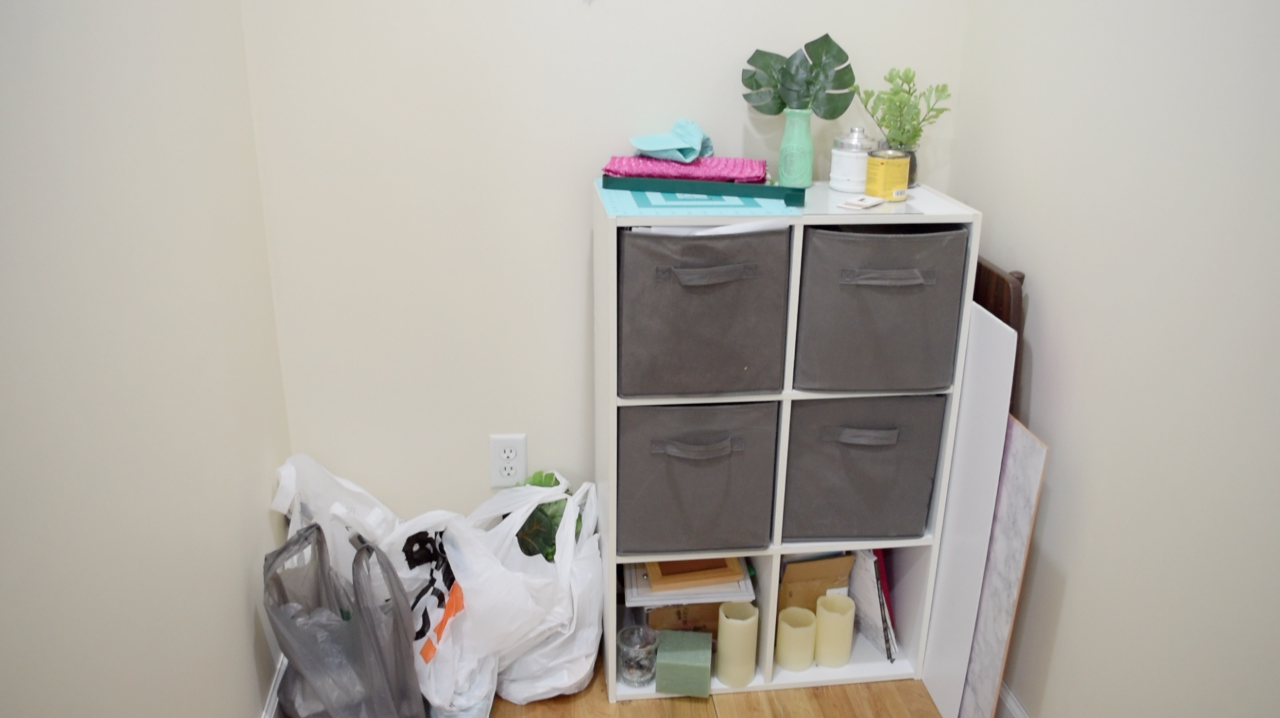
Honestly, I’m ashamed to show you this before photo. This is actually what this little space in my apartment looked like for MONTHS. It was awful to look at and really didn’t make me feel good about my space. But this was easy and decluttering is hard. So here it sat until I finally decided to organize the space.

Now here’s the space after I organized it. I added a drawer unit, changed the color of the bins… and just that small change made a HUGE difference. I could probably live with it like that. But, I just thought it wasn’t cute enough. So here is the reveal of my craft space!
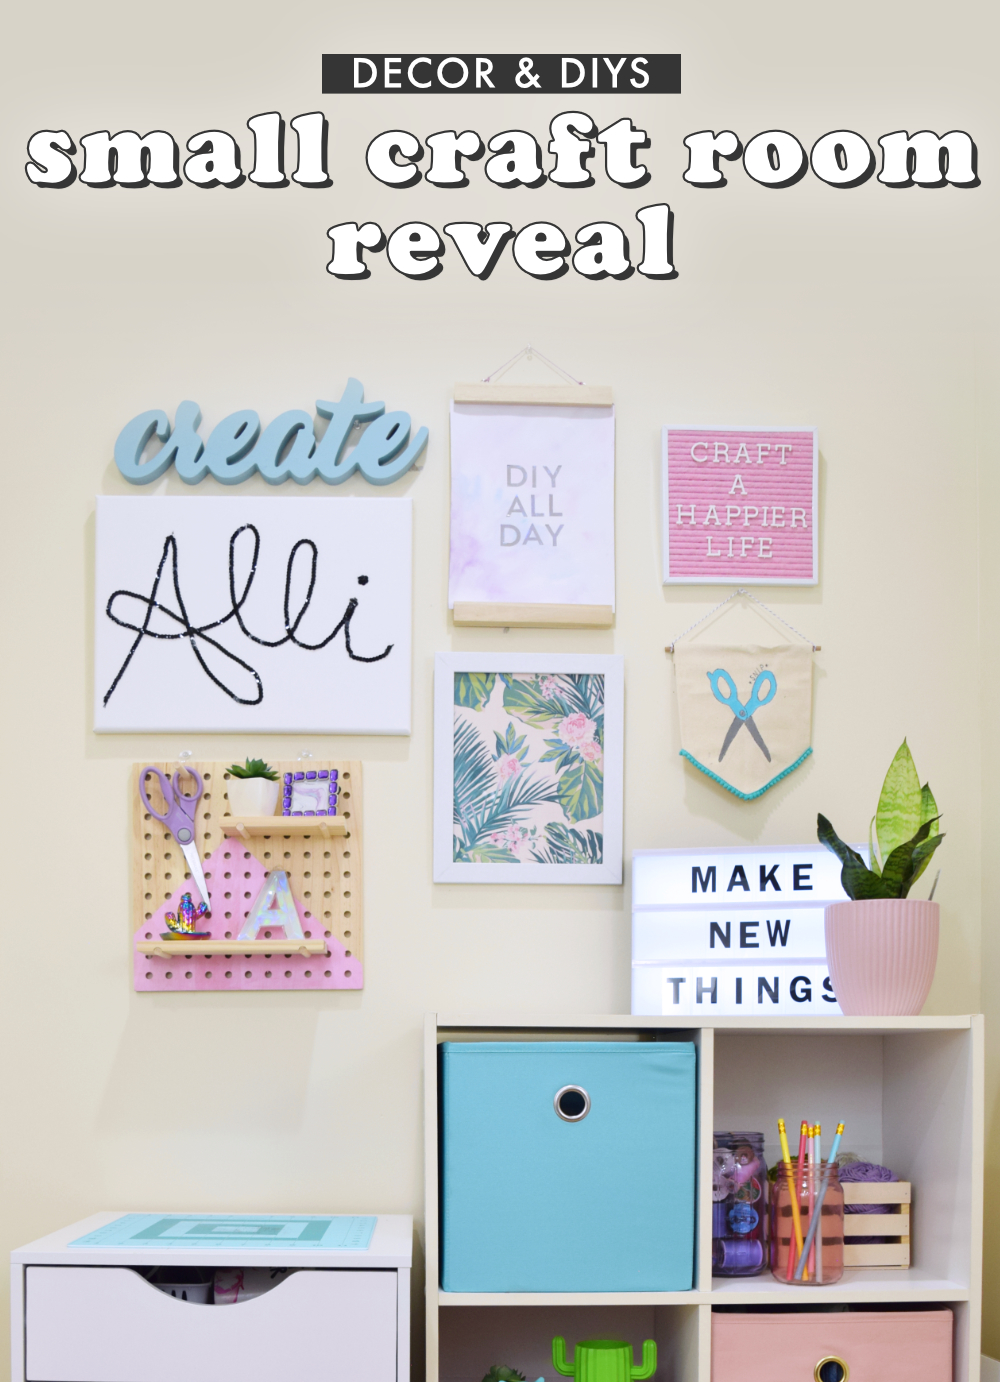
The Reveal
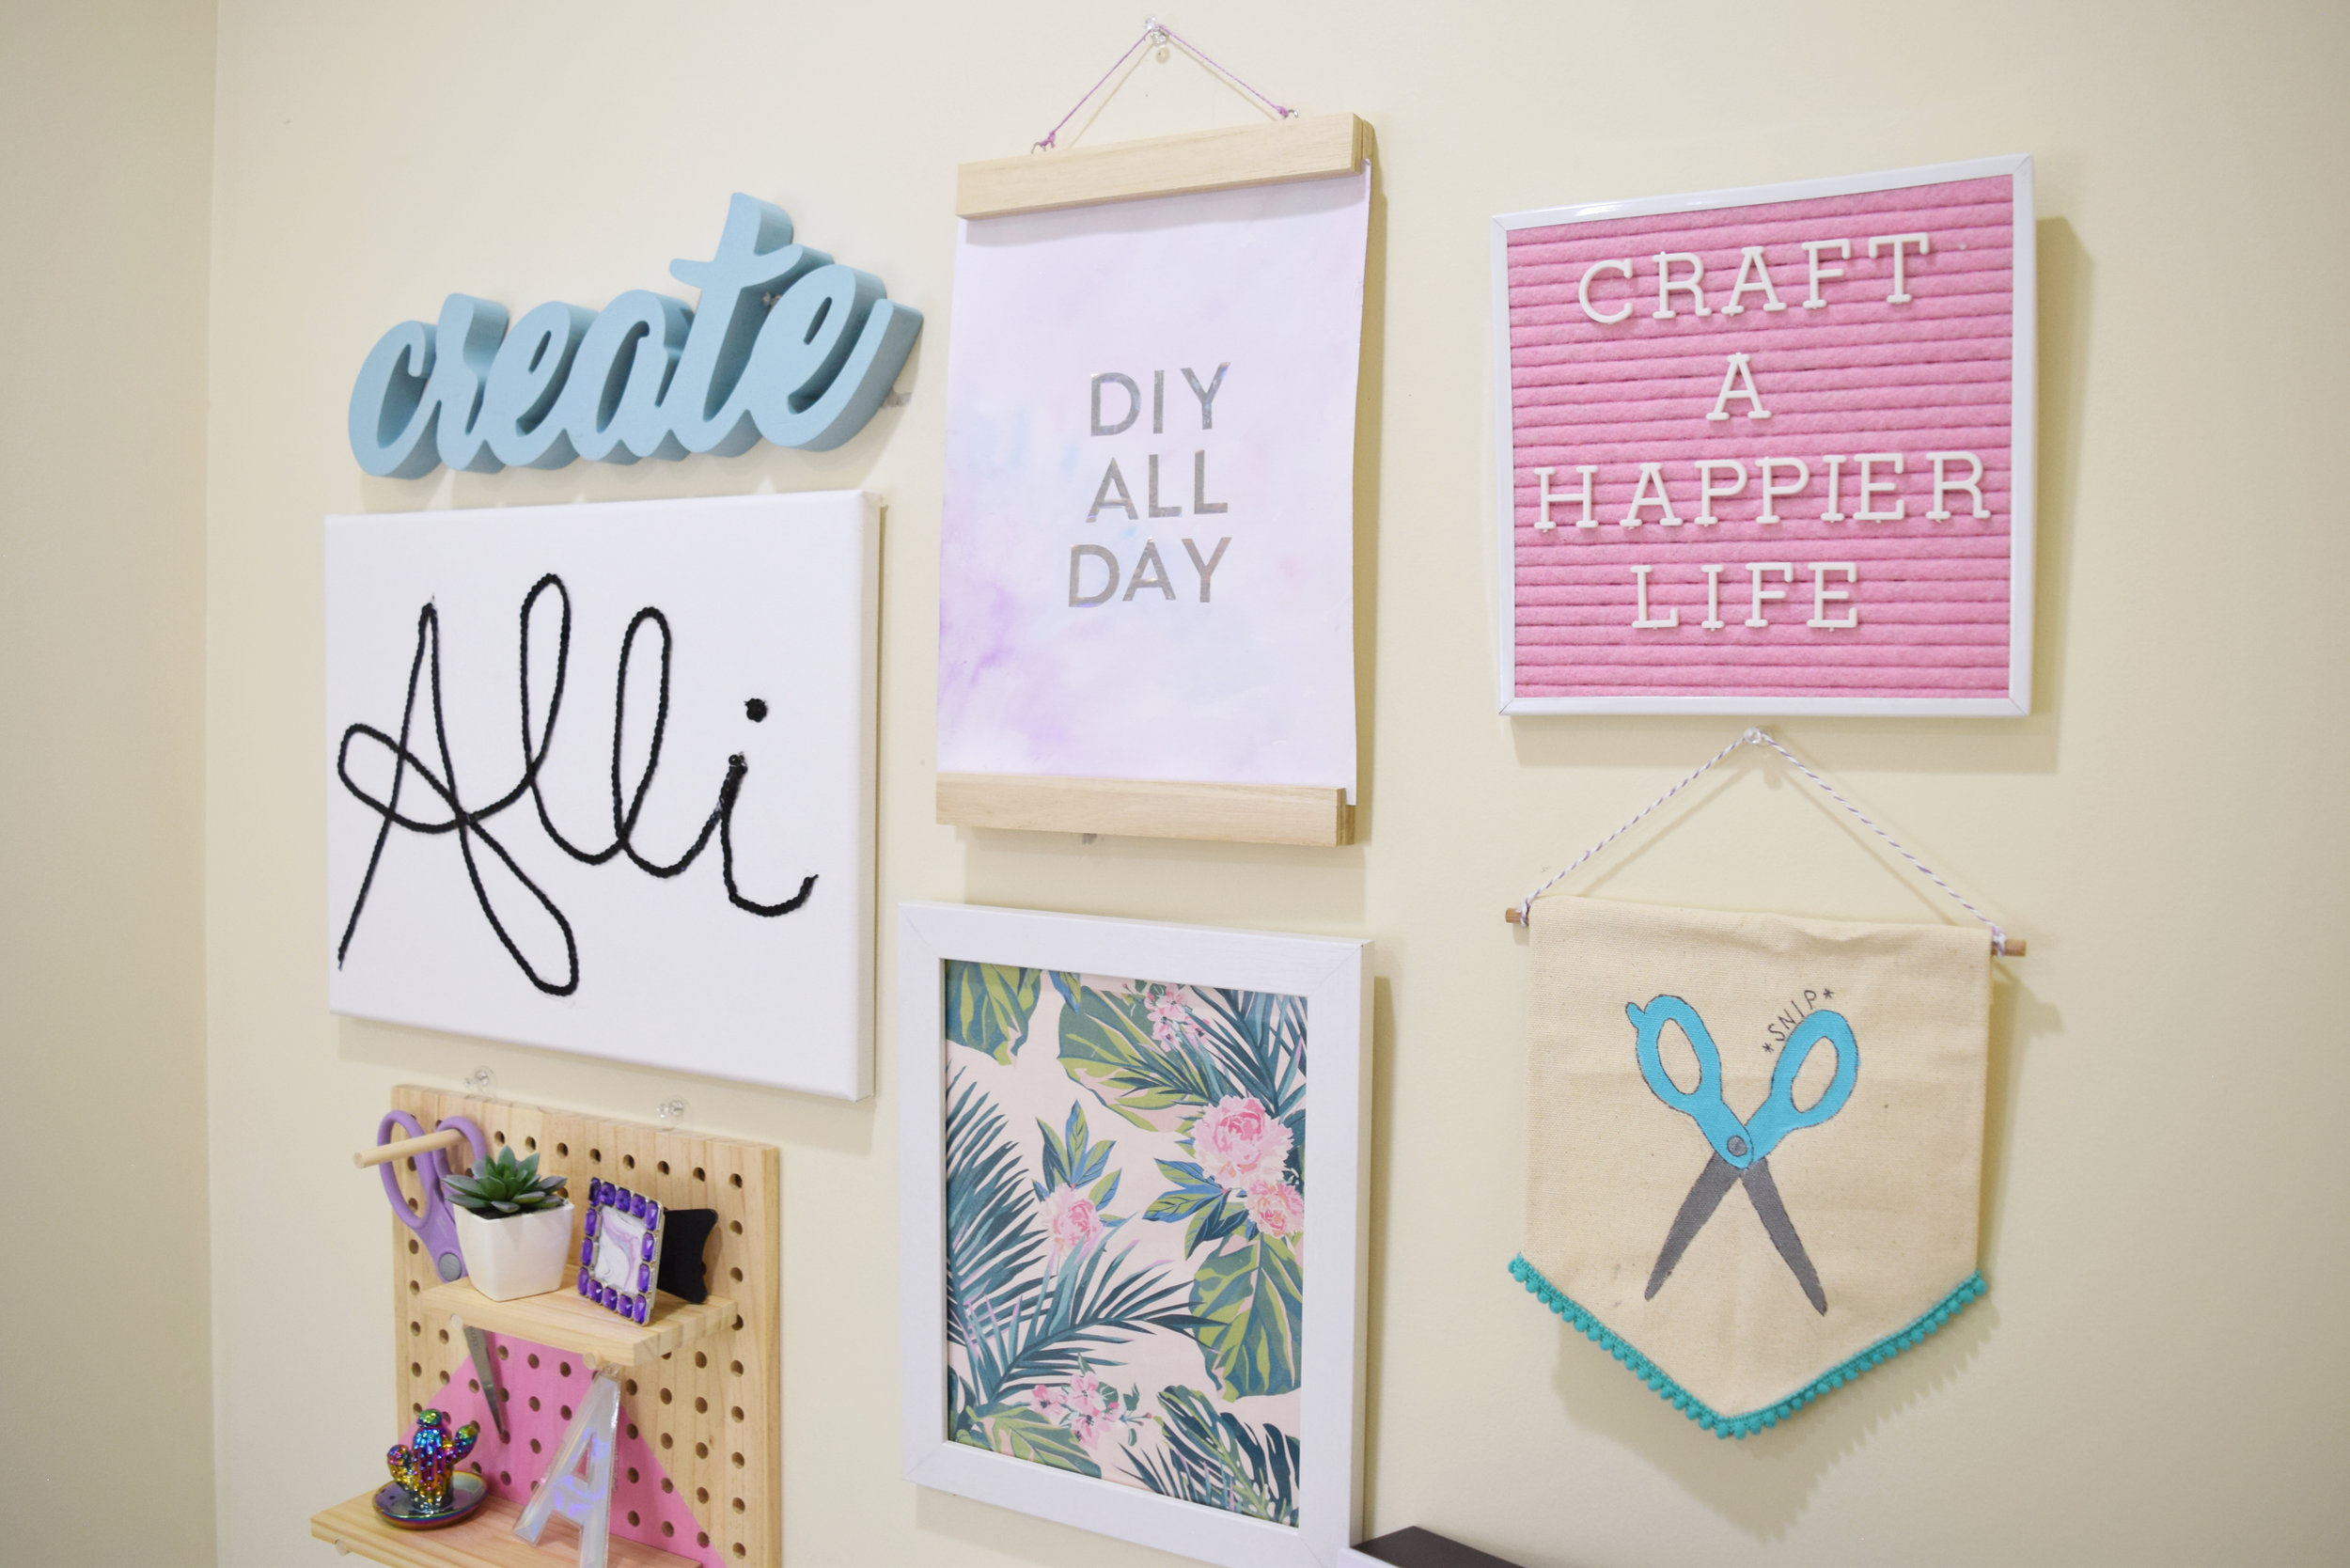
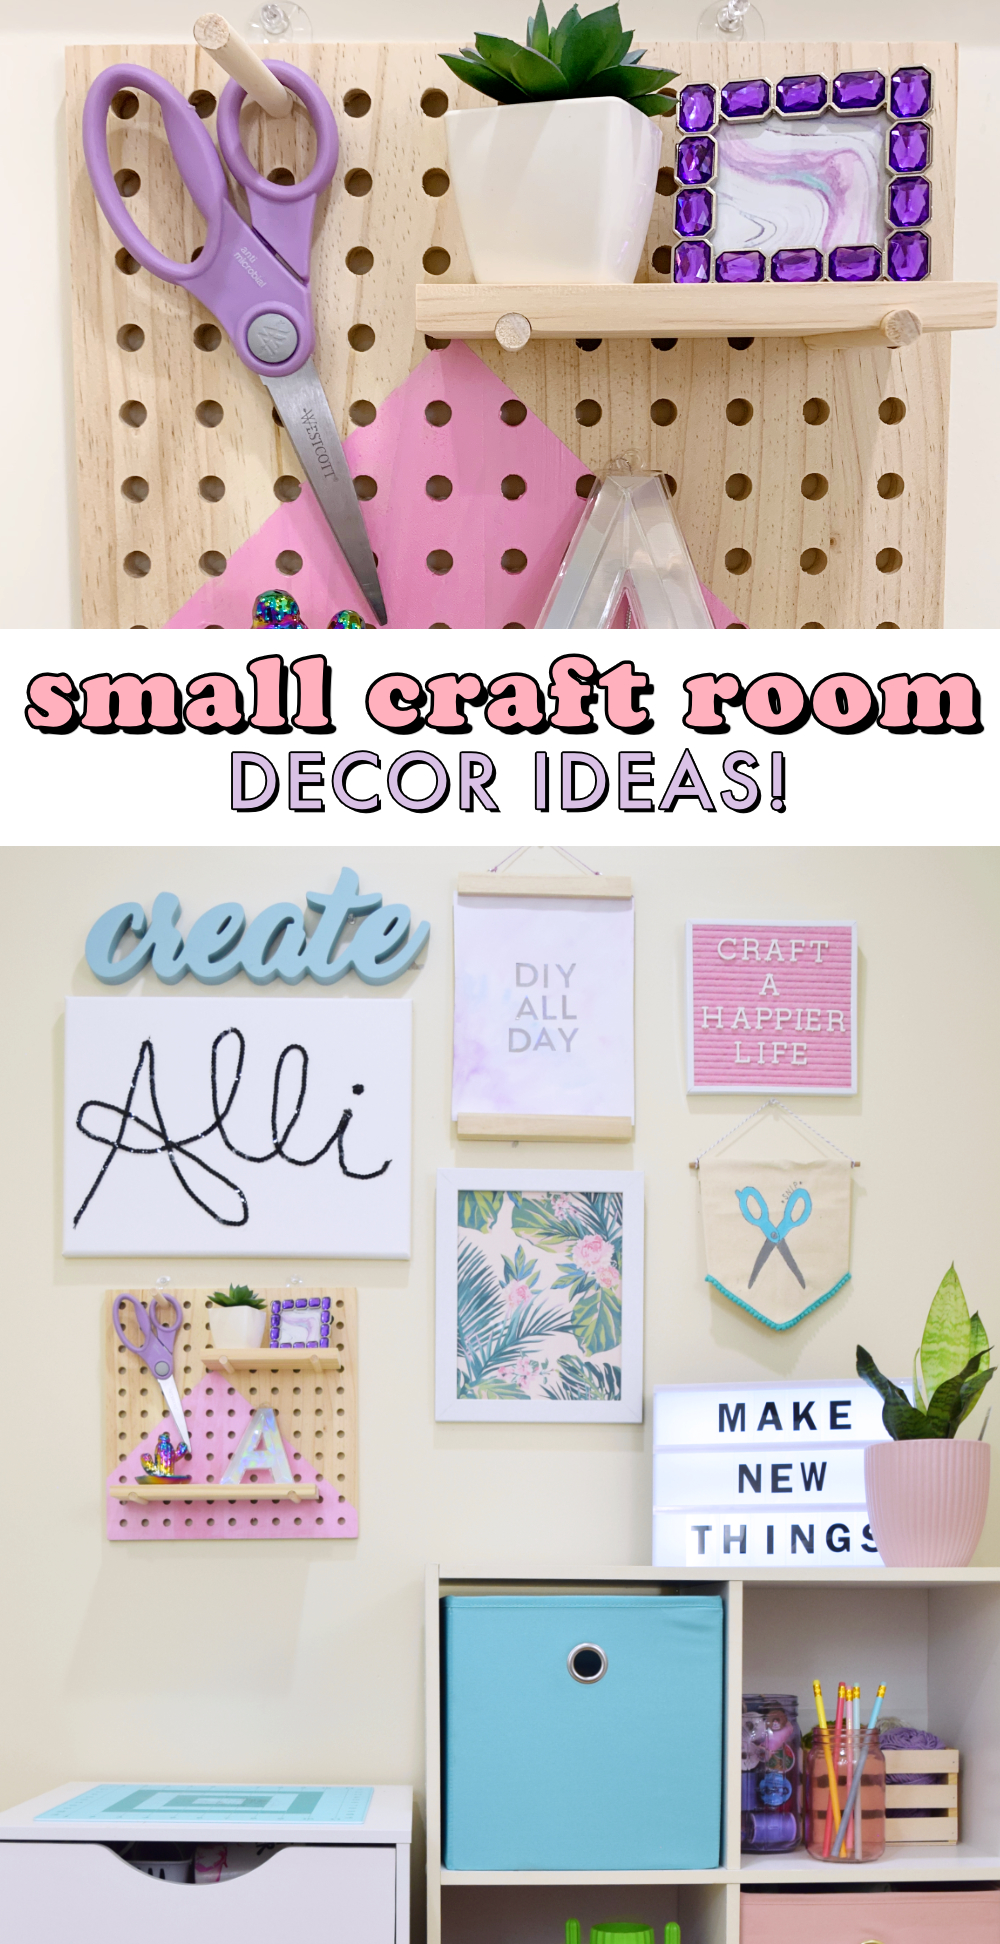
So first: the gallery wall. The most DIY-heavy part of the makeover. I show you how to do these DIYs in the video up above. So if anything catches your eye, you’ll find the tutorial there.
My biggest qualm with this gallery wall is the “Alli” sign. If you watch the video, you’ll see I wanted to make it a DIY neon sign. The whole thing wasn’t very effective and the electroluminescent wire (EL wire) just didn’t glow bright enough for the space.
I tried tracing the shape out with black sequins, but I think the overall effect is messy. So, stay tuned for potential changes to this craft space!
ALSO! Not in the video is that DIY scissor banner. I show you how to make a similar version over on this post (free pattern and all!).
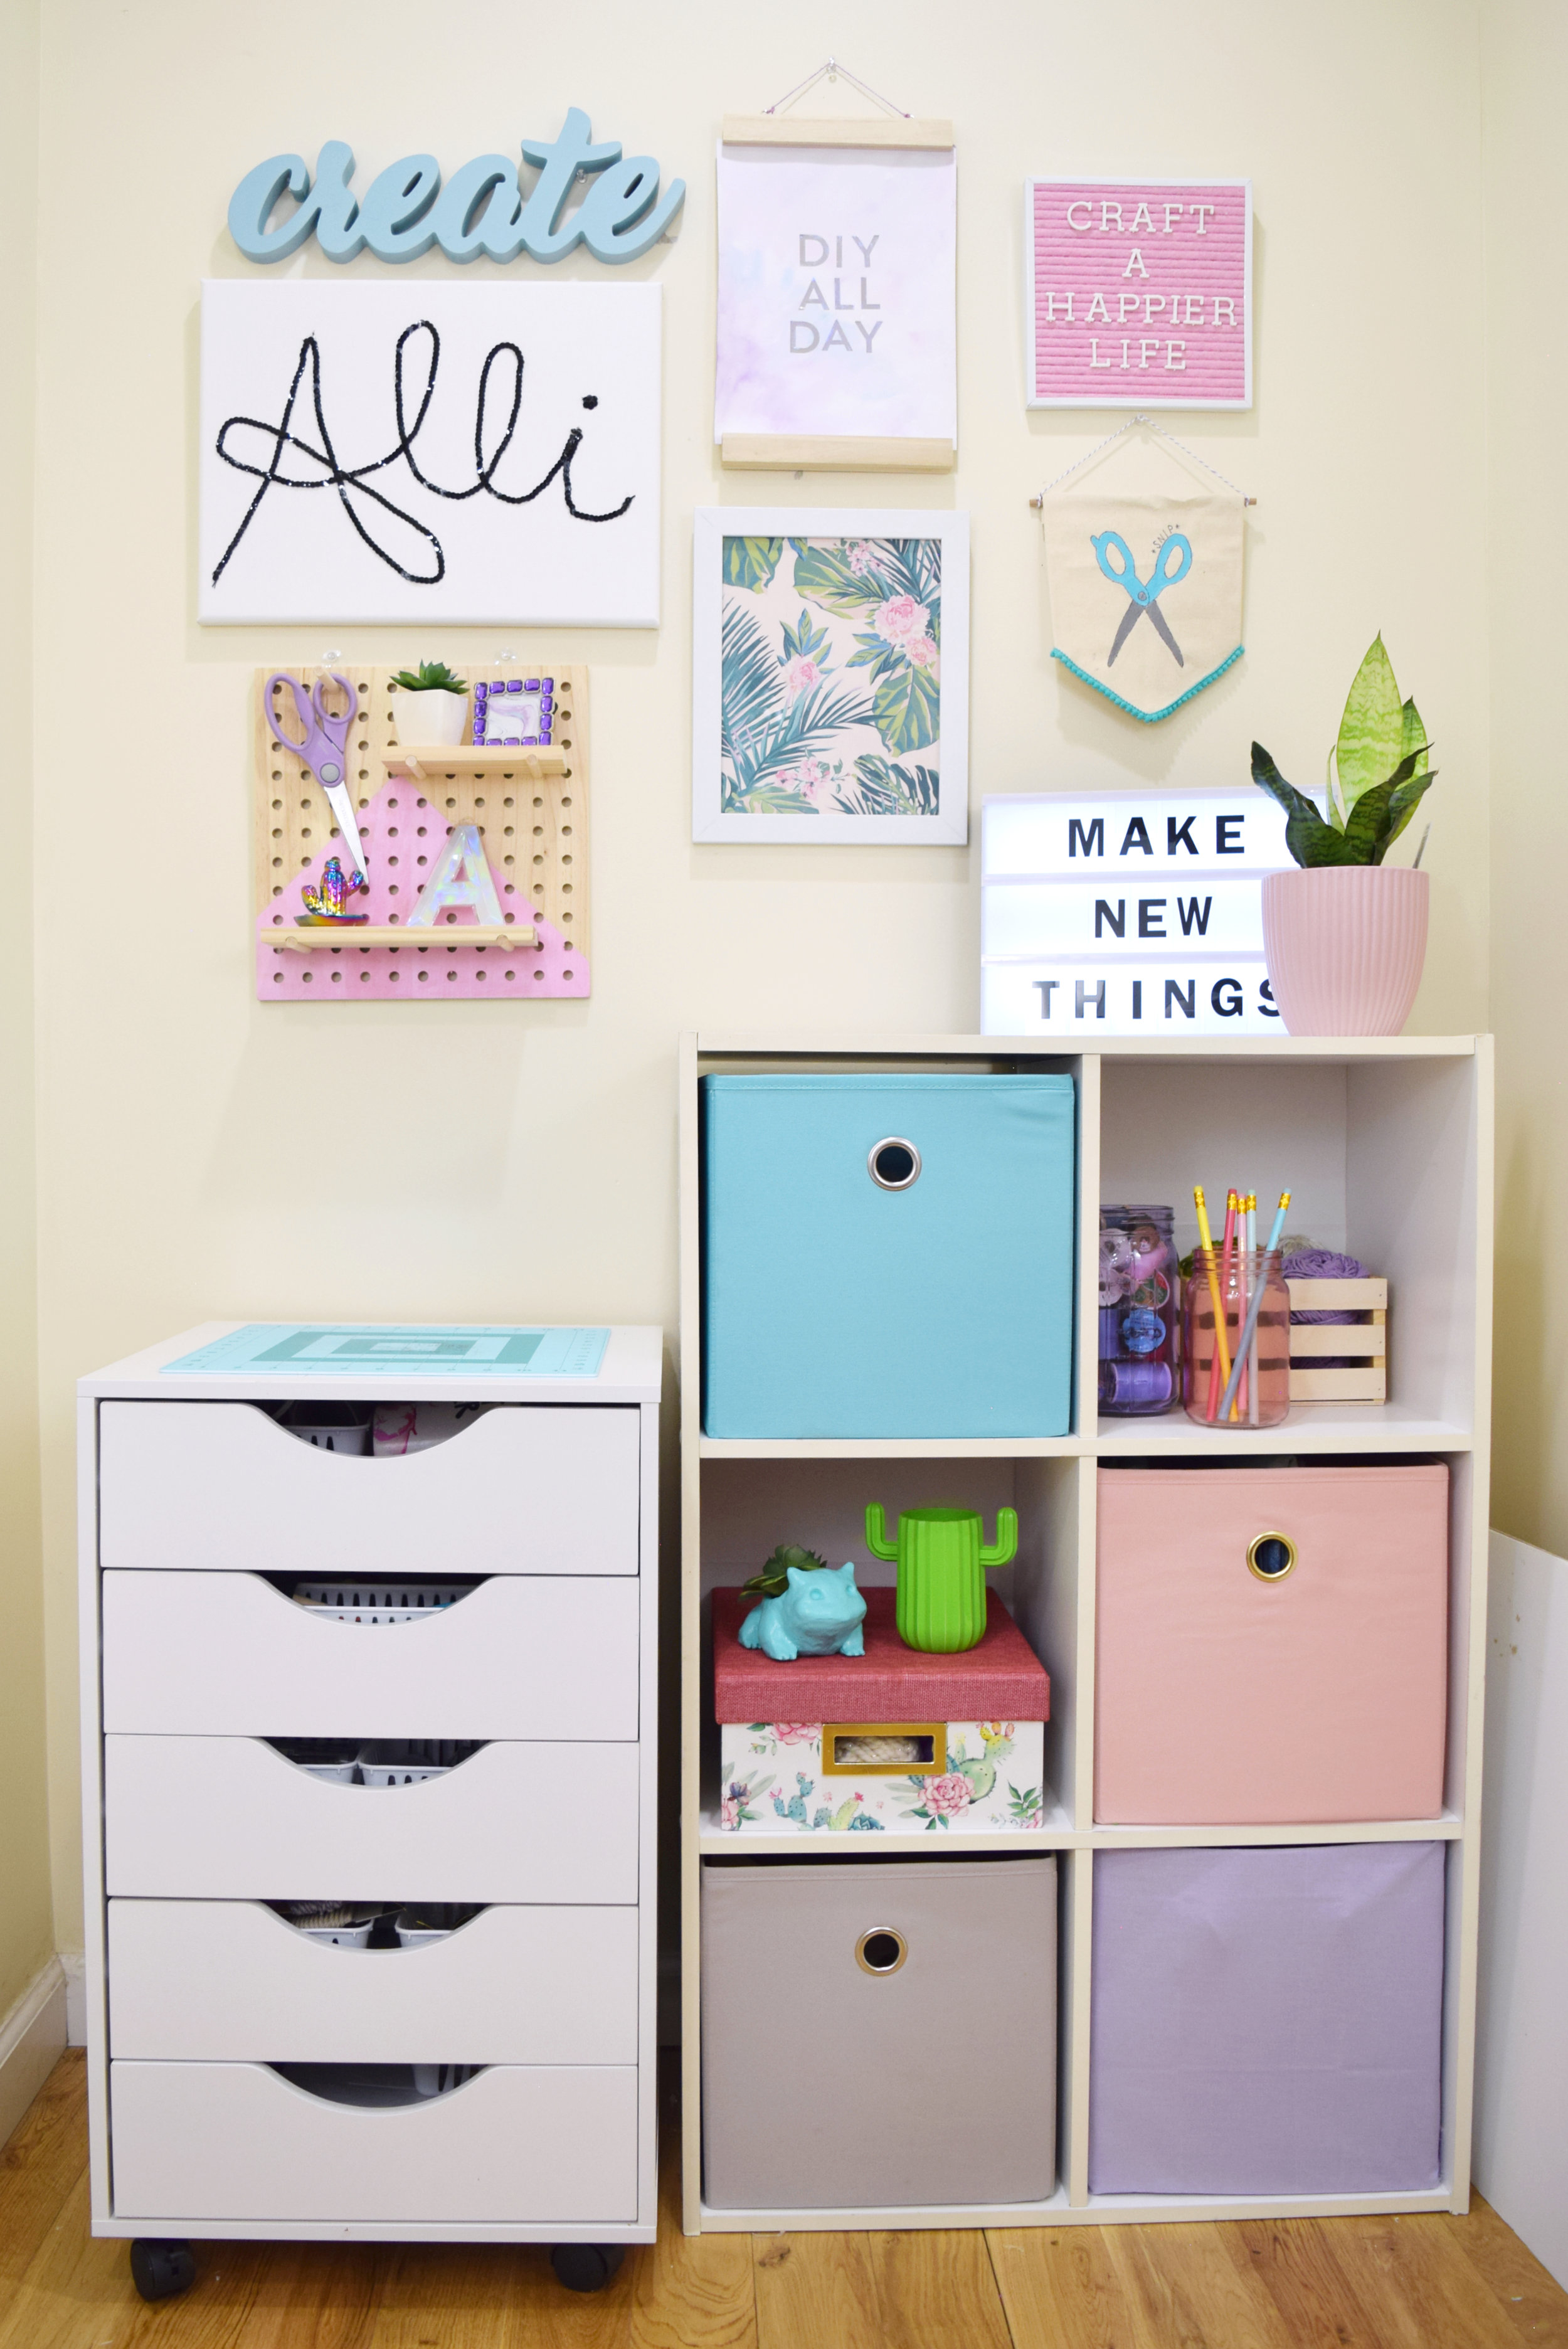
Now onto the shelf!

First, I replaced all the fabric bins with ones that match my “brand” (aka color scheme).
On the top shelf I have two mason jars. One with thread and the other with the pencils that also match my “brand.”
Behind it, I have a small wooden crate with some of my yarn. I couldn’t decide if I wanted to paint the little crate, but I kind of like the natural wood (plus it matches the natural wood in the mini pegboard).
On the second shelf I have another box filled with more yarn.
On top I placed a cute little cactus pencil holder from Dollar Tree (nothing is inside it… yet)
And next to it is a little clay Bulbasaur I DIYed some time in college. If you search “Bulbasaur succulent planter” on Pinterest, you’ll find my inspo for it (Honestly it’s one of the DIYs I’m most proud of because I’m not big at working with clay).

And that’s it! That is my entire tiny craft space! I hope it inspires you to decorate your own little craft area in your house or apartment.
I’m super excited to be sharing a few more little room makeovers over the next couple of months, so I hope you keep following along with my blog to see those!
Best way to know about my latests posts is by following me on social media. Those links are found at the icons below! (Also would be so thankful if you subscribed to my channel too!)
Pin this post!

latest posts