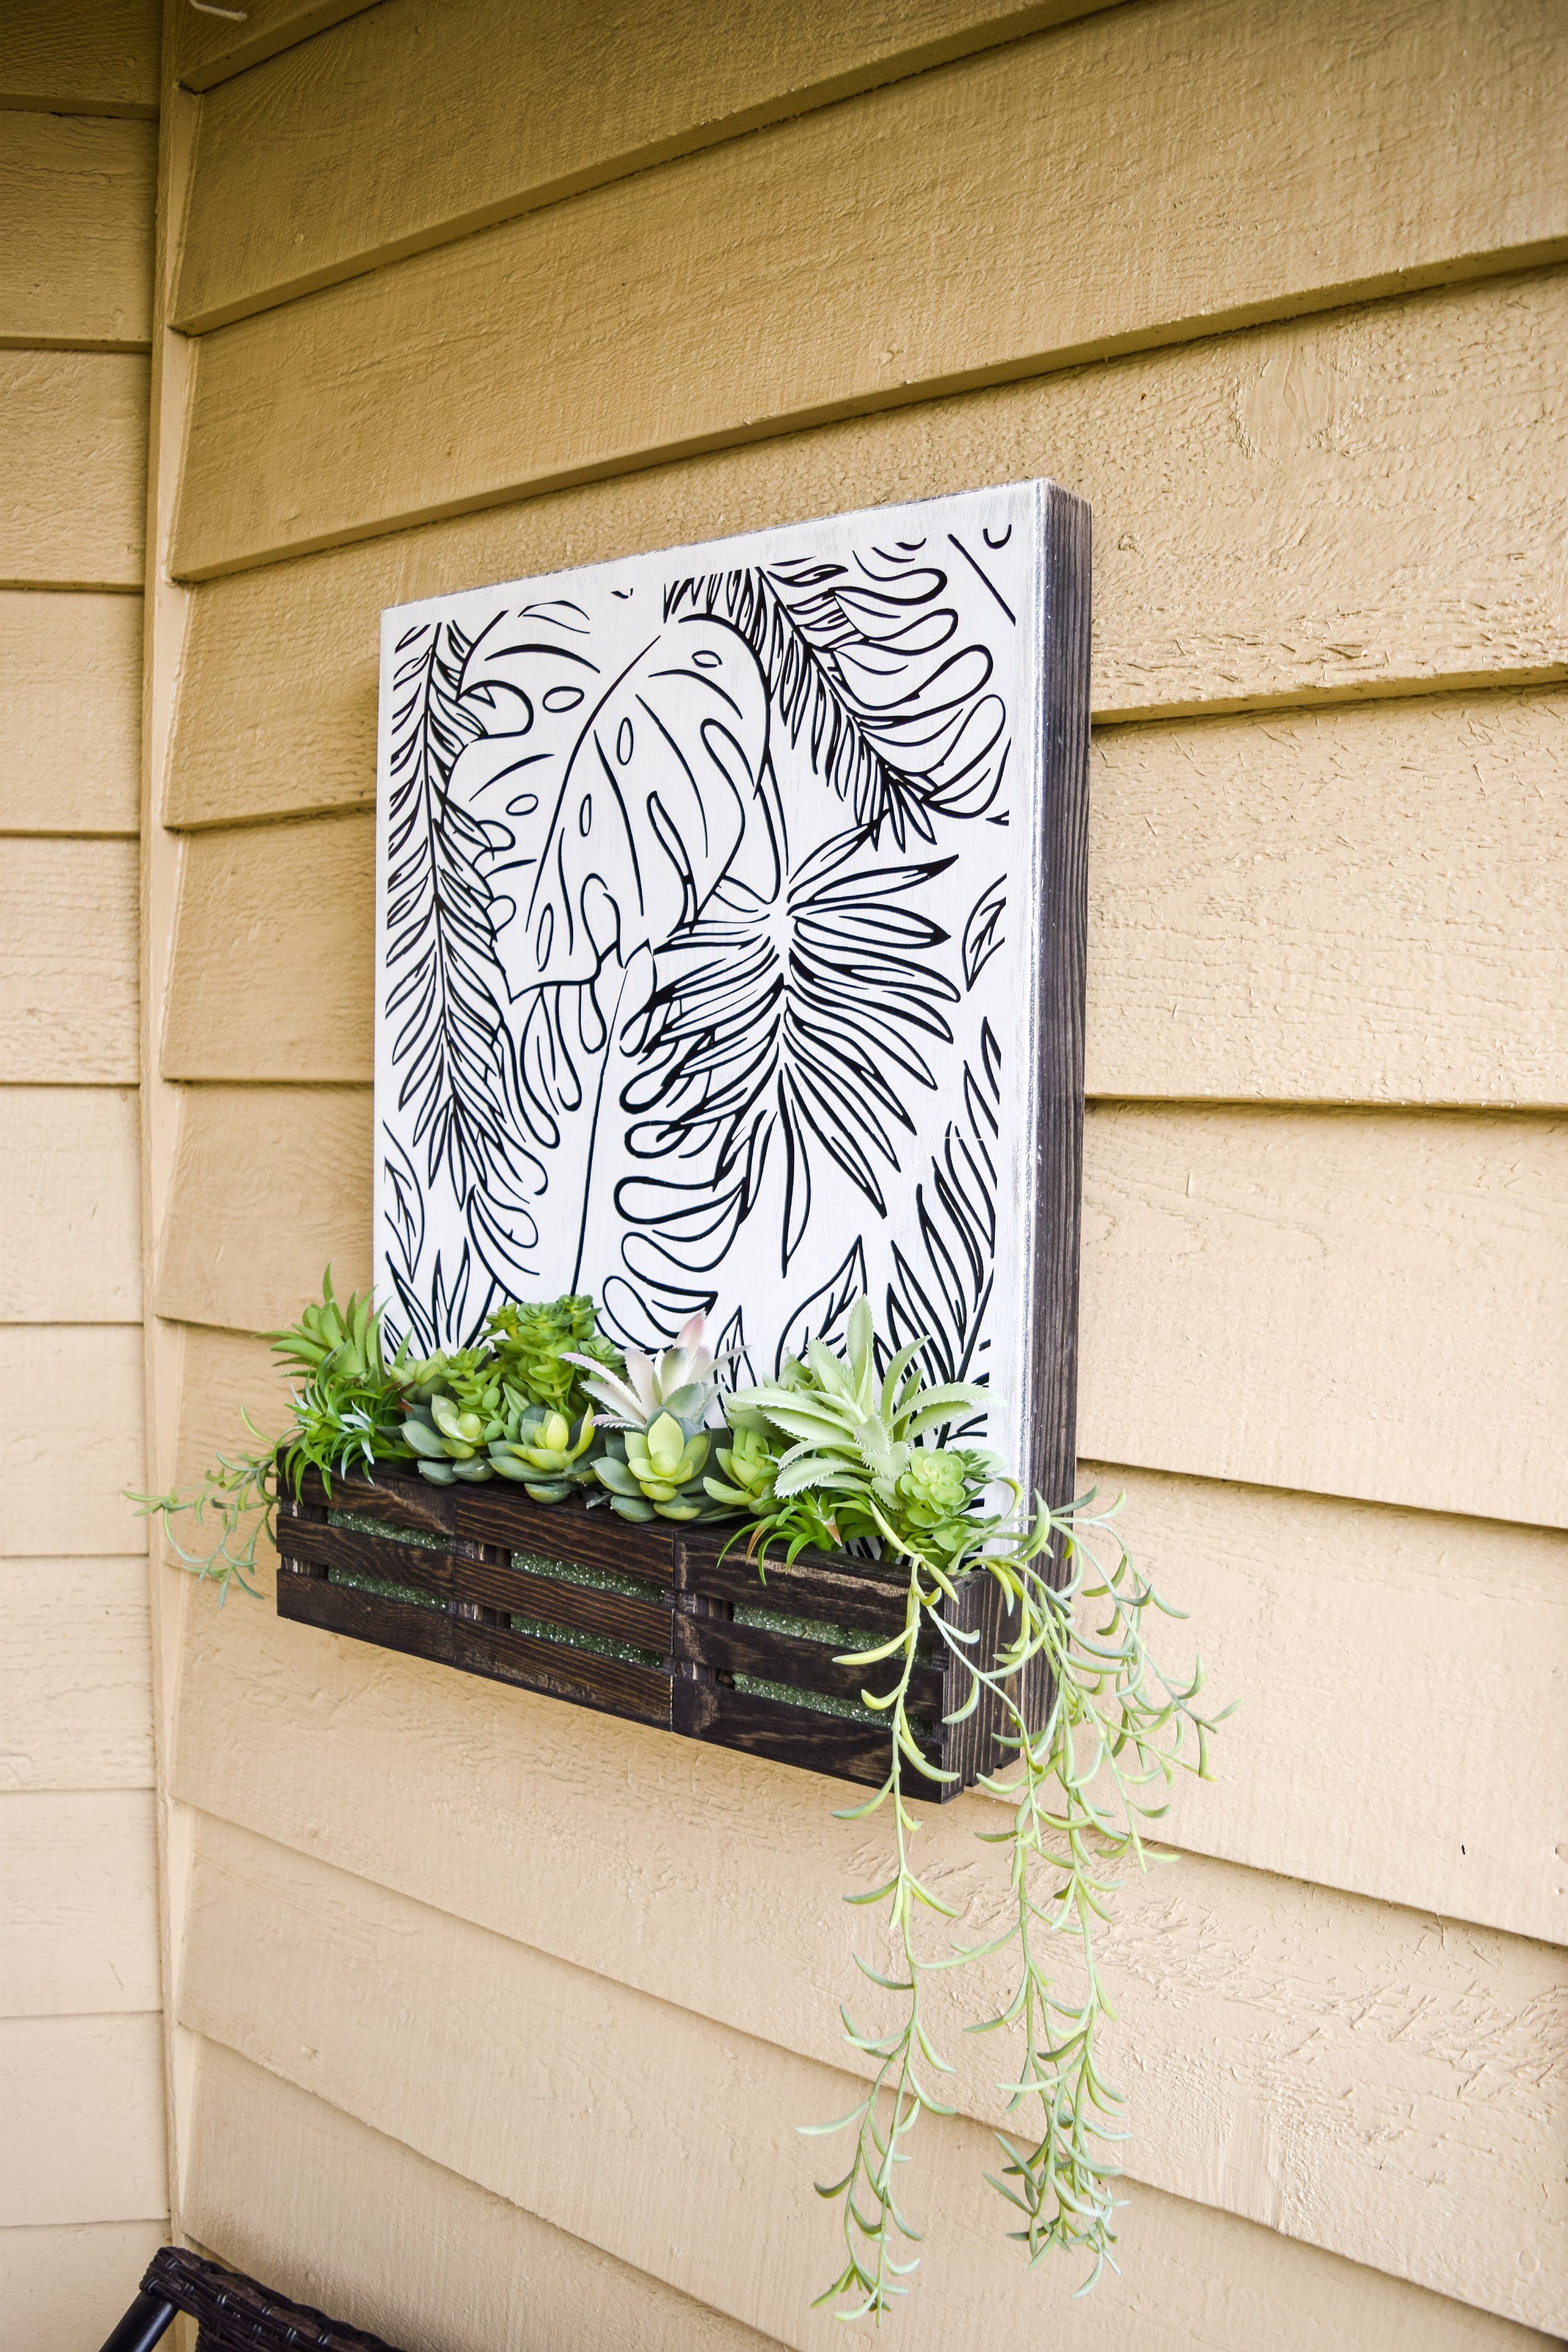
DIY Room Decor: 3 Trendy Wall Art Ideas
(Note: this tutorial was created before I had this blog. So the text instructions will not be as in-depth for any posts created before September 30, 2018.)
When I moved into my last apartment, it took me forever to finally decorate my room. I guess starting a new job can take priority over DIYing. But I was finally able to get around to it and came up with these 3 wall art ideas.
Below you’ll find the video tutorial for all 3 ideas! Underneath that are all the supplies and text instructions you’ll need.
DIY Mounted Butterfly Shadowbox

Supplies:
5x7” shadowbox frame - http://bit.ly/2feFihv
Duck Cloth Canvas Fabric - http://bit.ly/2yi8N6D (in neutral, mine was found in the remnants section)
Fake butterflies - http://bit.ly/2x8YuSf
Cardboard
Scissors
Pencil
Hot glue gun
Instructions:
The first step is to remove the back of the frame
Then, take the back and trace it onto the cardboard. Cut it out.
Next, trim your material so there’s about an inch on each side of the cardboard
Now take your hot glue gun and attach the material on all four sides and secure the corners.
Then, take your butterflies out of the packaging and gently pull the wires out from their backs
Arrange your butterflies on the cardboard backing and then attach them using hot glue
Re-assemble the frame. It might be a snug fit, but the cardboard should squish down enough for it to fit.
DIY Canvas Message Banner

Supplies:
This pattern - https://goo.gl/wvdEQ1
Duck Cloth Canvas Fabric - http://bit.ly/2yi8N6D (used the same material as above, you’ll need AT LEAST 8x10” of material)
Mini pom pom trim - http://bit.ly/2xdlTUe (in whatever color you’d like)
Twine string - http://bit.ly/2x9hcJD
1/4” or smaller Dowel rod
Sandpaper
Something to cut the dowel
Black paint (or iron-on letters - http://bit.ly/2xK6Jr2)
Paint brushes
Hot glue
Scissors
Pencil
Ruler
Instructions:
First, trace the pattern onto the back of the material and then cut it out
Next, hem your banner by putting hot glue on the edge and folding it over about a quarter of an inch. BUT do not hem the top yet.
Then, take the dowel and cut it at 8 inches.
Sand the cut end of the dowel until it is smooth
Now, take your banner and fold the top over about an inch and glue that down
Insert your dowel rod
Next, measure at least 18” of twine. Remember, it’s better to cut extra than not enough.
Tie on the string and secure with glue. Trim off any extra string.
Then, take your trim and attach it to the bottom of the banner. Leave a little extra on each end to fold over to the back to prevent fraying.
Now onto the words. First, find where you want to align the words. It helps to mark the middle first.
If you’re using iron-on letters, then skip these steps and follow the instructions on your iron-ons. If you’re painting, then first draw out what you want your banner to say. I’m writing “dream big” since this will be in my bedroom.
Then, paint in the words and let dry.
DIY Moon Phase Sign

Supplies:
A wood board or sign (approx.18x5”) - http://bit.ly/2xJCIru
Black, white and silver paint
Two round sponge brushes - http://bit.ly/2wz7aiU (I was able to find a pack of two for about $1 at Joann’s)
Wide regular brush
A scrap piece of card stock or heavy-weight paper.
Something circular to trace.
Scissors
Painting supplies, like a pallet, paper towels, and cup of water
White colored pencil (optional)
Instructions:
My sign had a frame around it, so i added a little paint to match my room. This step only applies if your sign has a frame and is optional.
The first real step is to paint the board black.
While that paint’s drying, you can make your stencil. Somehow this clip got deleted, but all you need to do is take the cardstock and trace the circle and cut it out. I used the inside of this tape roll.
Now that the video’s back, you can take your stencil and align it in the middle of the board. Then take white paint on the foam brush and dab it first on a napkin to remove excess paint and then gently dab it in the stencil. You don’t want to completely fill the stencil so it looks like craters on the moon.
Continue down the line, next with a half moon, then a crescent. Repeat on the other side of the full moon.
Next, you can take some silver paint and dab that onto the moons just for some extra dimension
This final step is optional, but you can take a white colored pencil and label the moon phases.
latest posts