10 DIY Halloween Costume Ideas
Halloween is getting so close and I don’t know about you, but I feel like I always end up in a last-minute costume crunch.
But not this year! No! Instead I came up with 10 costume ideas using mostly stuff I already had in my closet, craft stash and a few thrifted items.
You can watch the video below to see all the ideas, or keep scrolling because I, of course, took lots of photos too.
1) Sabrina Spellman from Netflix’s The Chilling Adventures of Sabrina
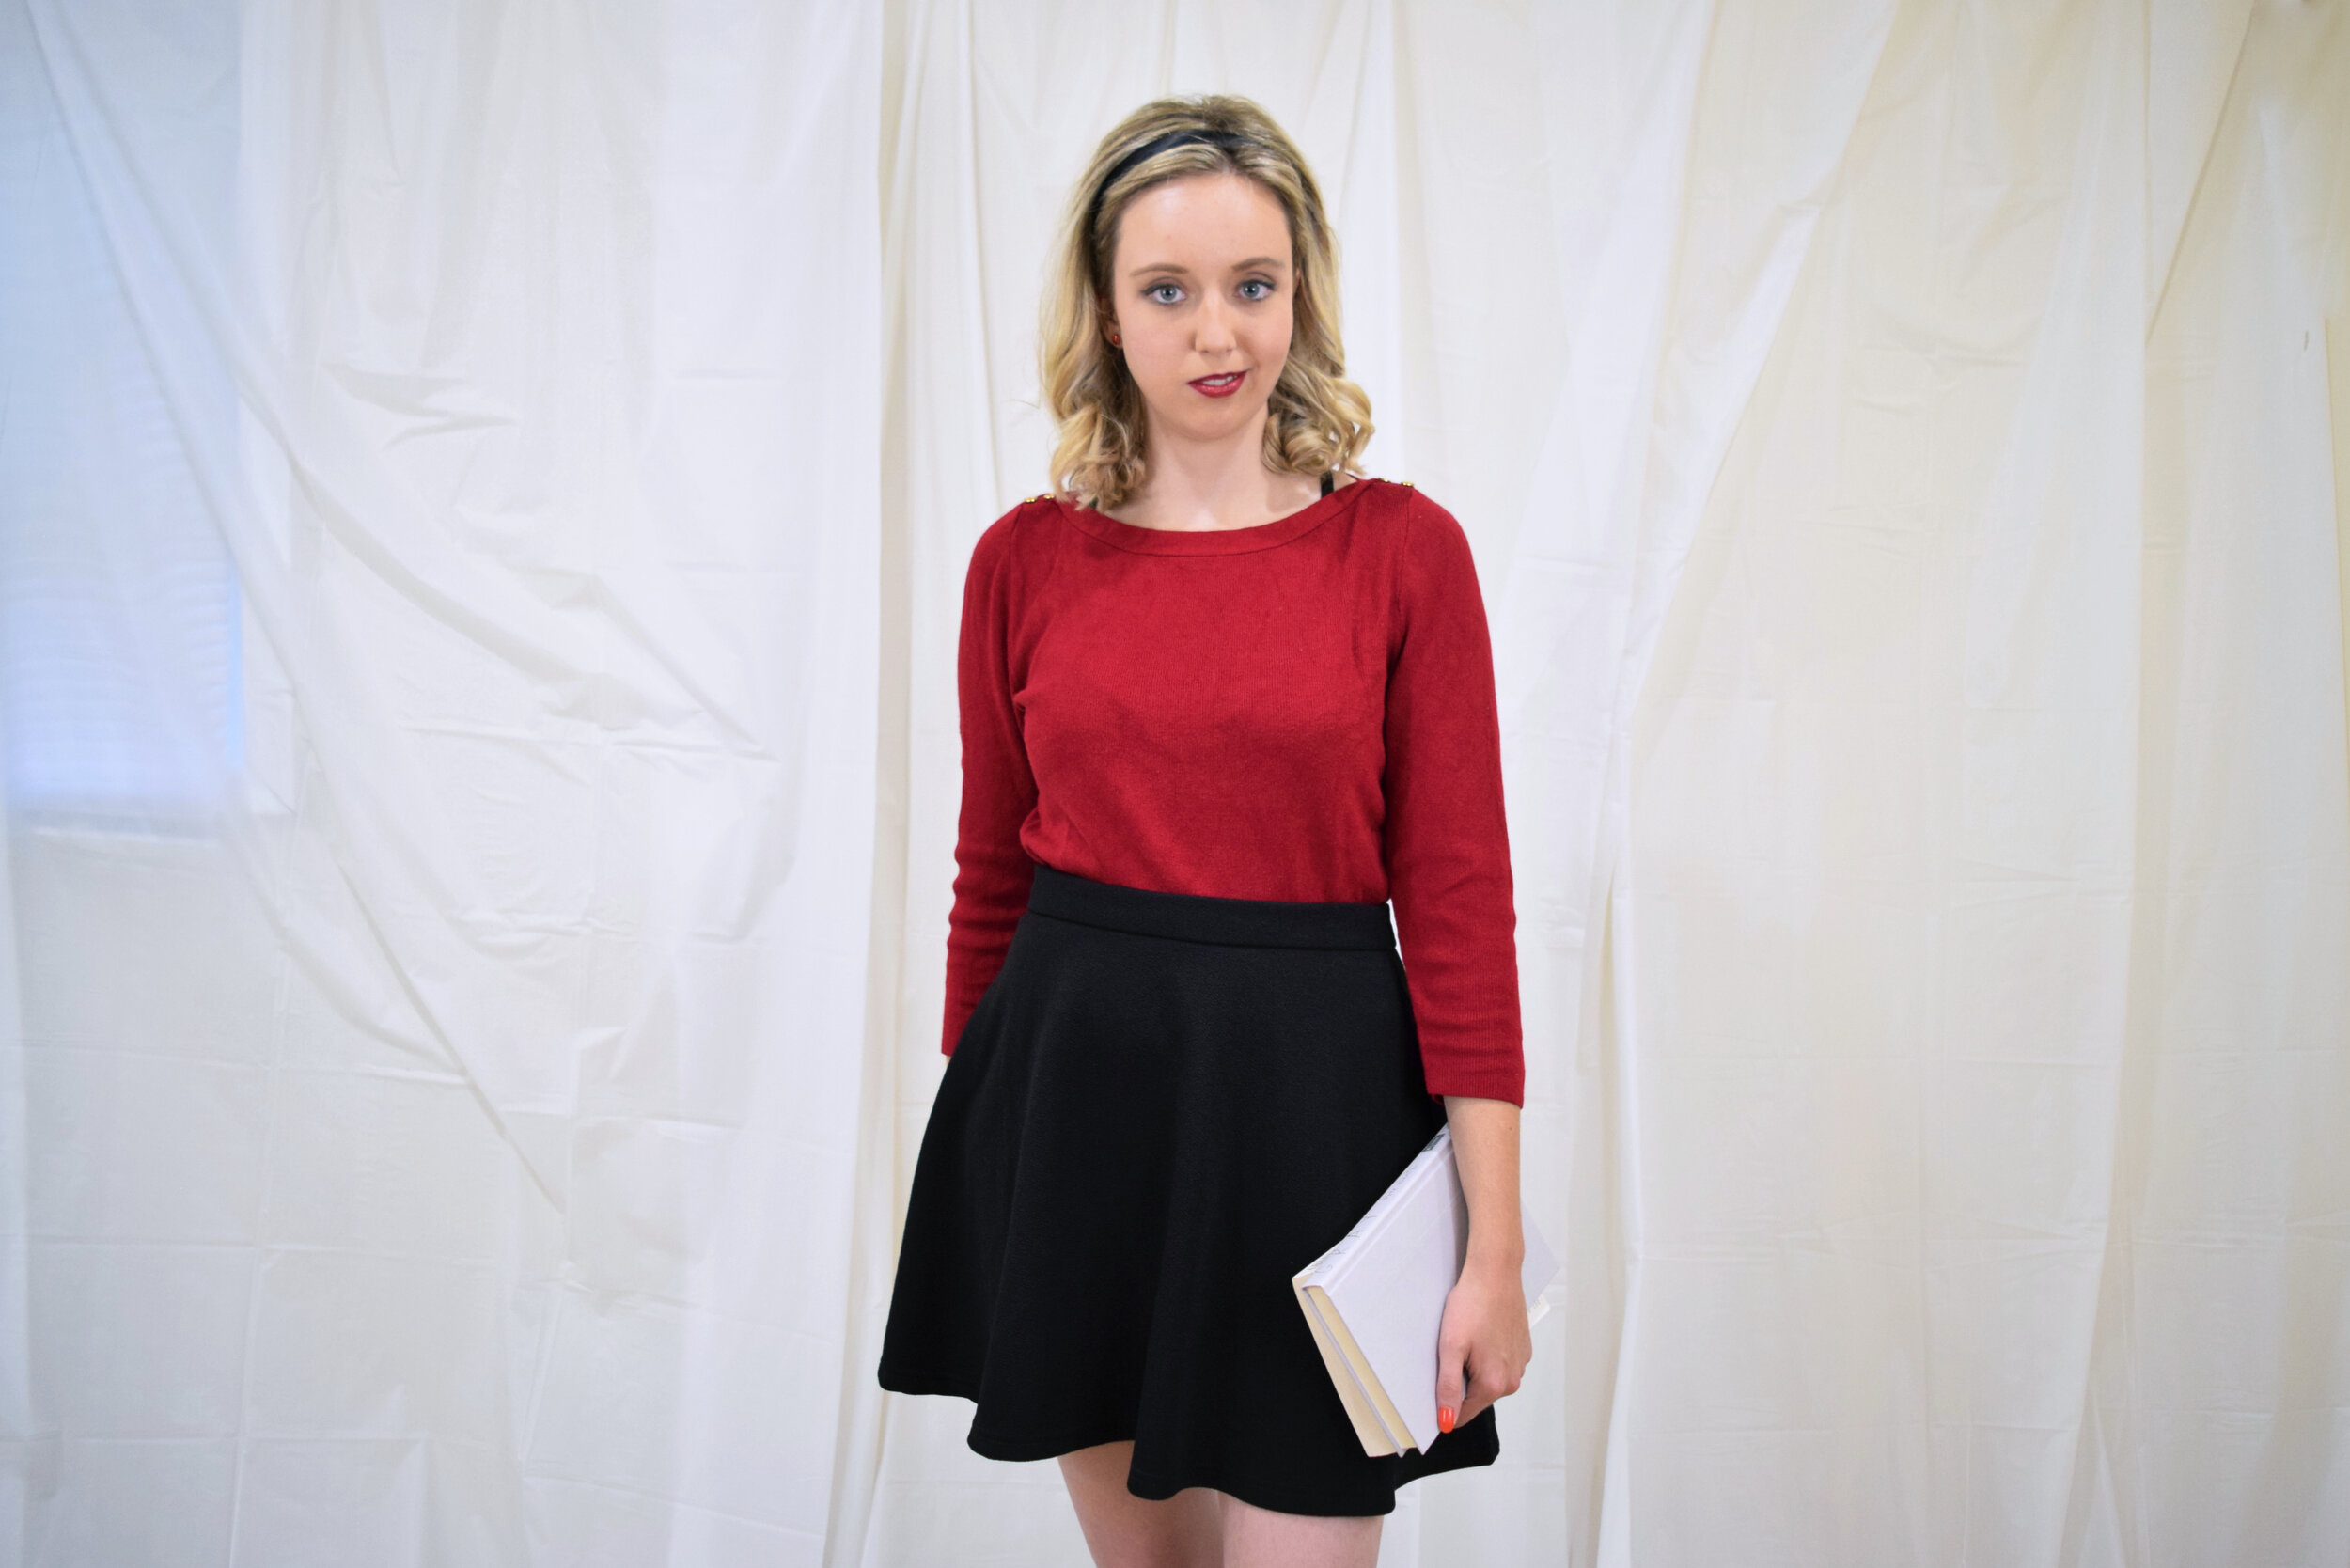
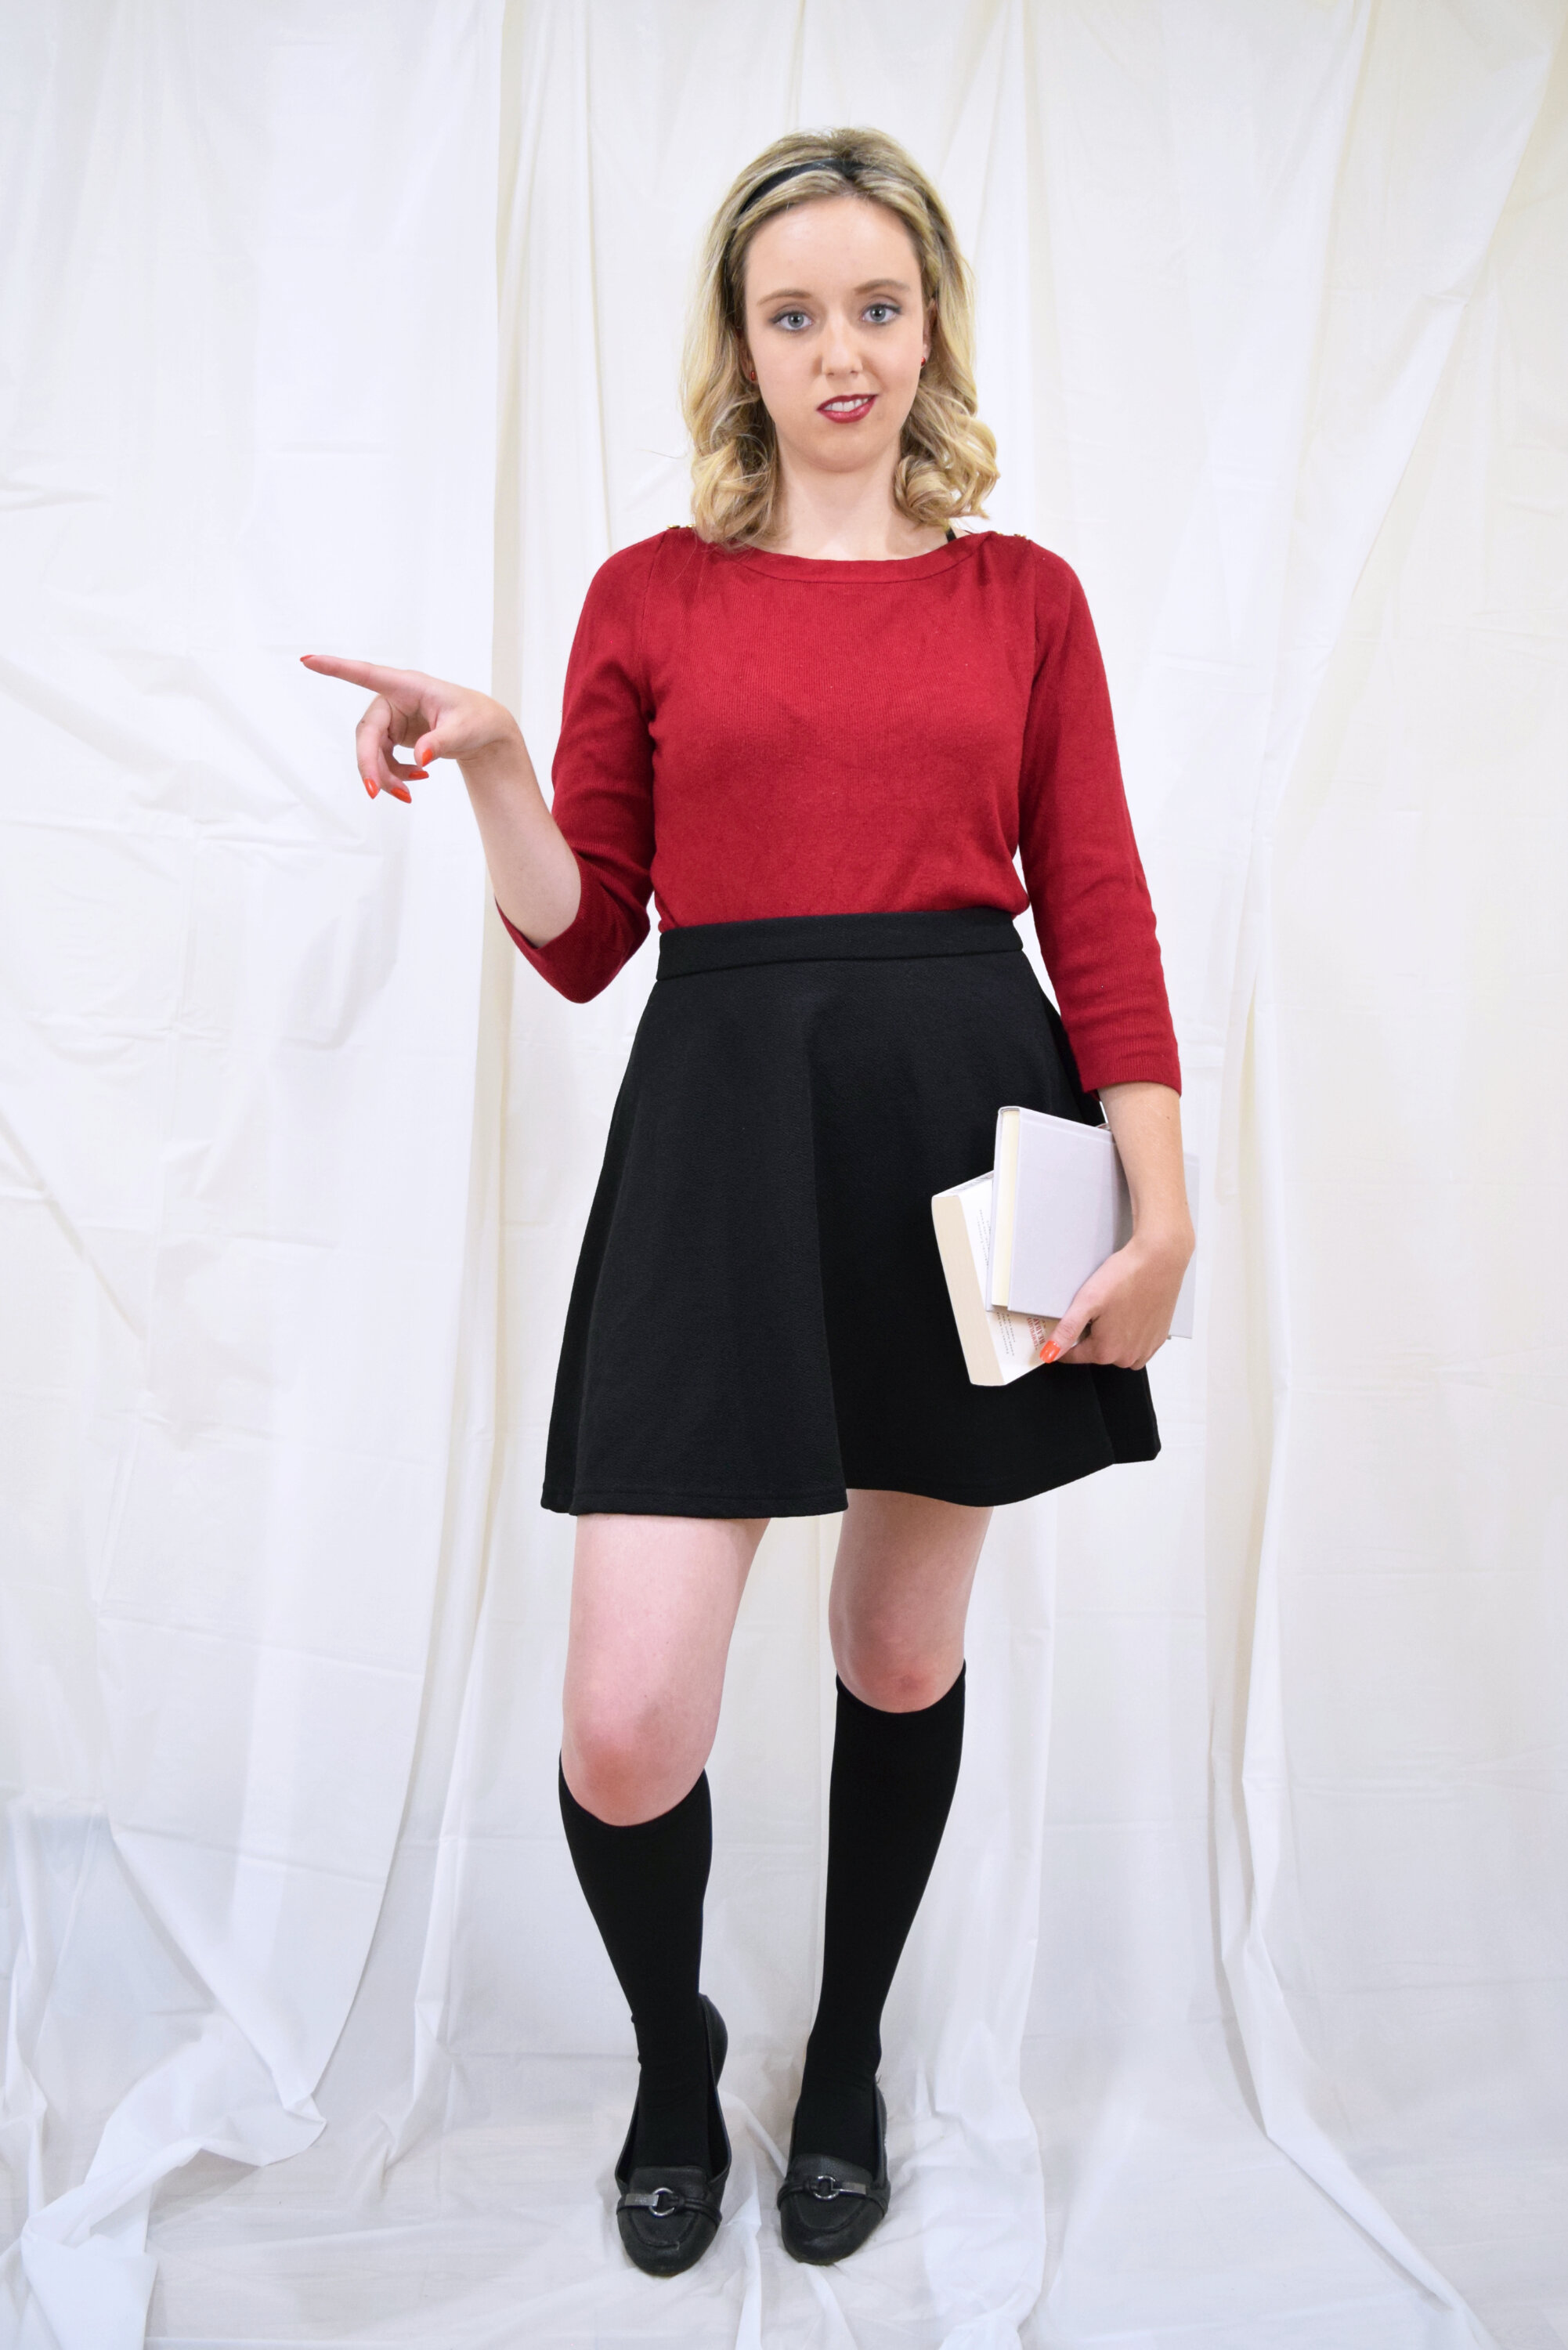
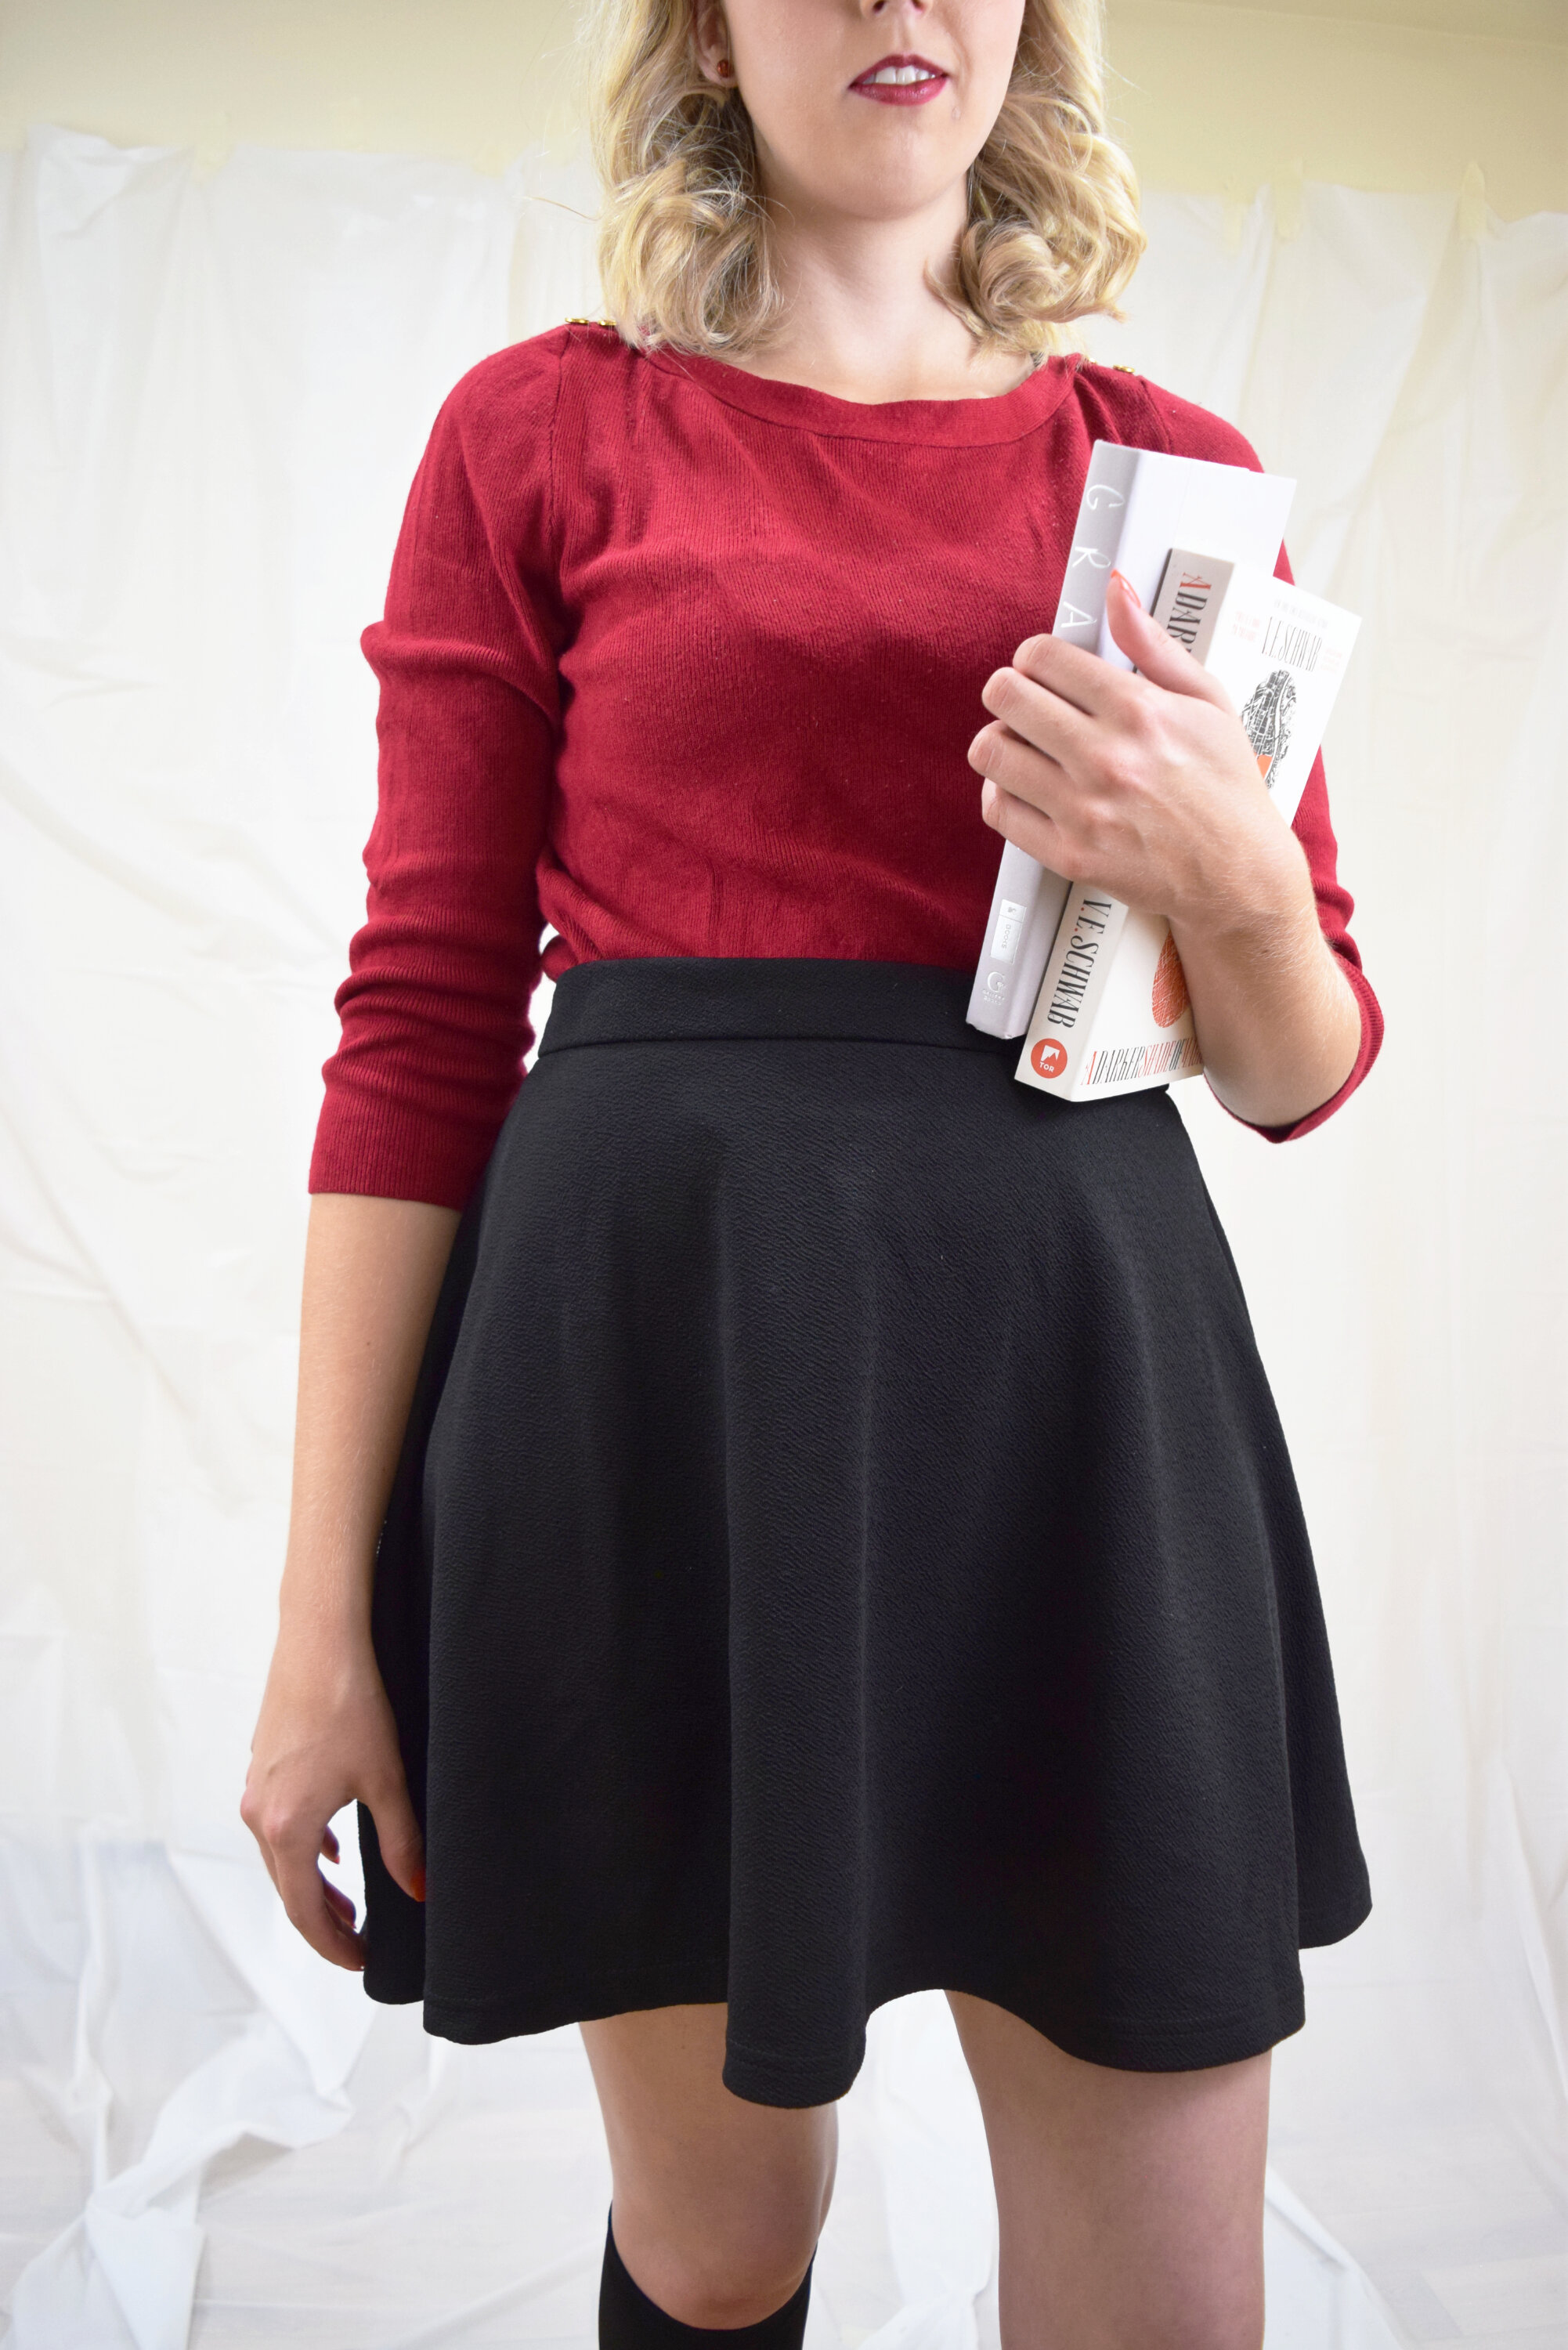
This costume was so simple because I pretty much owned everything already. I styled the costume with a red three-quarter sleeve sweater, black skirt, knee high socks and black flats. Then of course, I curled by hair, added her classic black headband and dark vampy lip.
The last suggestion I have is pencil in your eyebrows a bit darker than normal (if you’re also a blonde like me), then you’ll like just like Sabrina!
2) Miss Universe
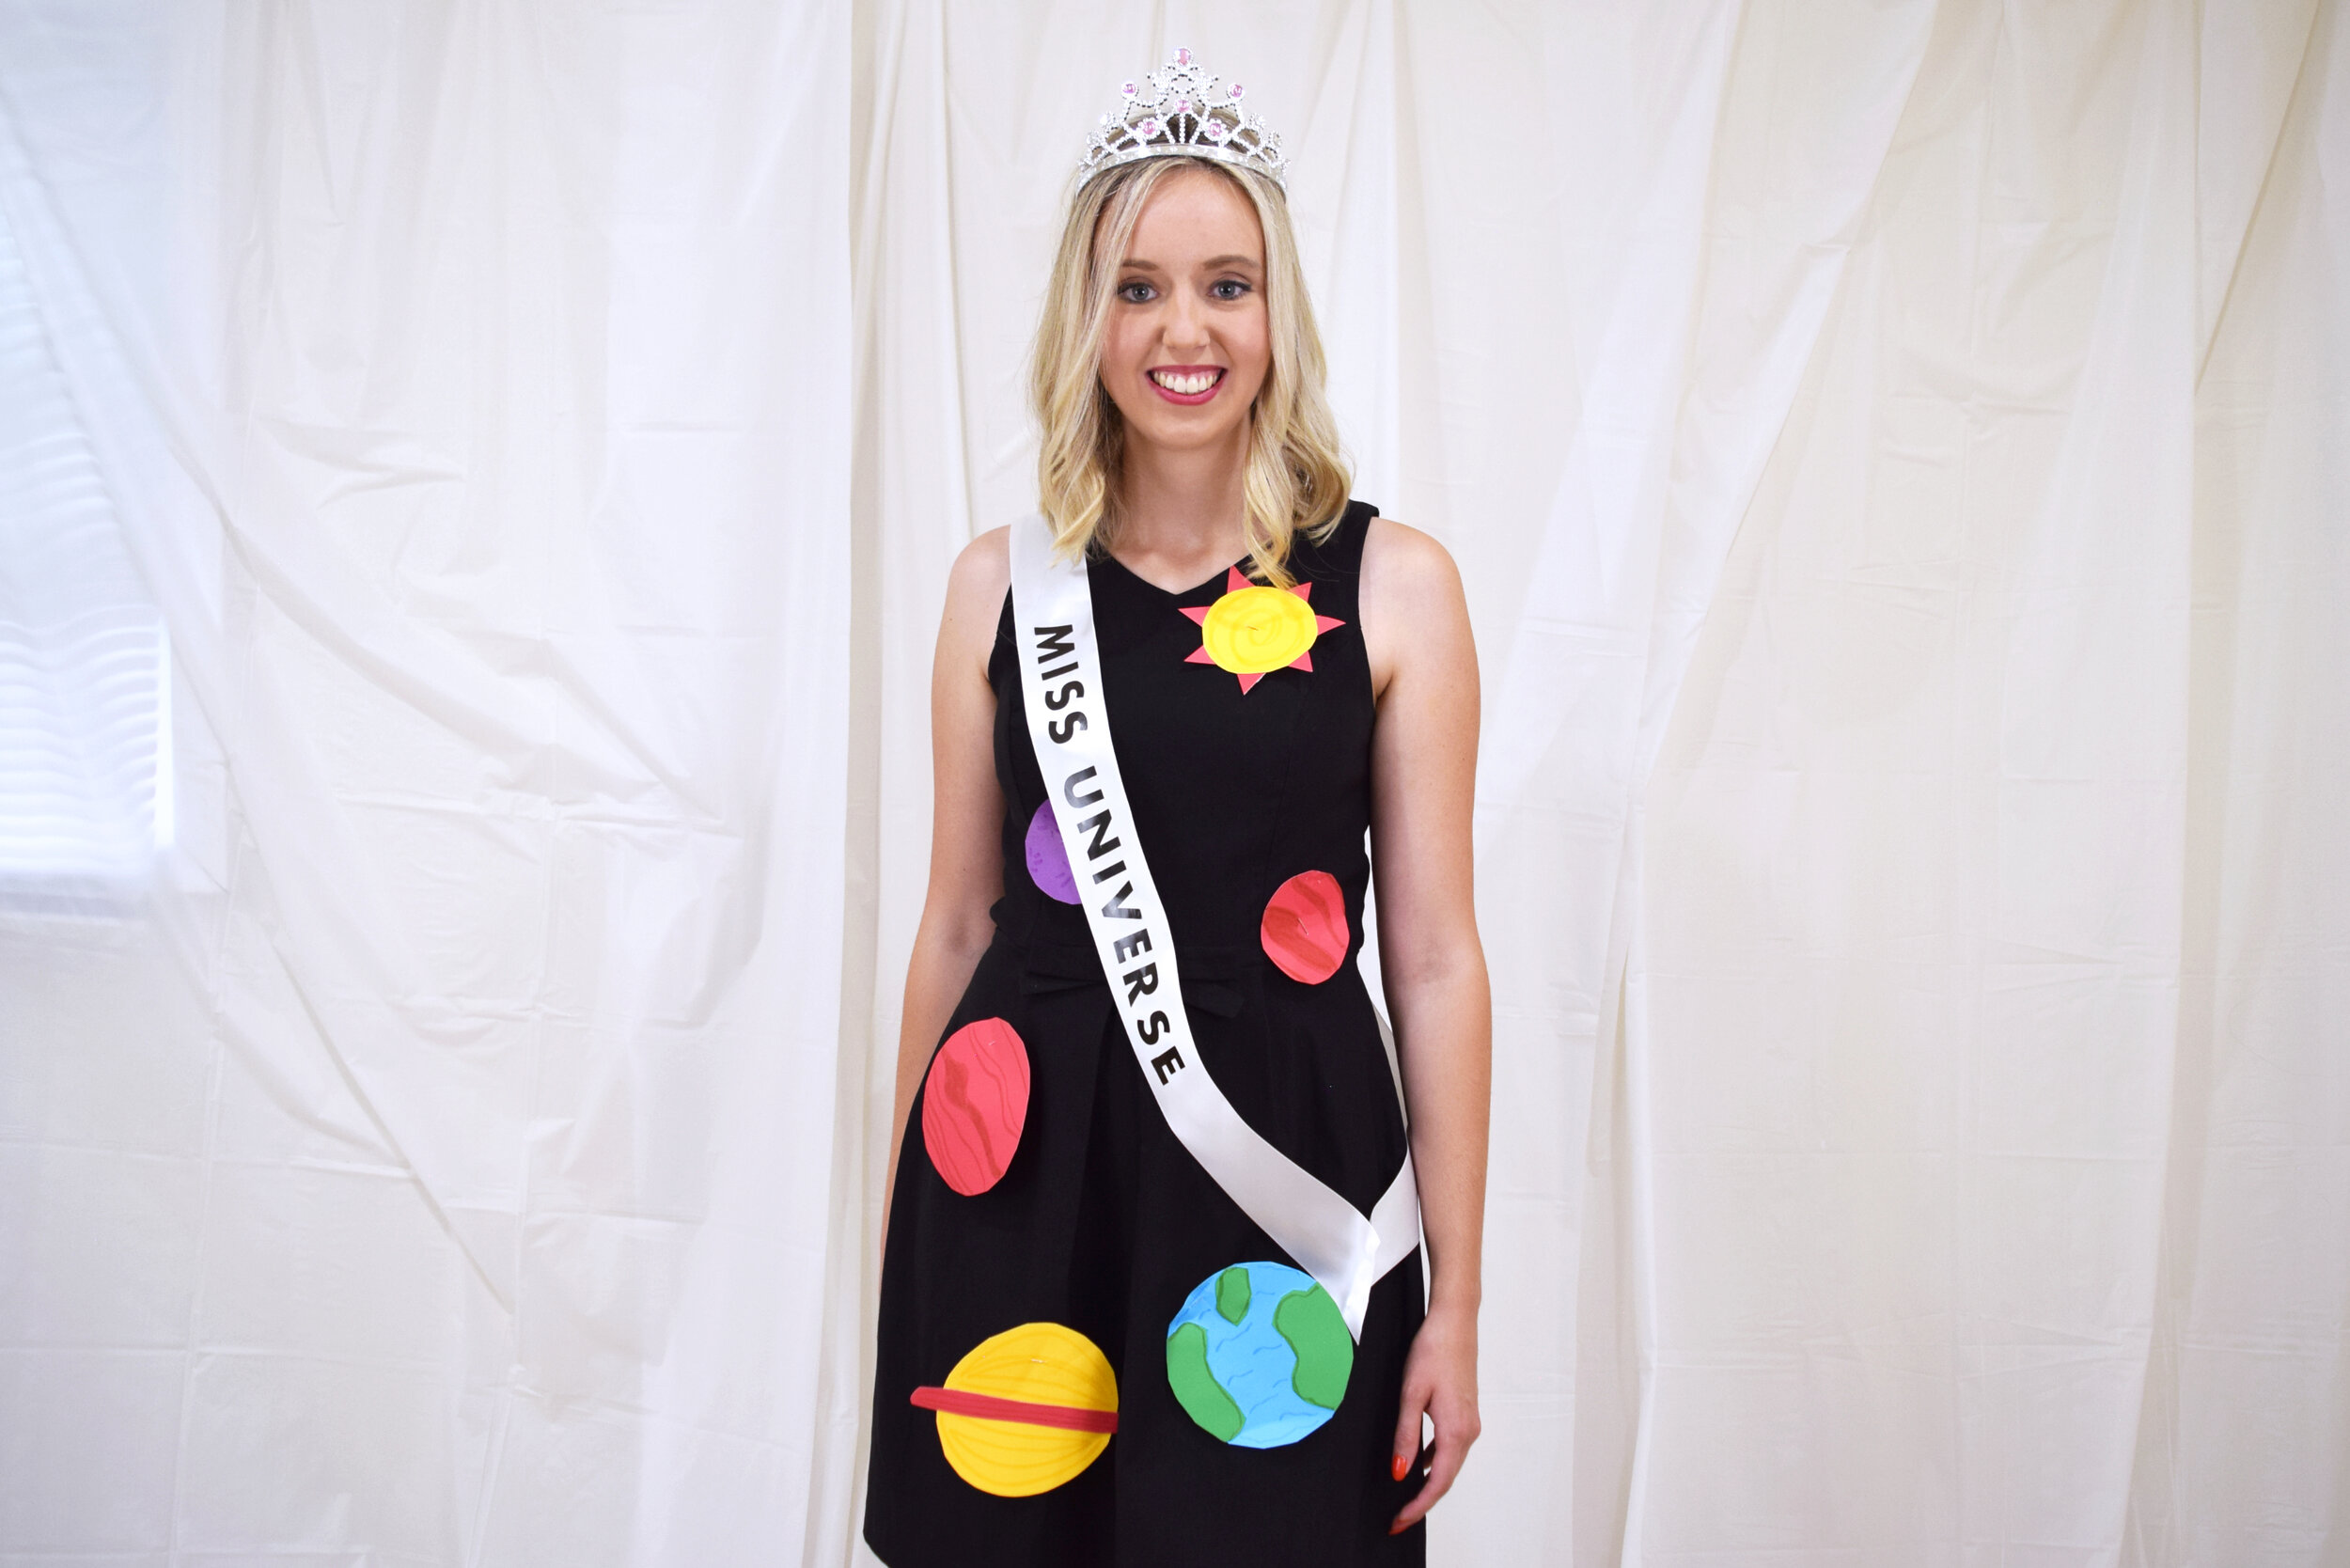
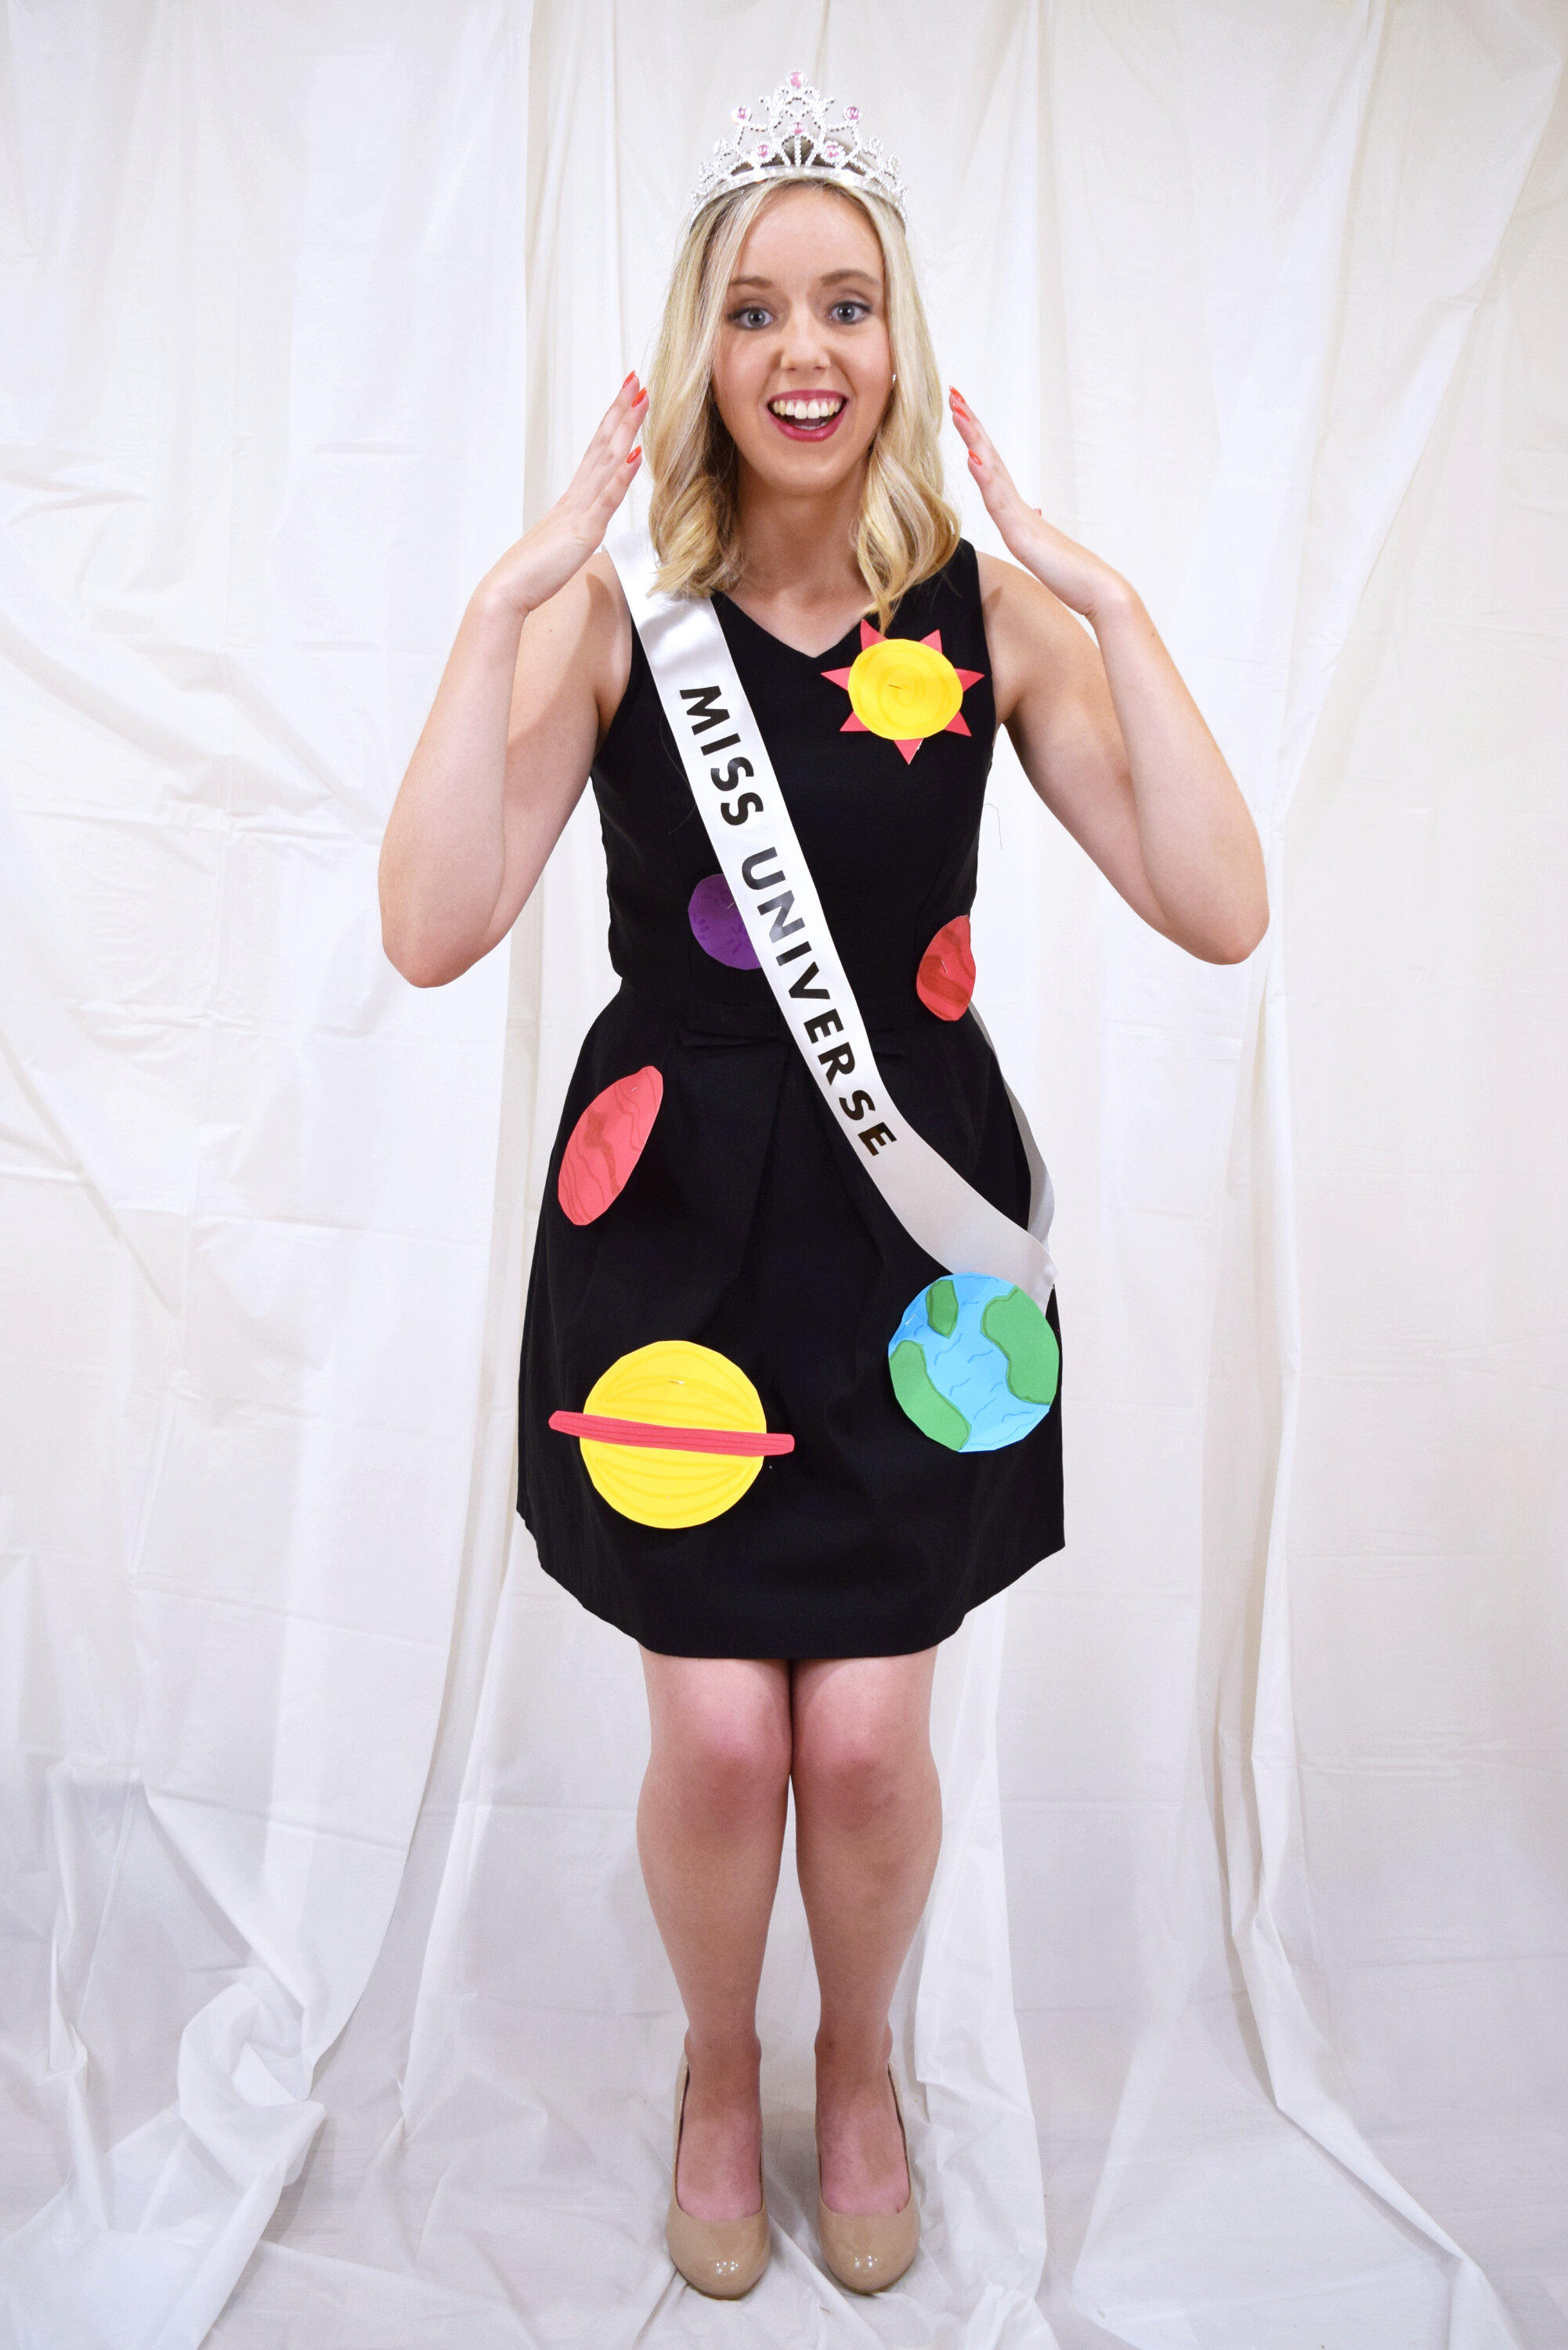
Have an out-of-this-world crowning moment this Halloween by going as Miss Universe.
First up: the DIYs.
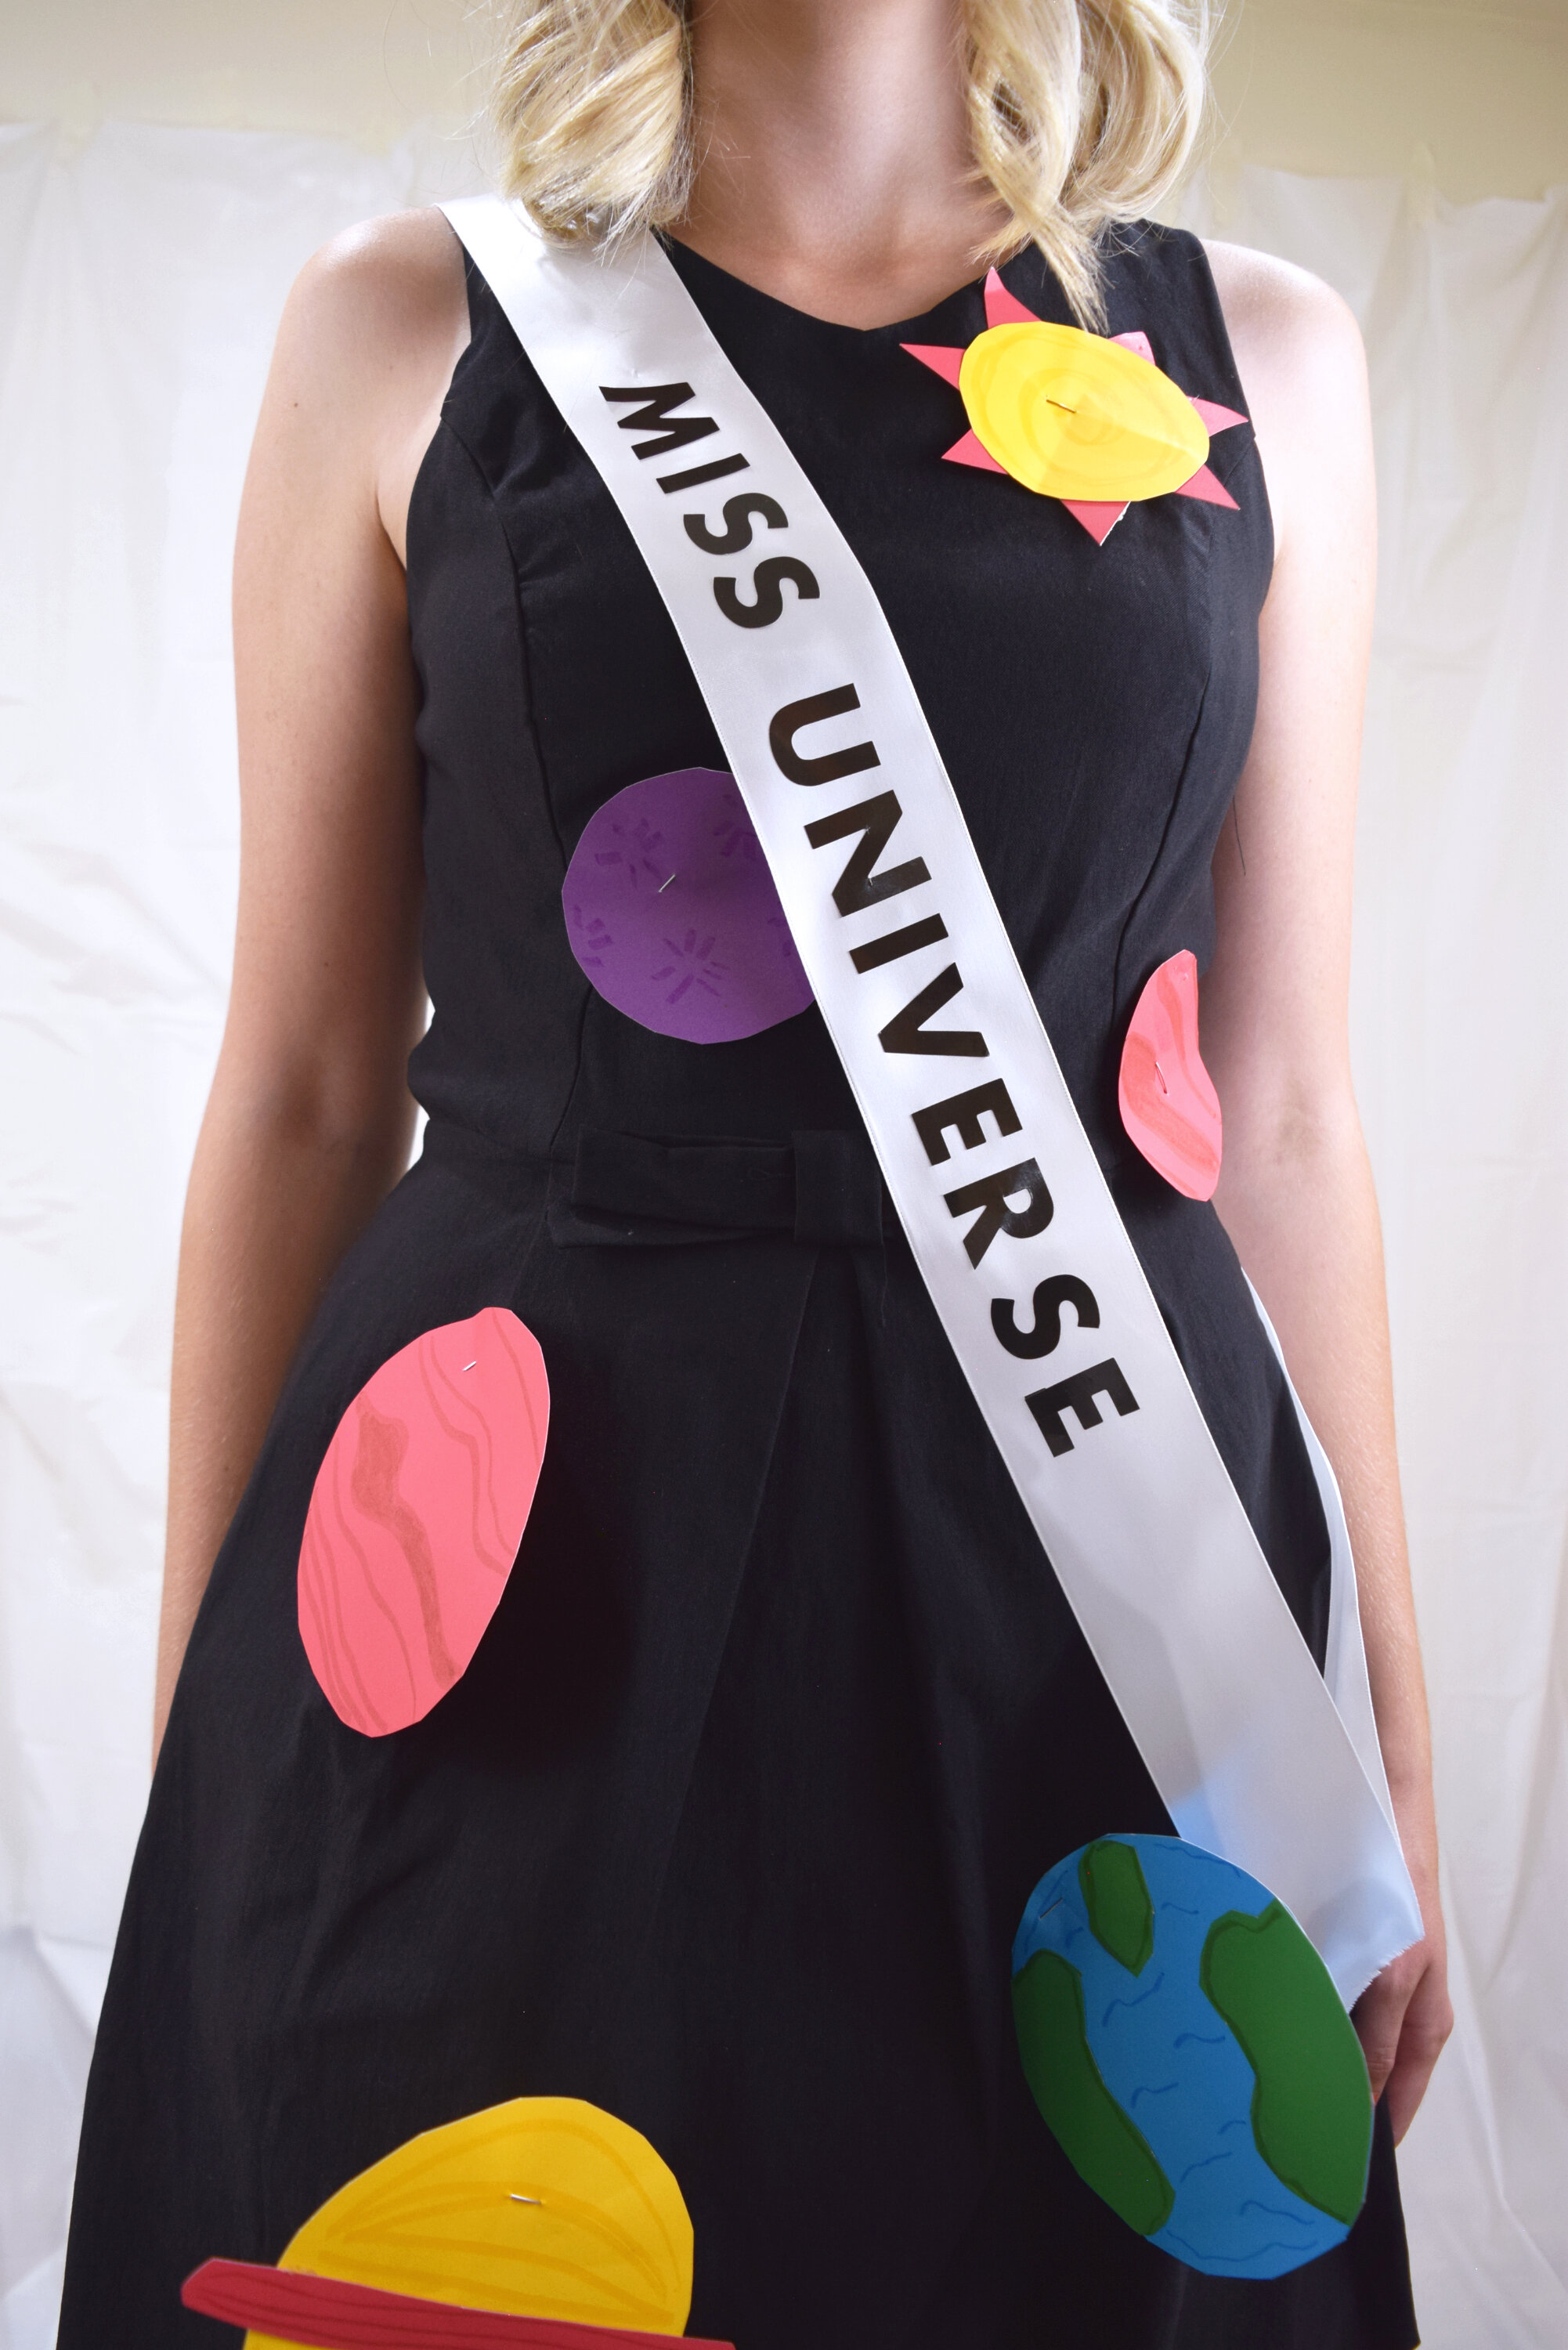
I started by gluing together the ends of this thick white ribbon to make a sash.
Then used bold black letter stickers to spell out Miss Universe.
For the planets, I cut out a bunch of circles of different sizes and colors on cardstock paper.
I added details by layering other colors on top of the circles and with markers.
I just used safety pins to attach the planets to a semi-formal black dress and paired with with nude heels.
Then top off the costume with a big tiara I picked up at Dollar Tree
3) Annabelle (creepy doll costume)
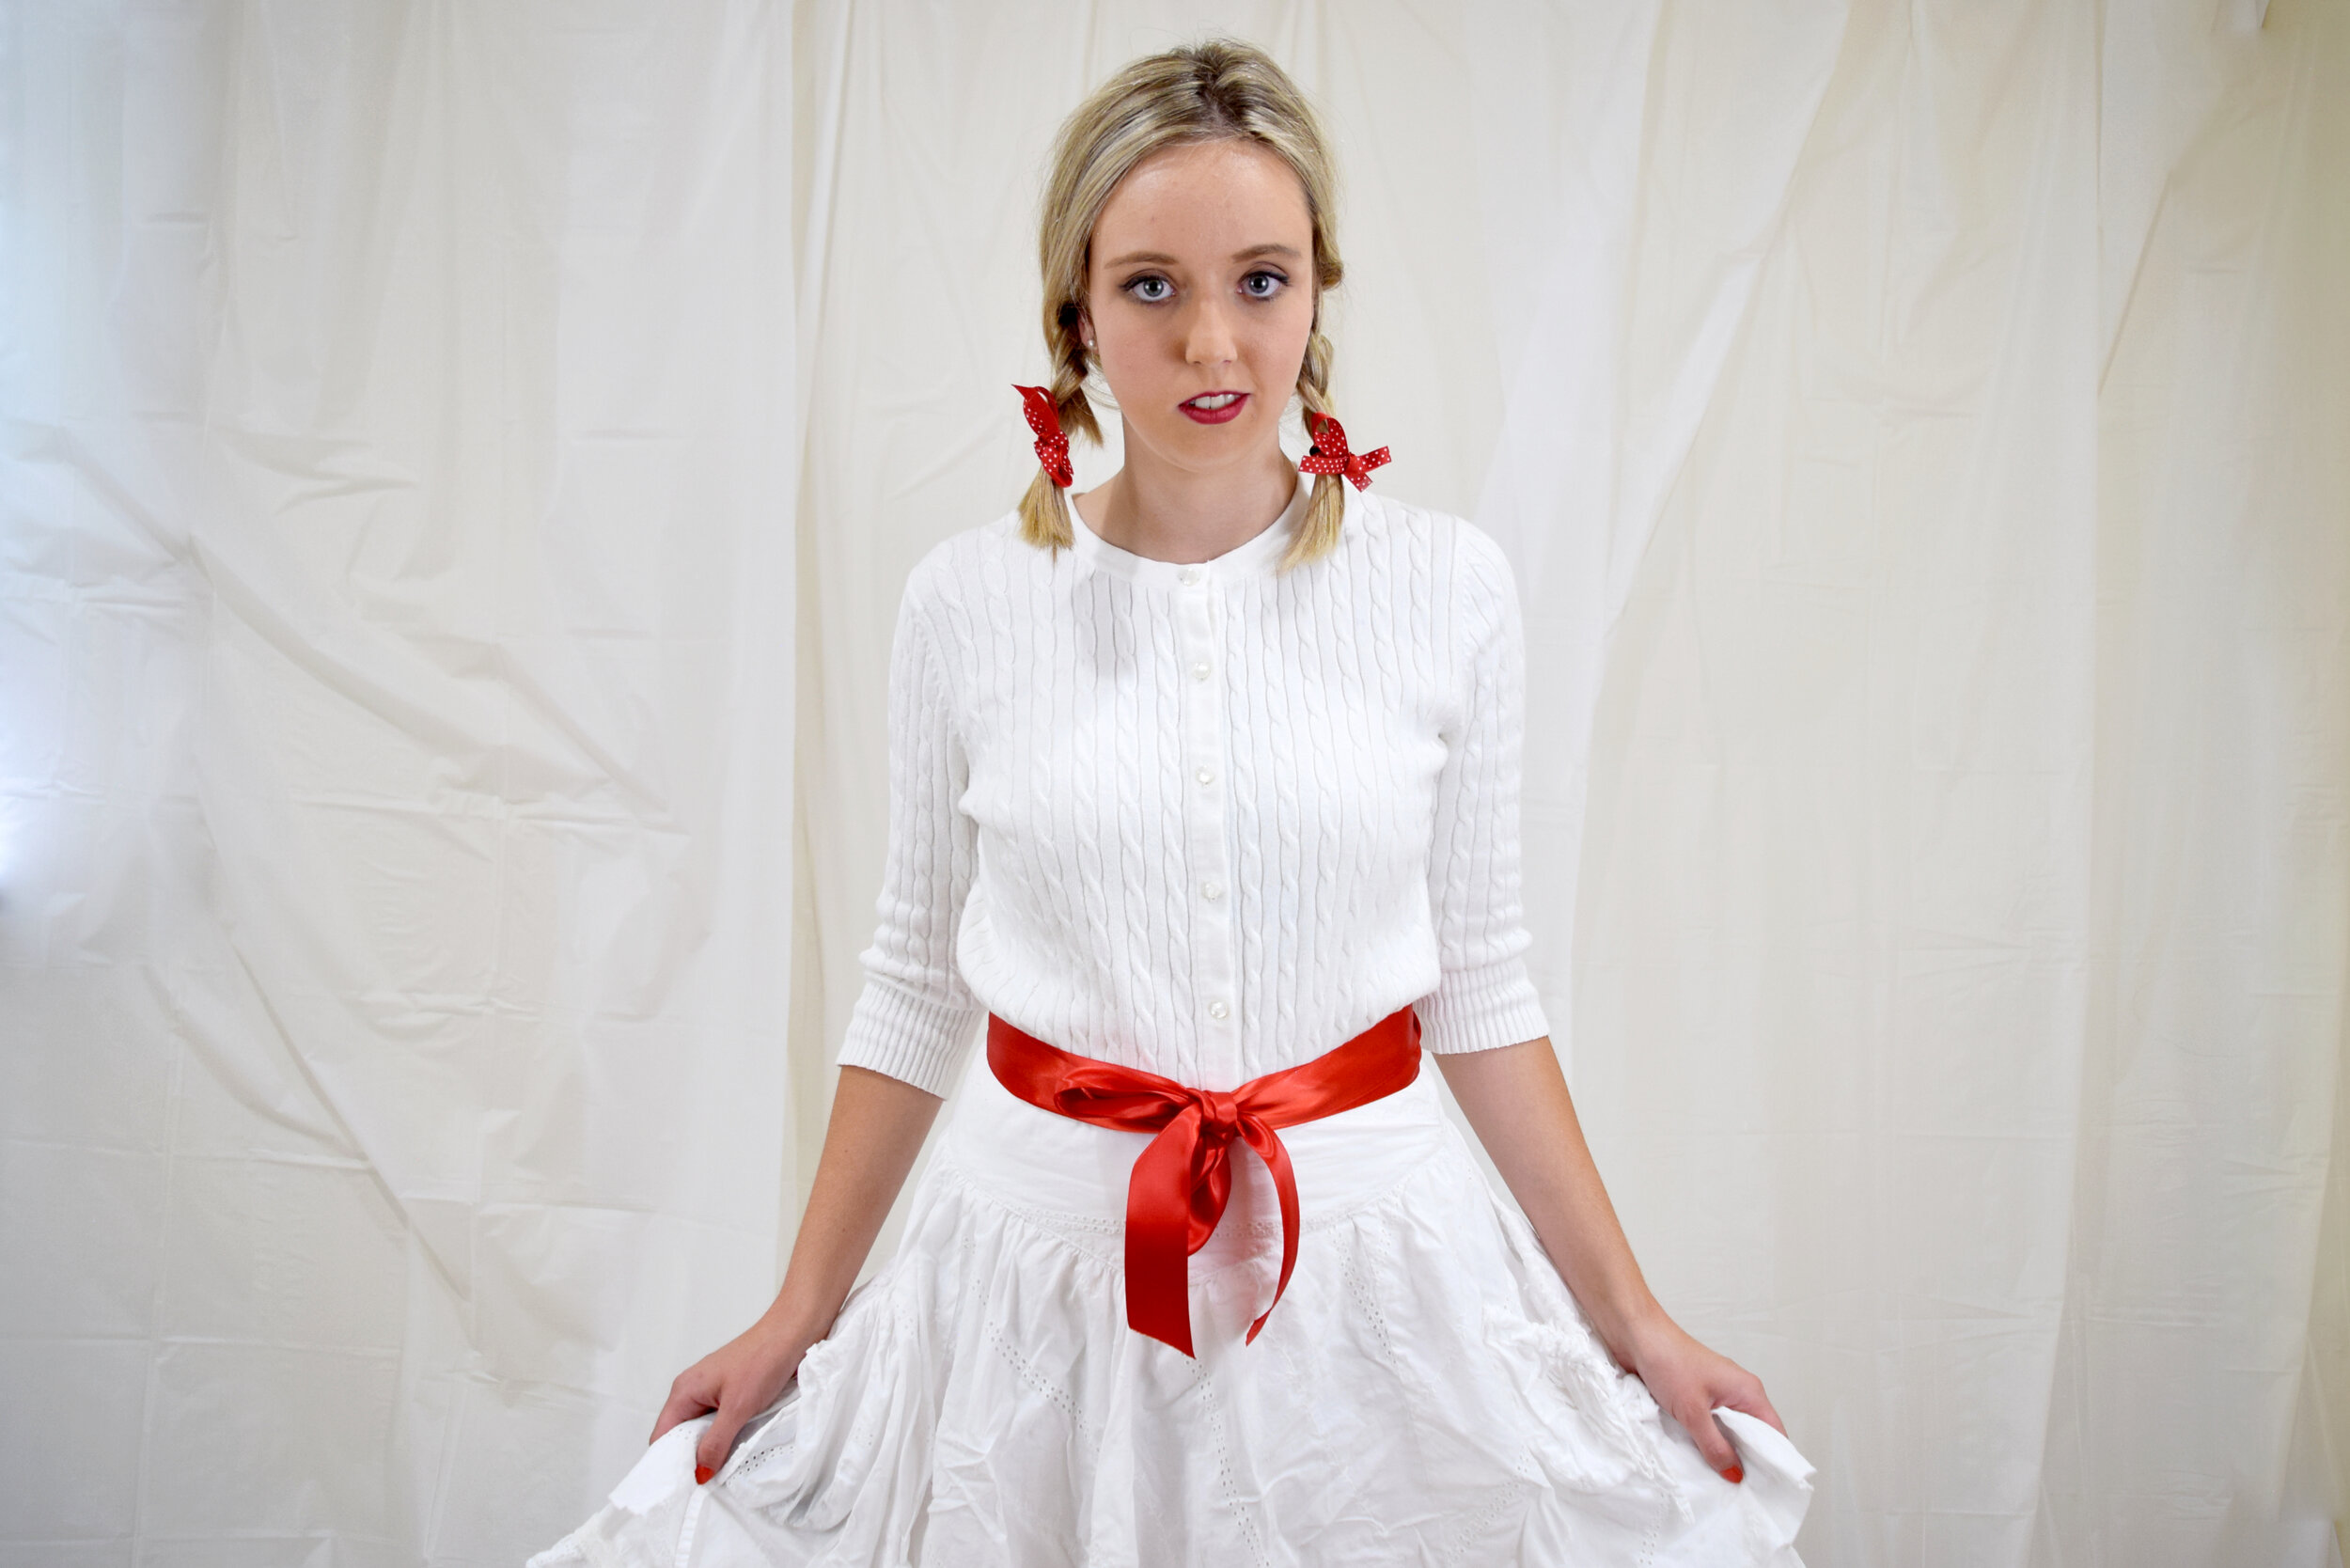
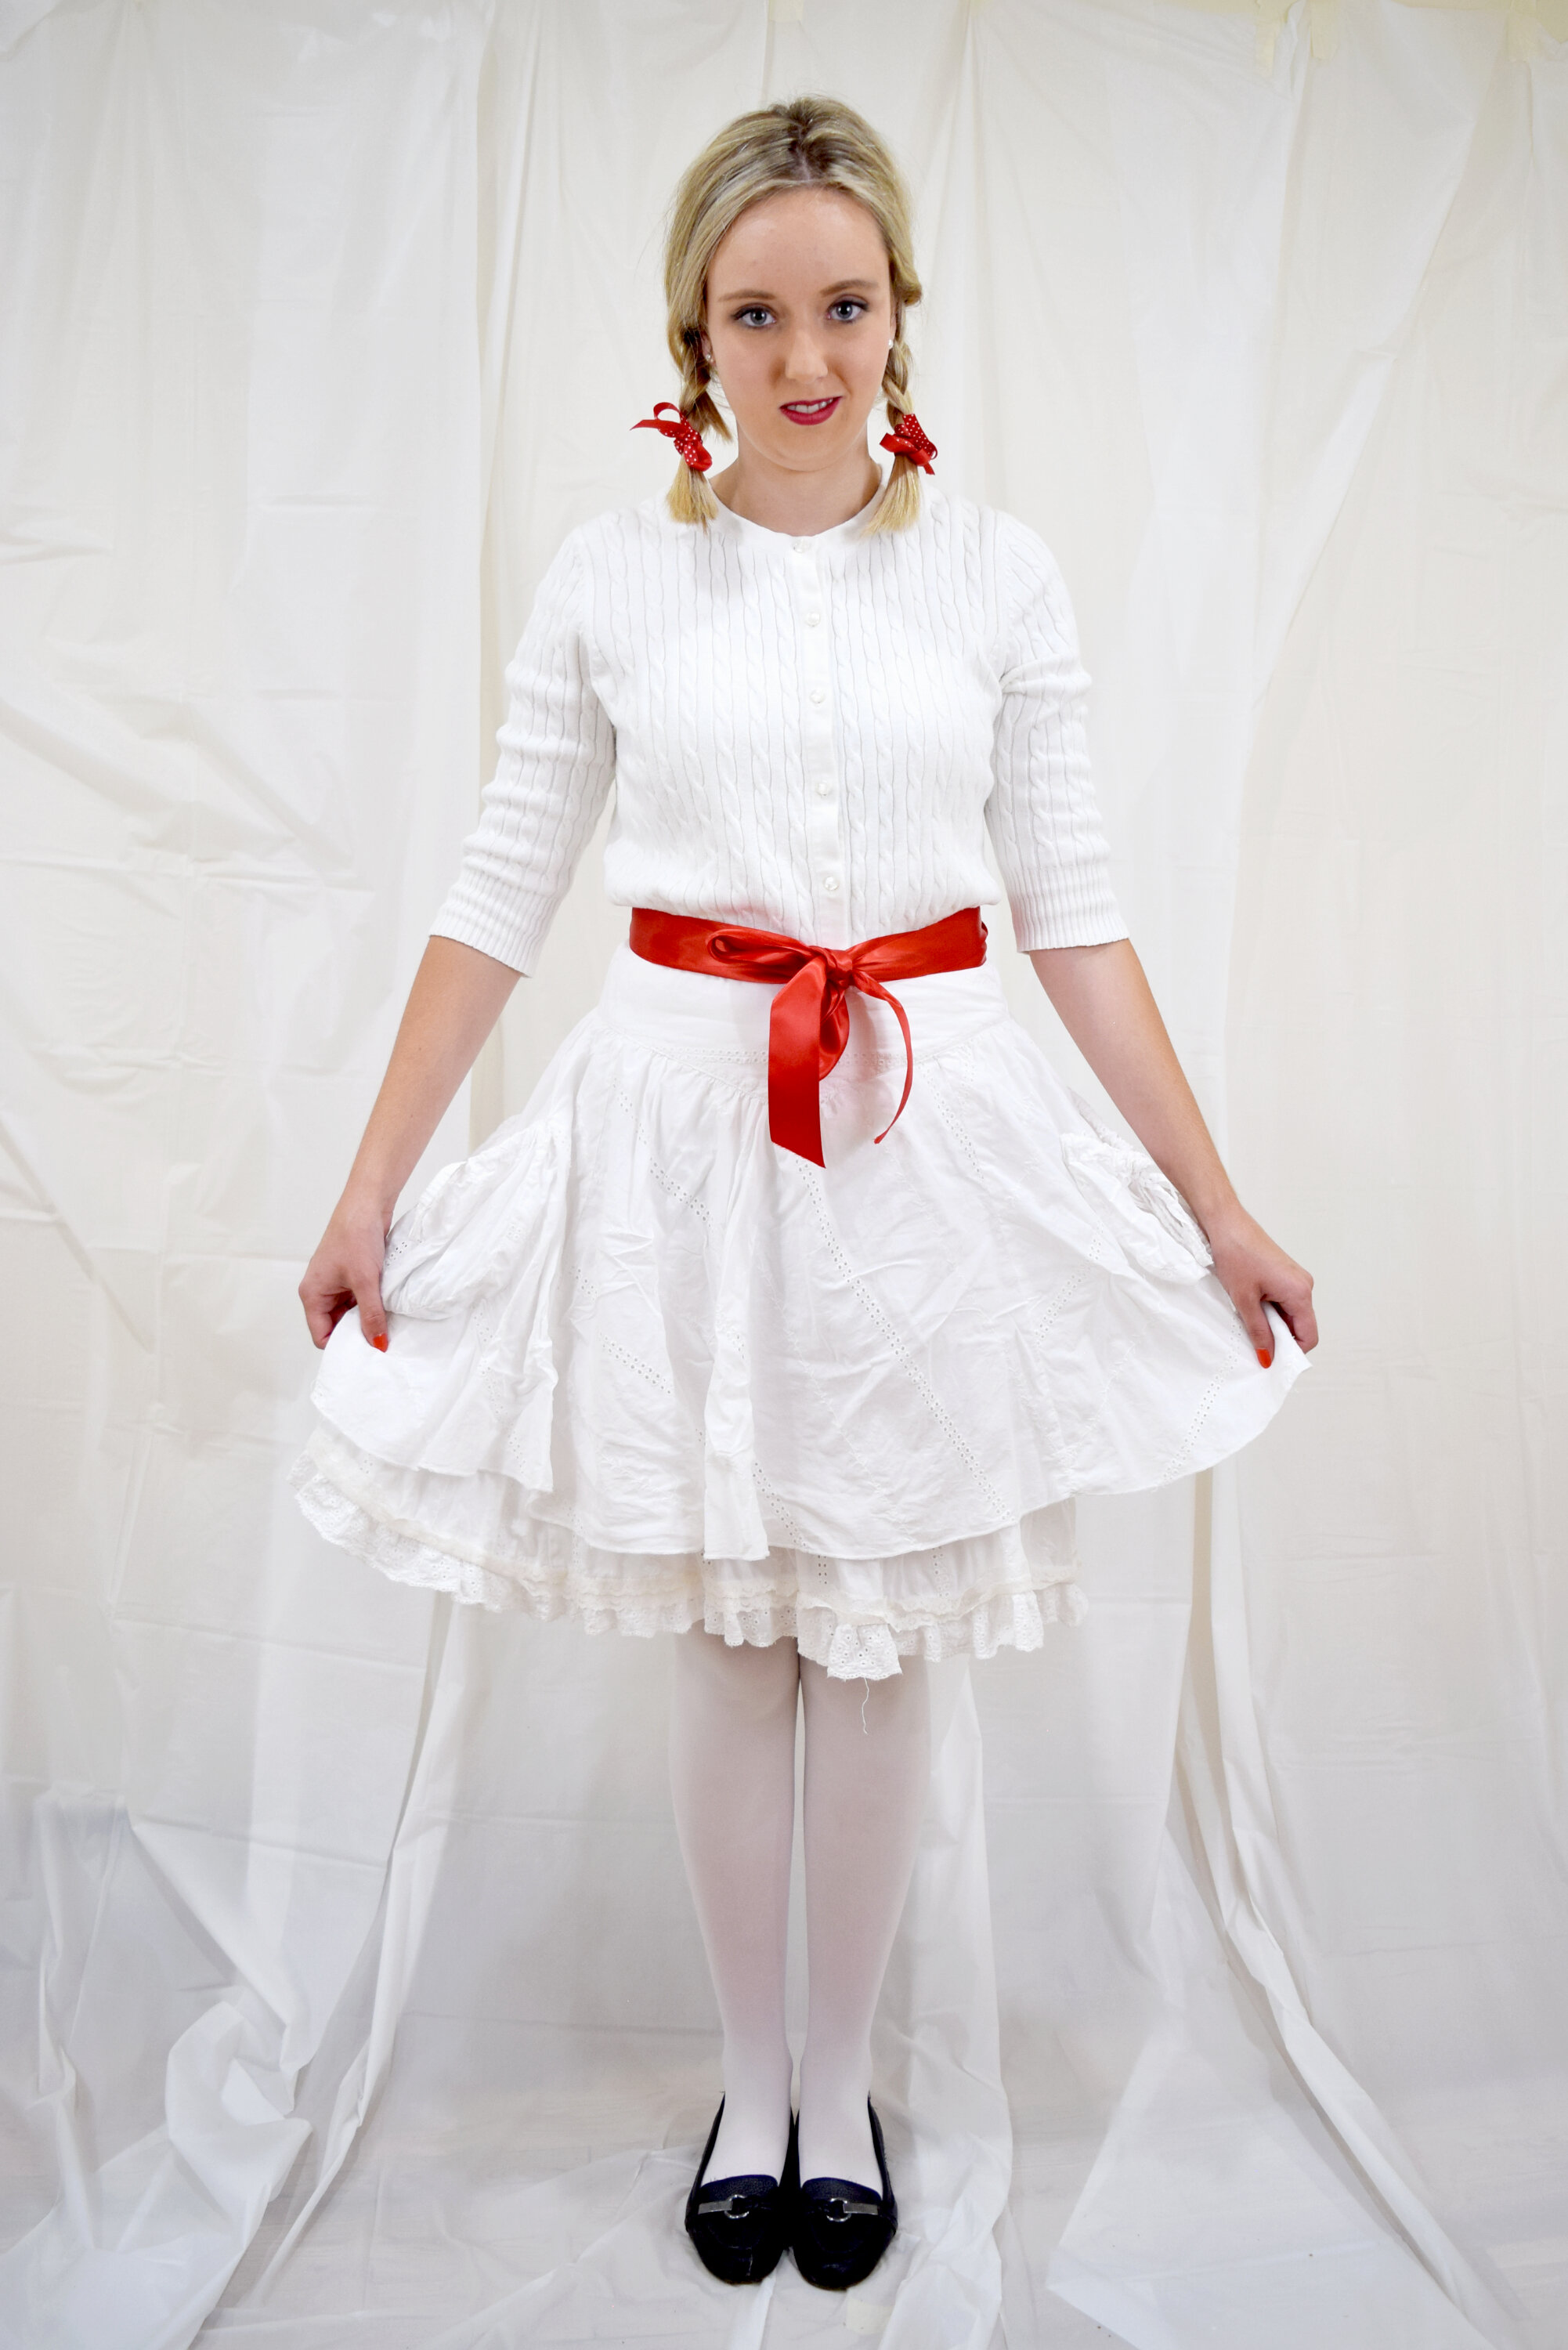
To style this costume, I paired a white cardigan sweater with this white frilly skirt I found at the thrift store and white tights with ballet flats. I’d definitely prefer white flats with this costume, since the black stand out, but they’re all I had in my closet.
Then tied a red bow around my waist and two little bows on the ends of my pigtail braids.
For the sake of filming so many costumes in one day, I didn’t do makeup, but definitely look up a doll makeup tutorial to complete this look!
4) Save the Bees

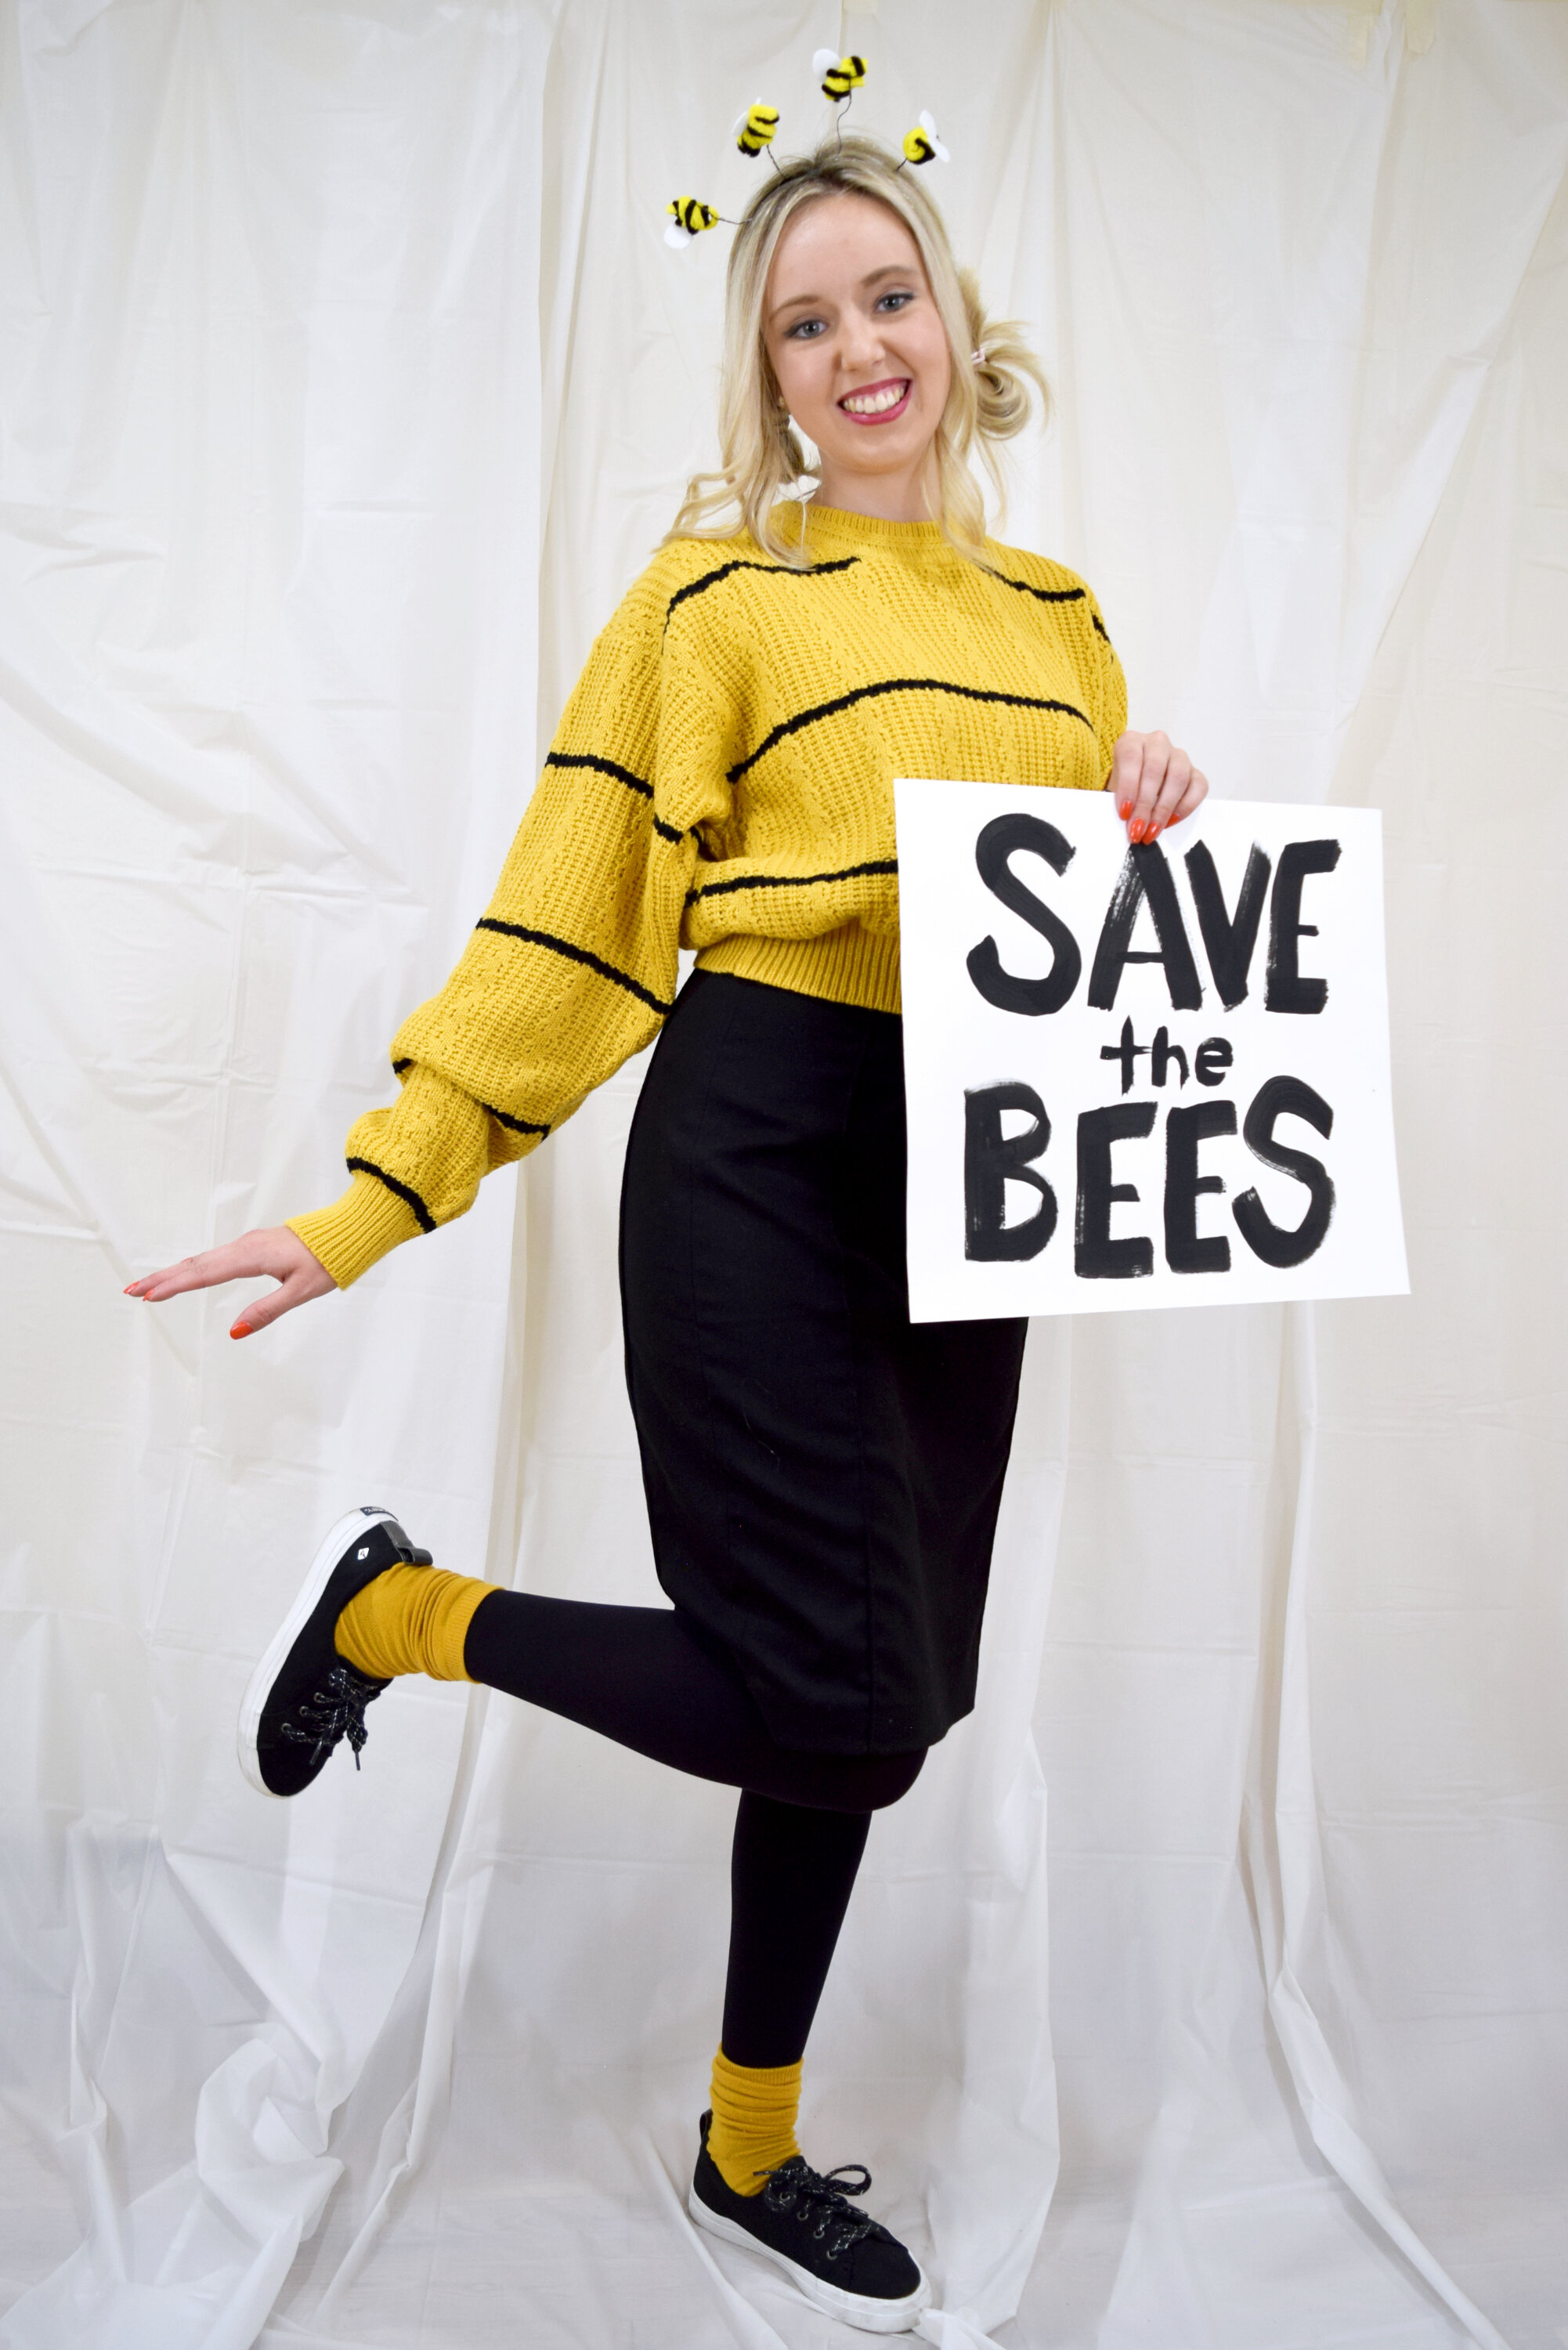
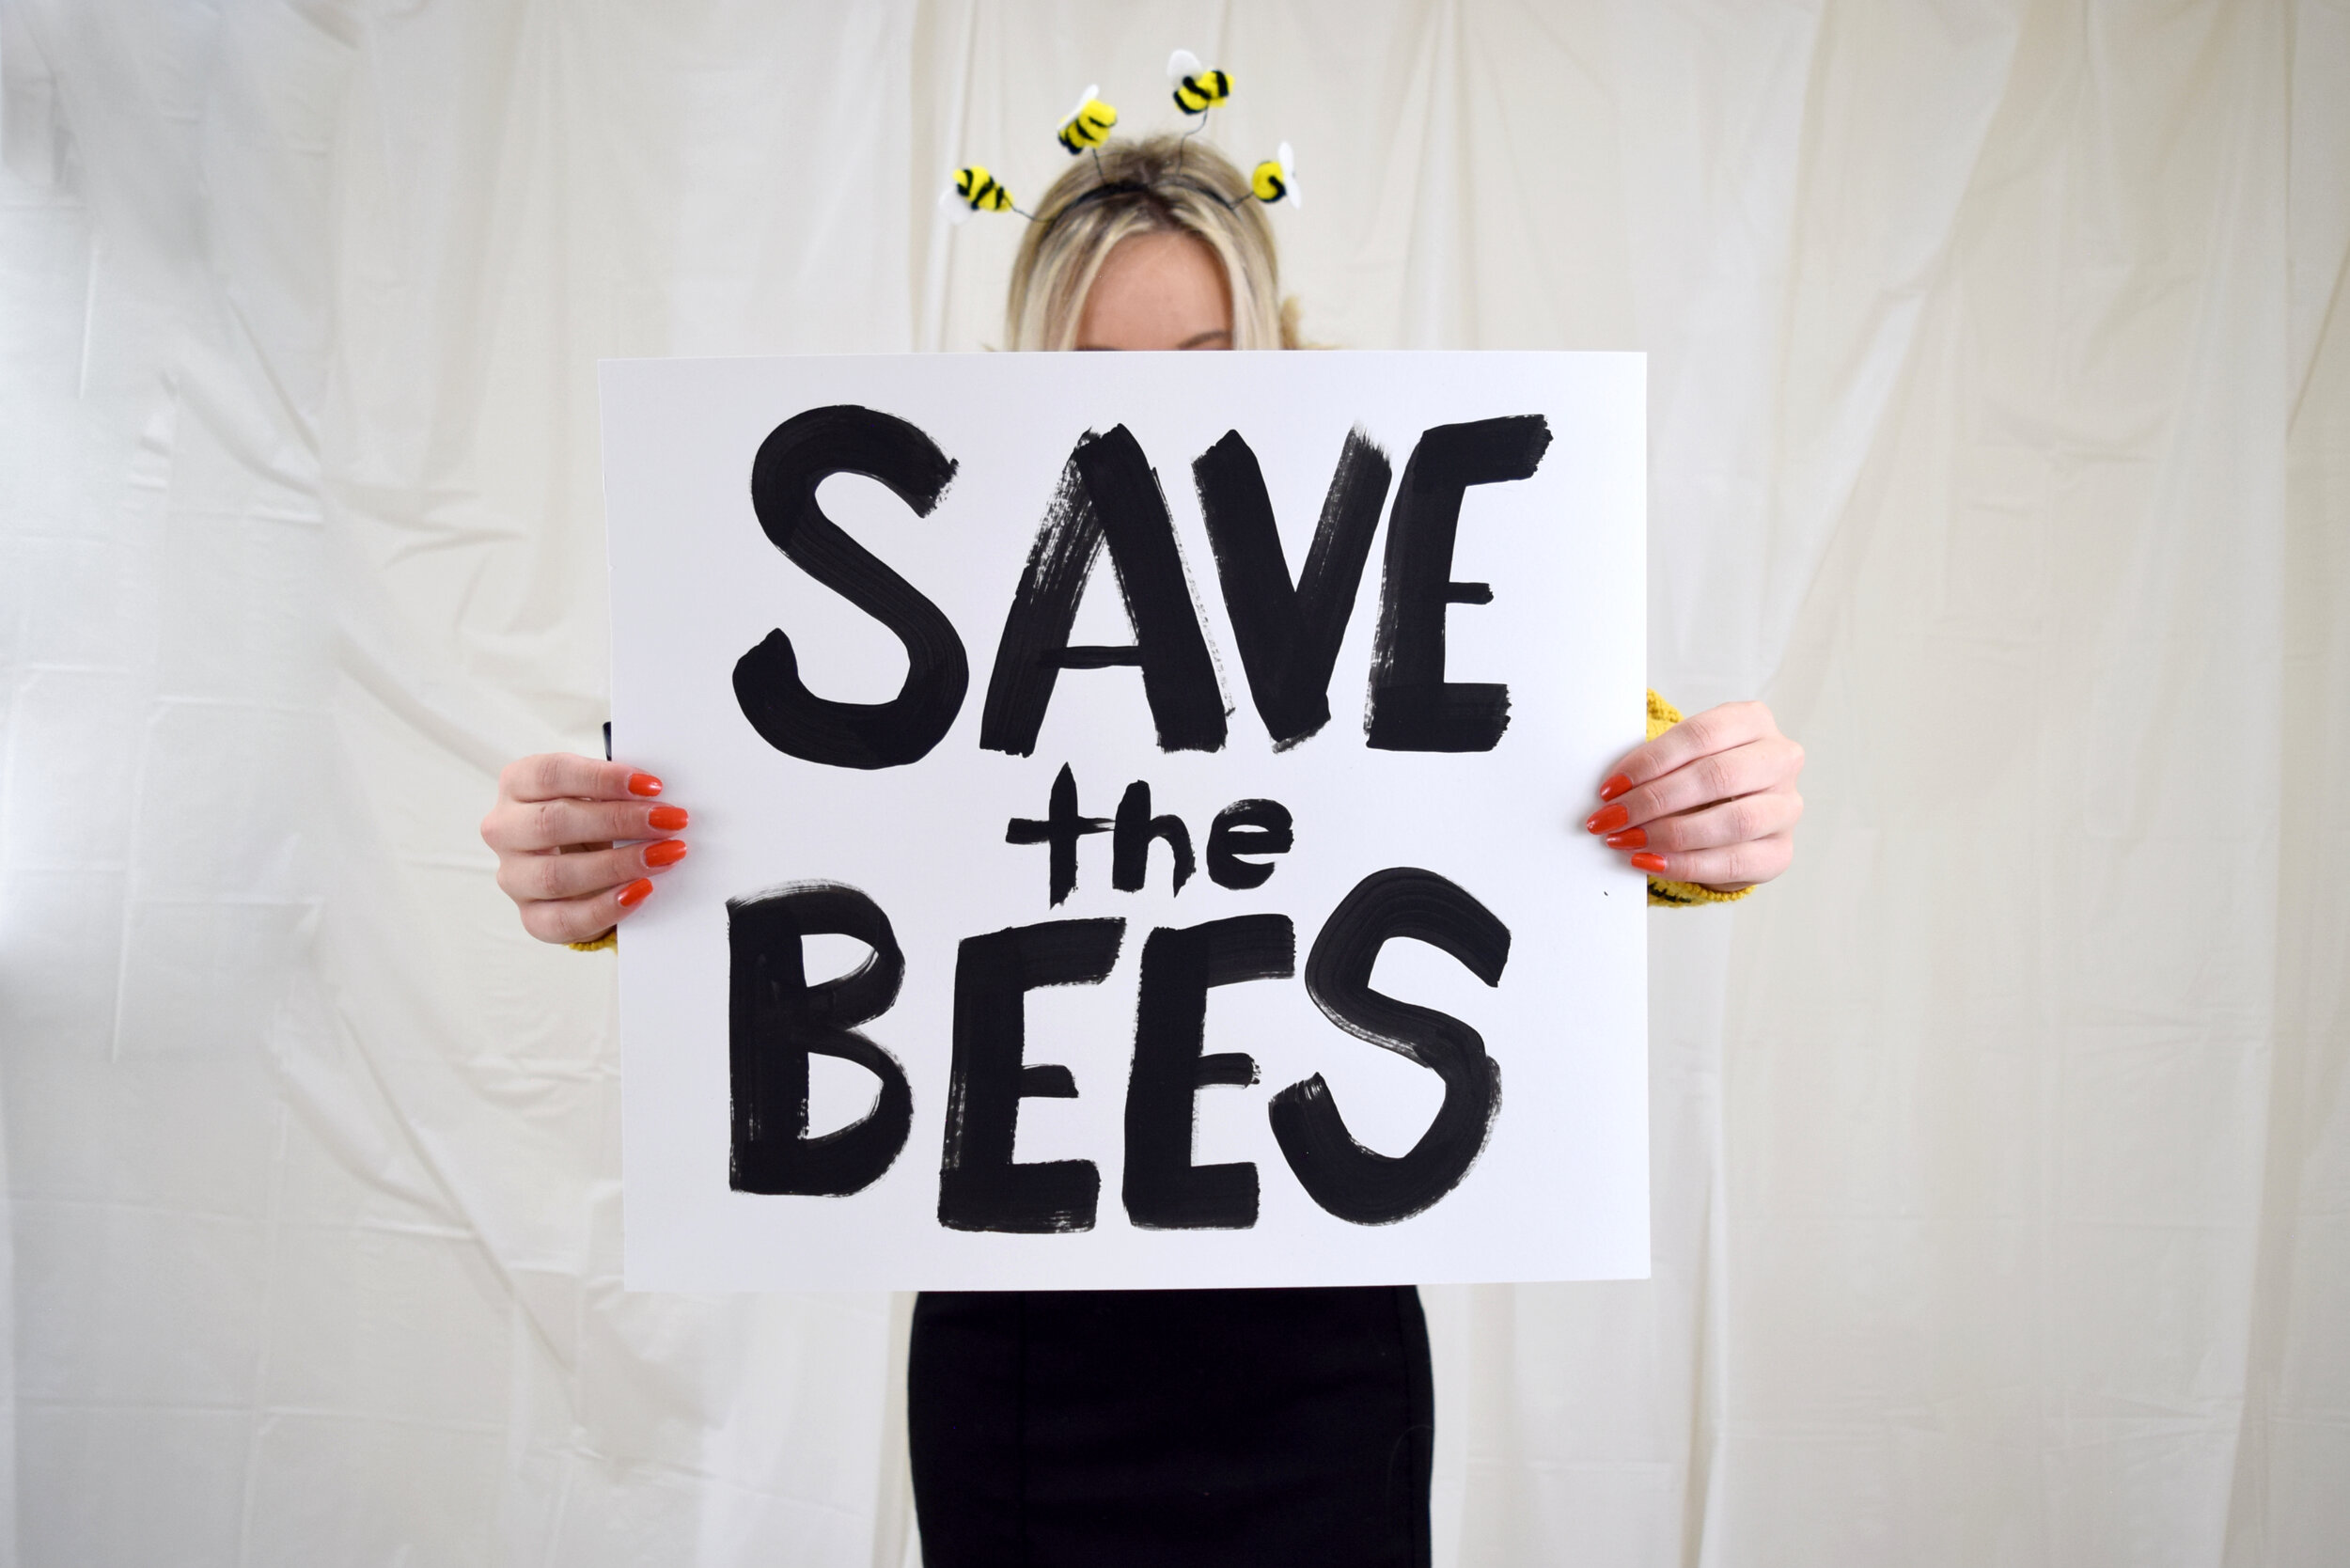
The essential part of this costume is the “save the bees” sign which I just painted onto a poster board with black acrylic paint.
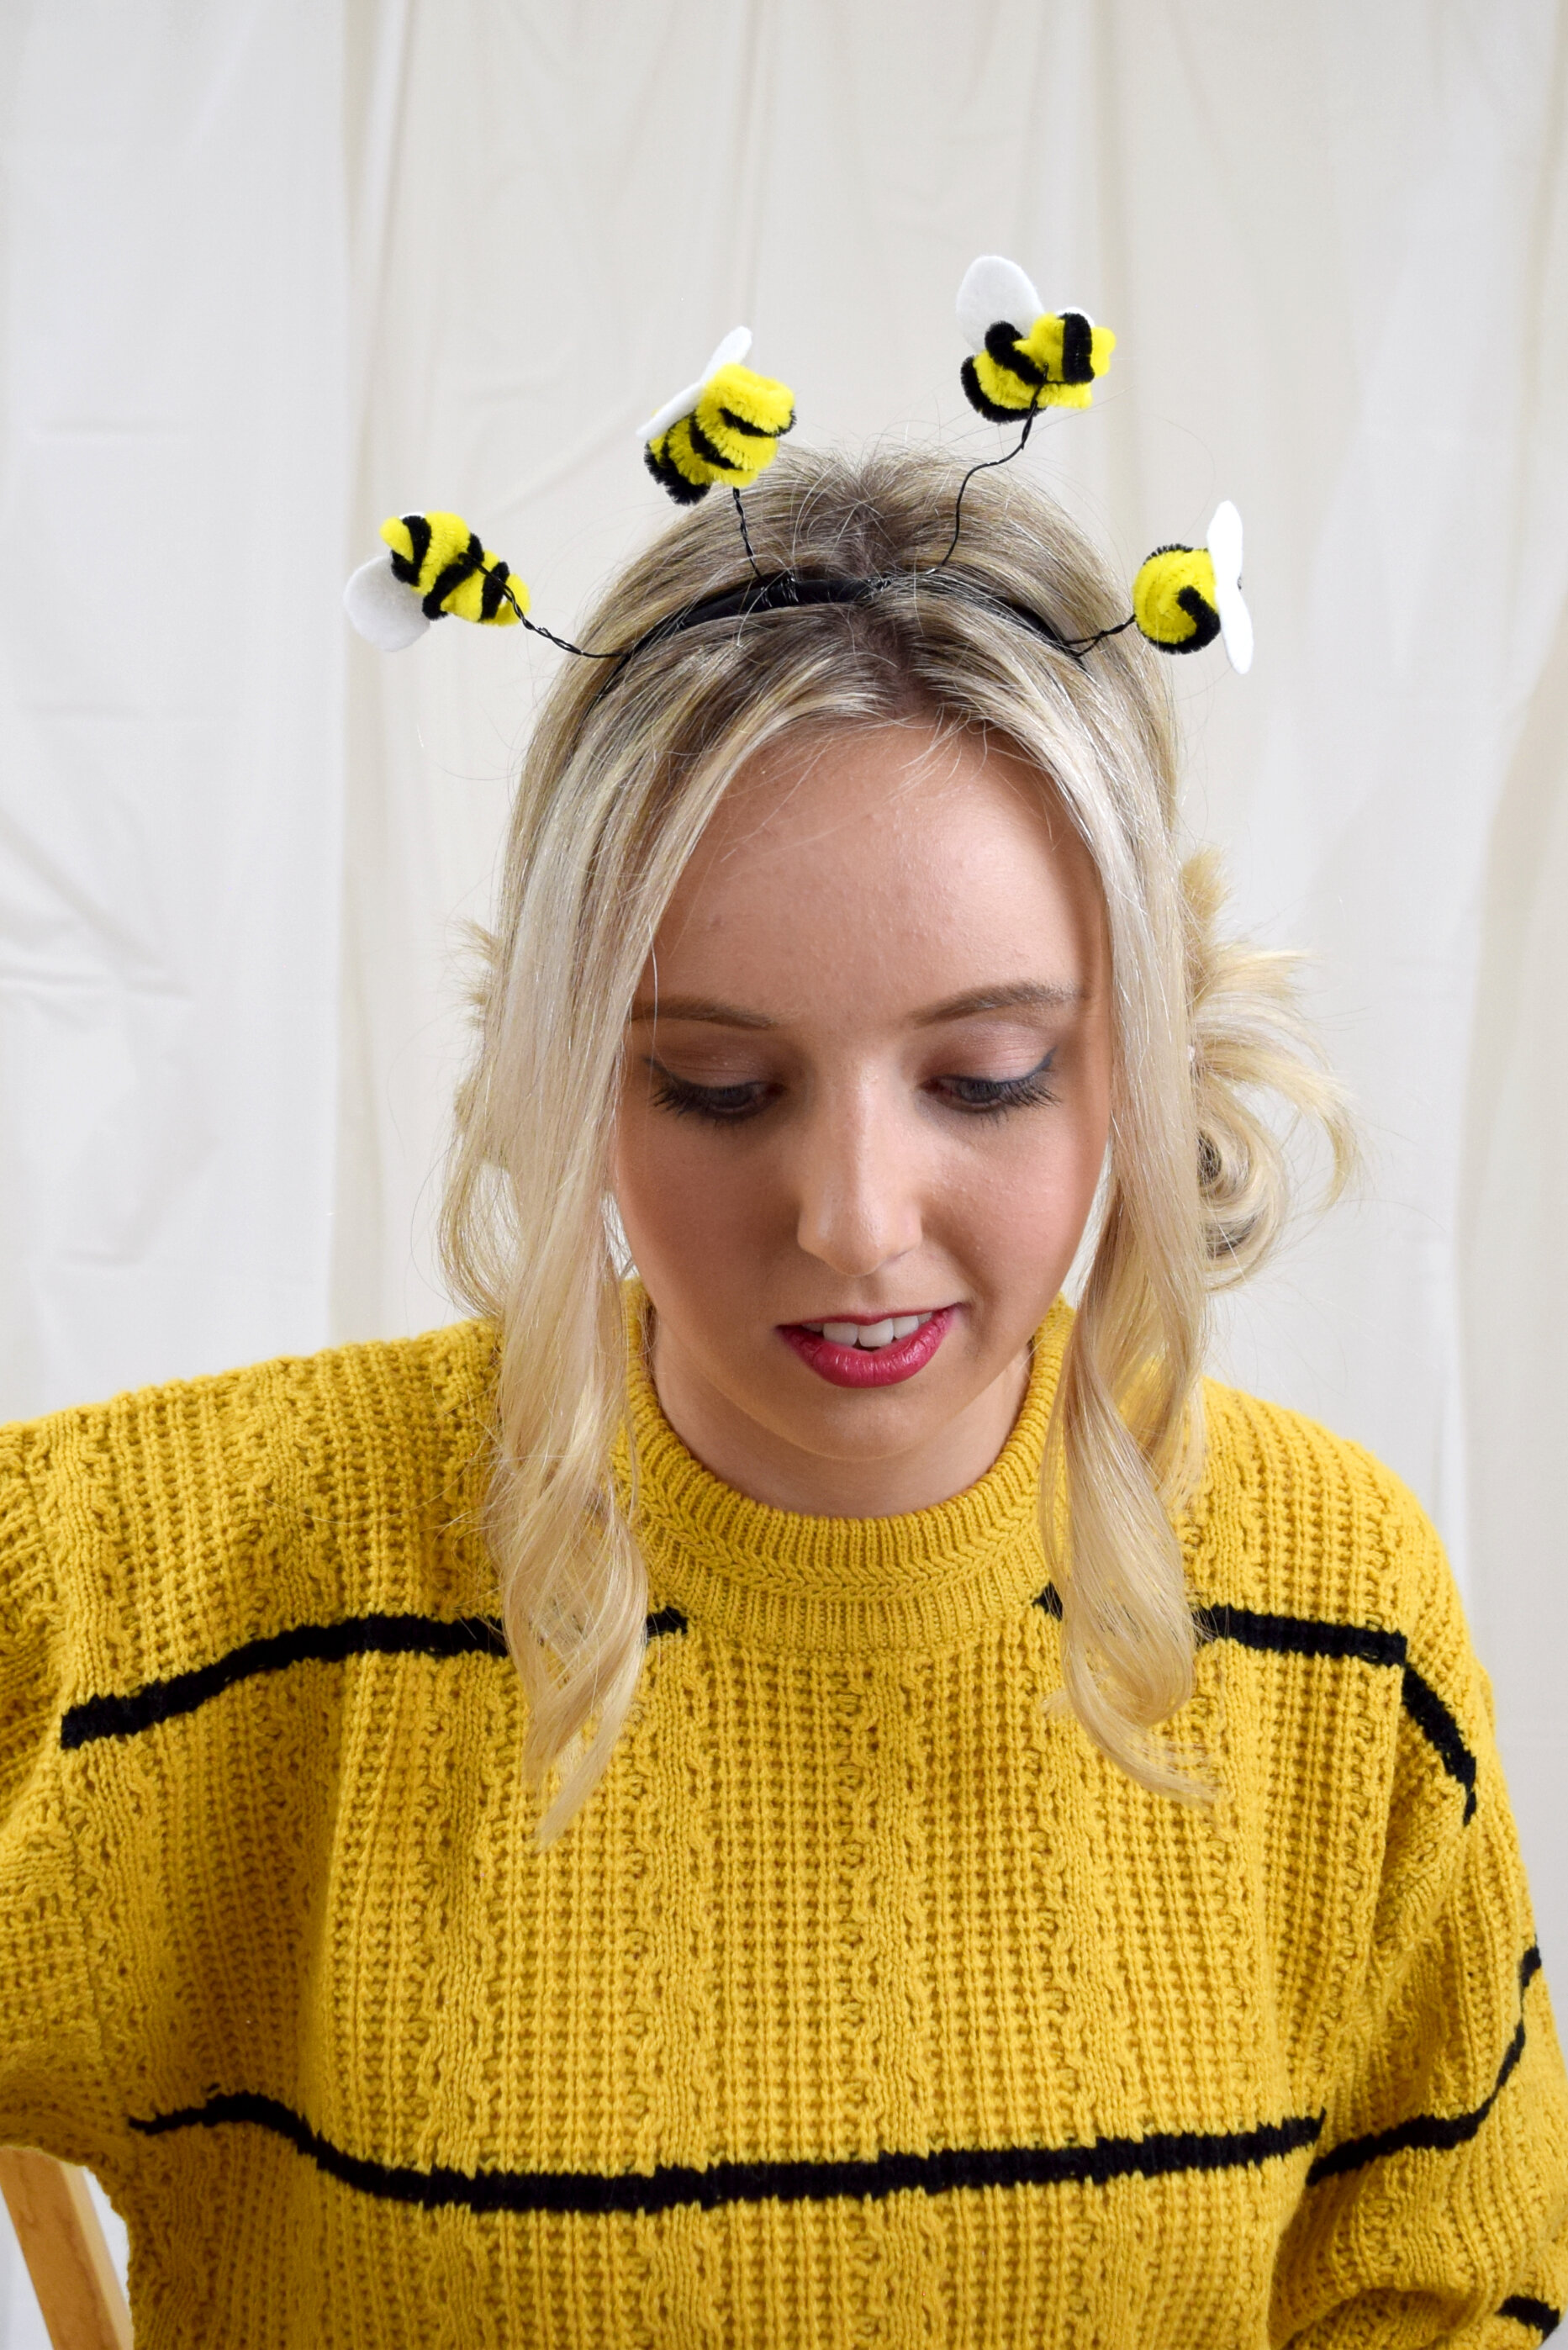
To make the bee headband:
I started by cutting out wings using white felt.
Then I wrapped a yellow pipe cleaner around my finger to make a bee body.
Next, using half a black pipe cleaner, I wrapped that around to add stripes to the bees.
I then hot glued the wings on.
Finally, I took some wire, attached it to the bottom of the bee, and then wrapped it around a headband. And just repeat those steps three more times.
To finish off the look, I wore this yellow and black cropped sweater, a black pencil skirt, black tights, yellow socks, and black sneakers.
It would also look super cute if you added bee wings! I saw some at Dollar Tree which is great since they’re only $1!
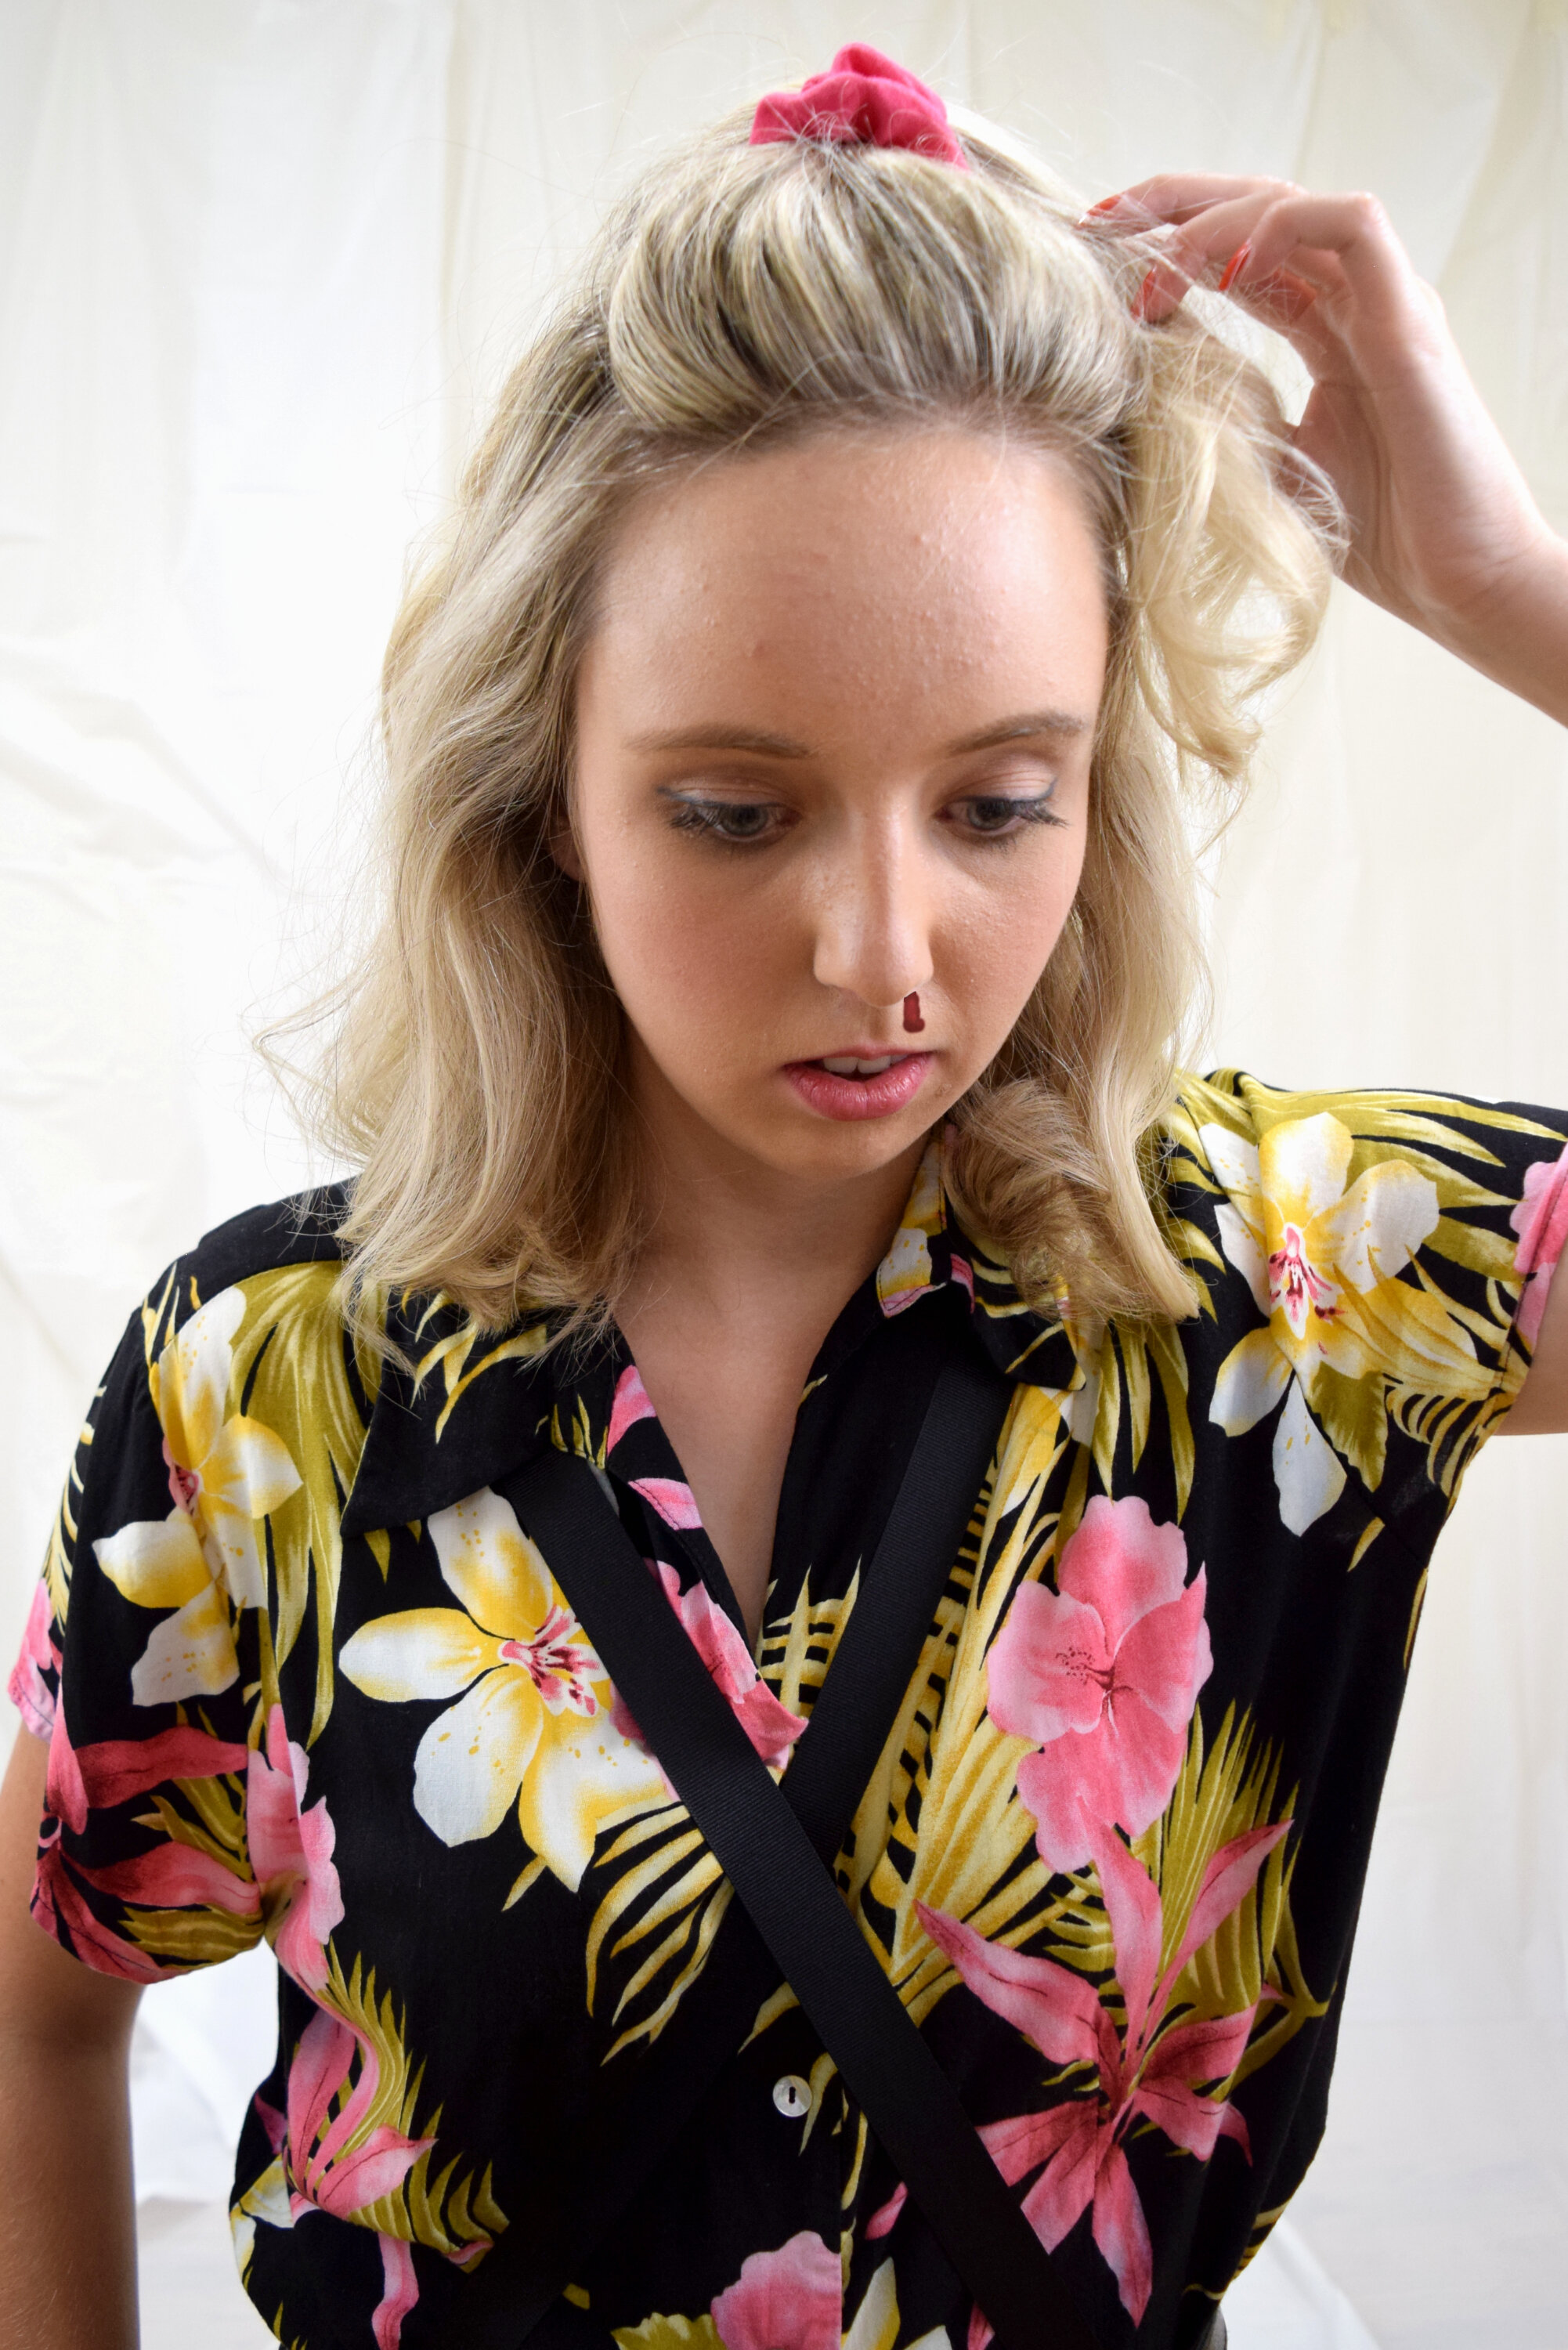
5) Stranger Things 3 Eleven
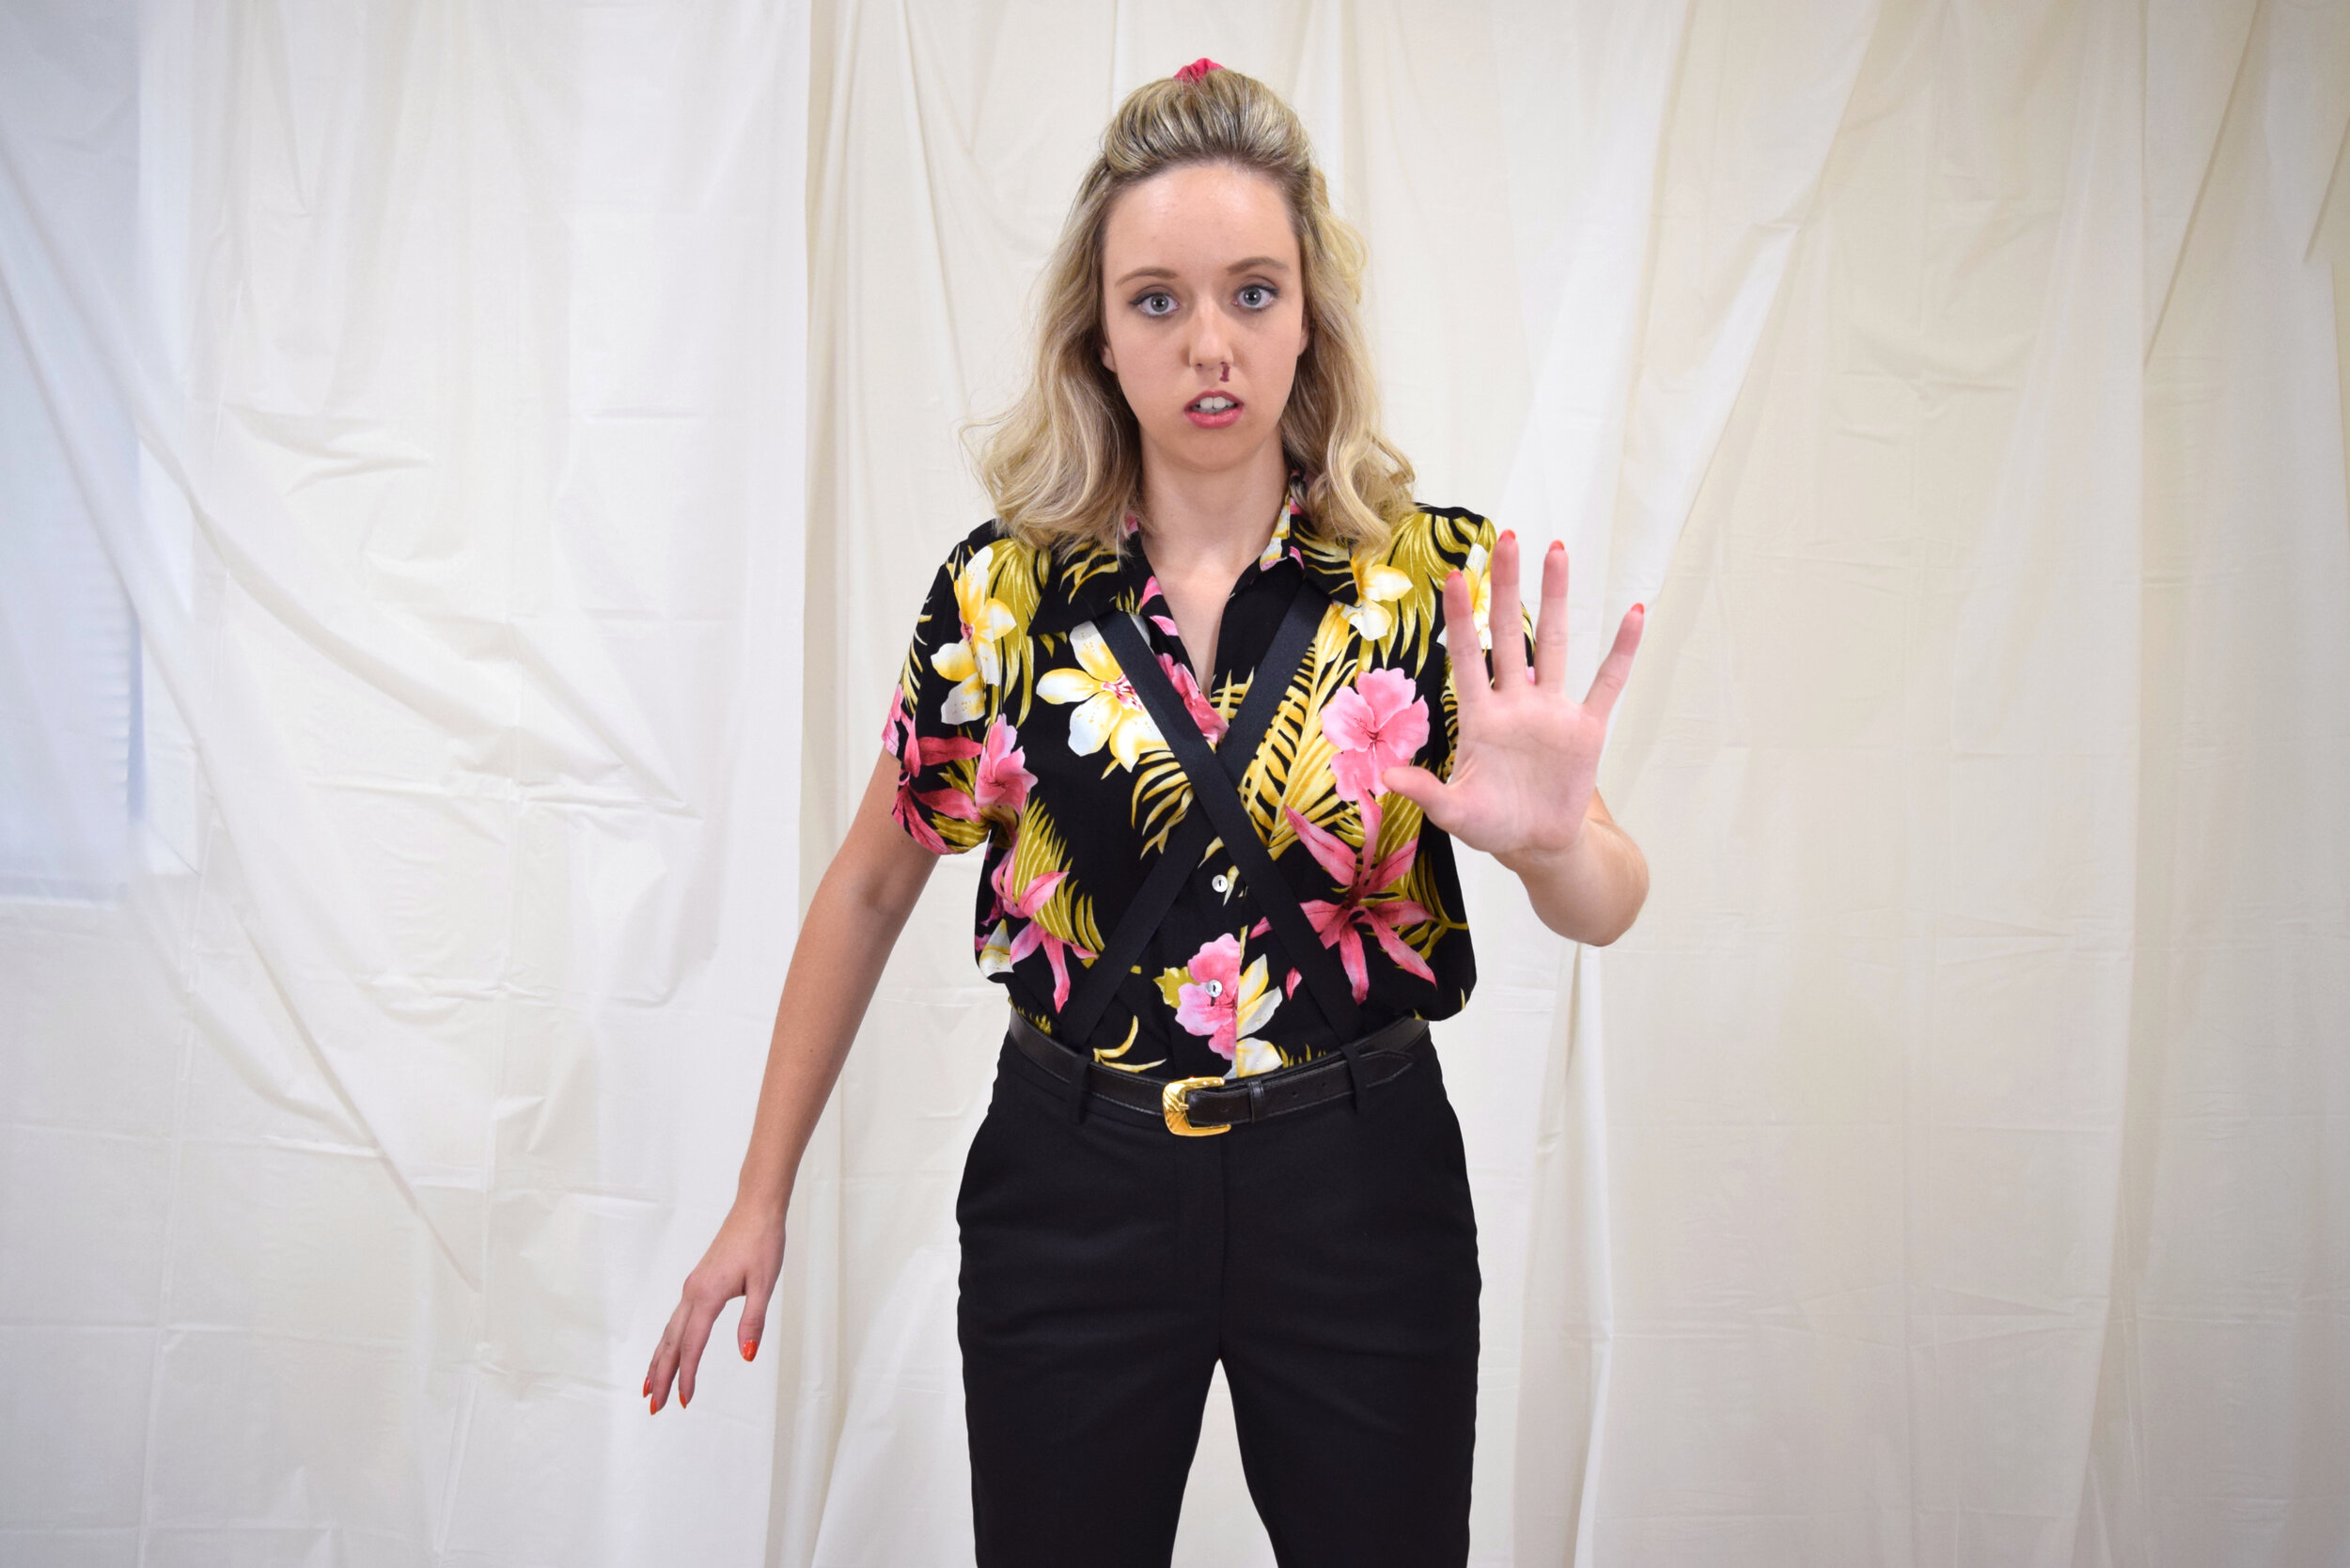
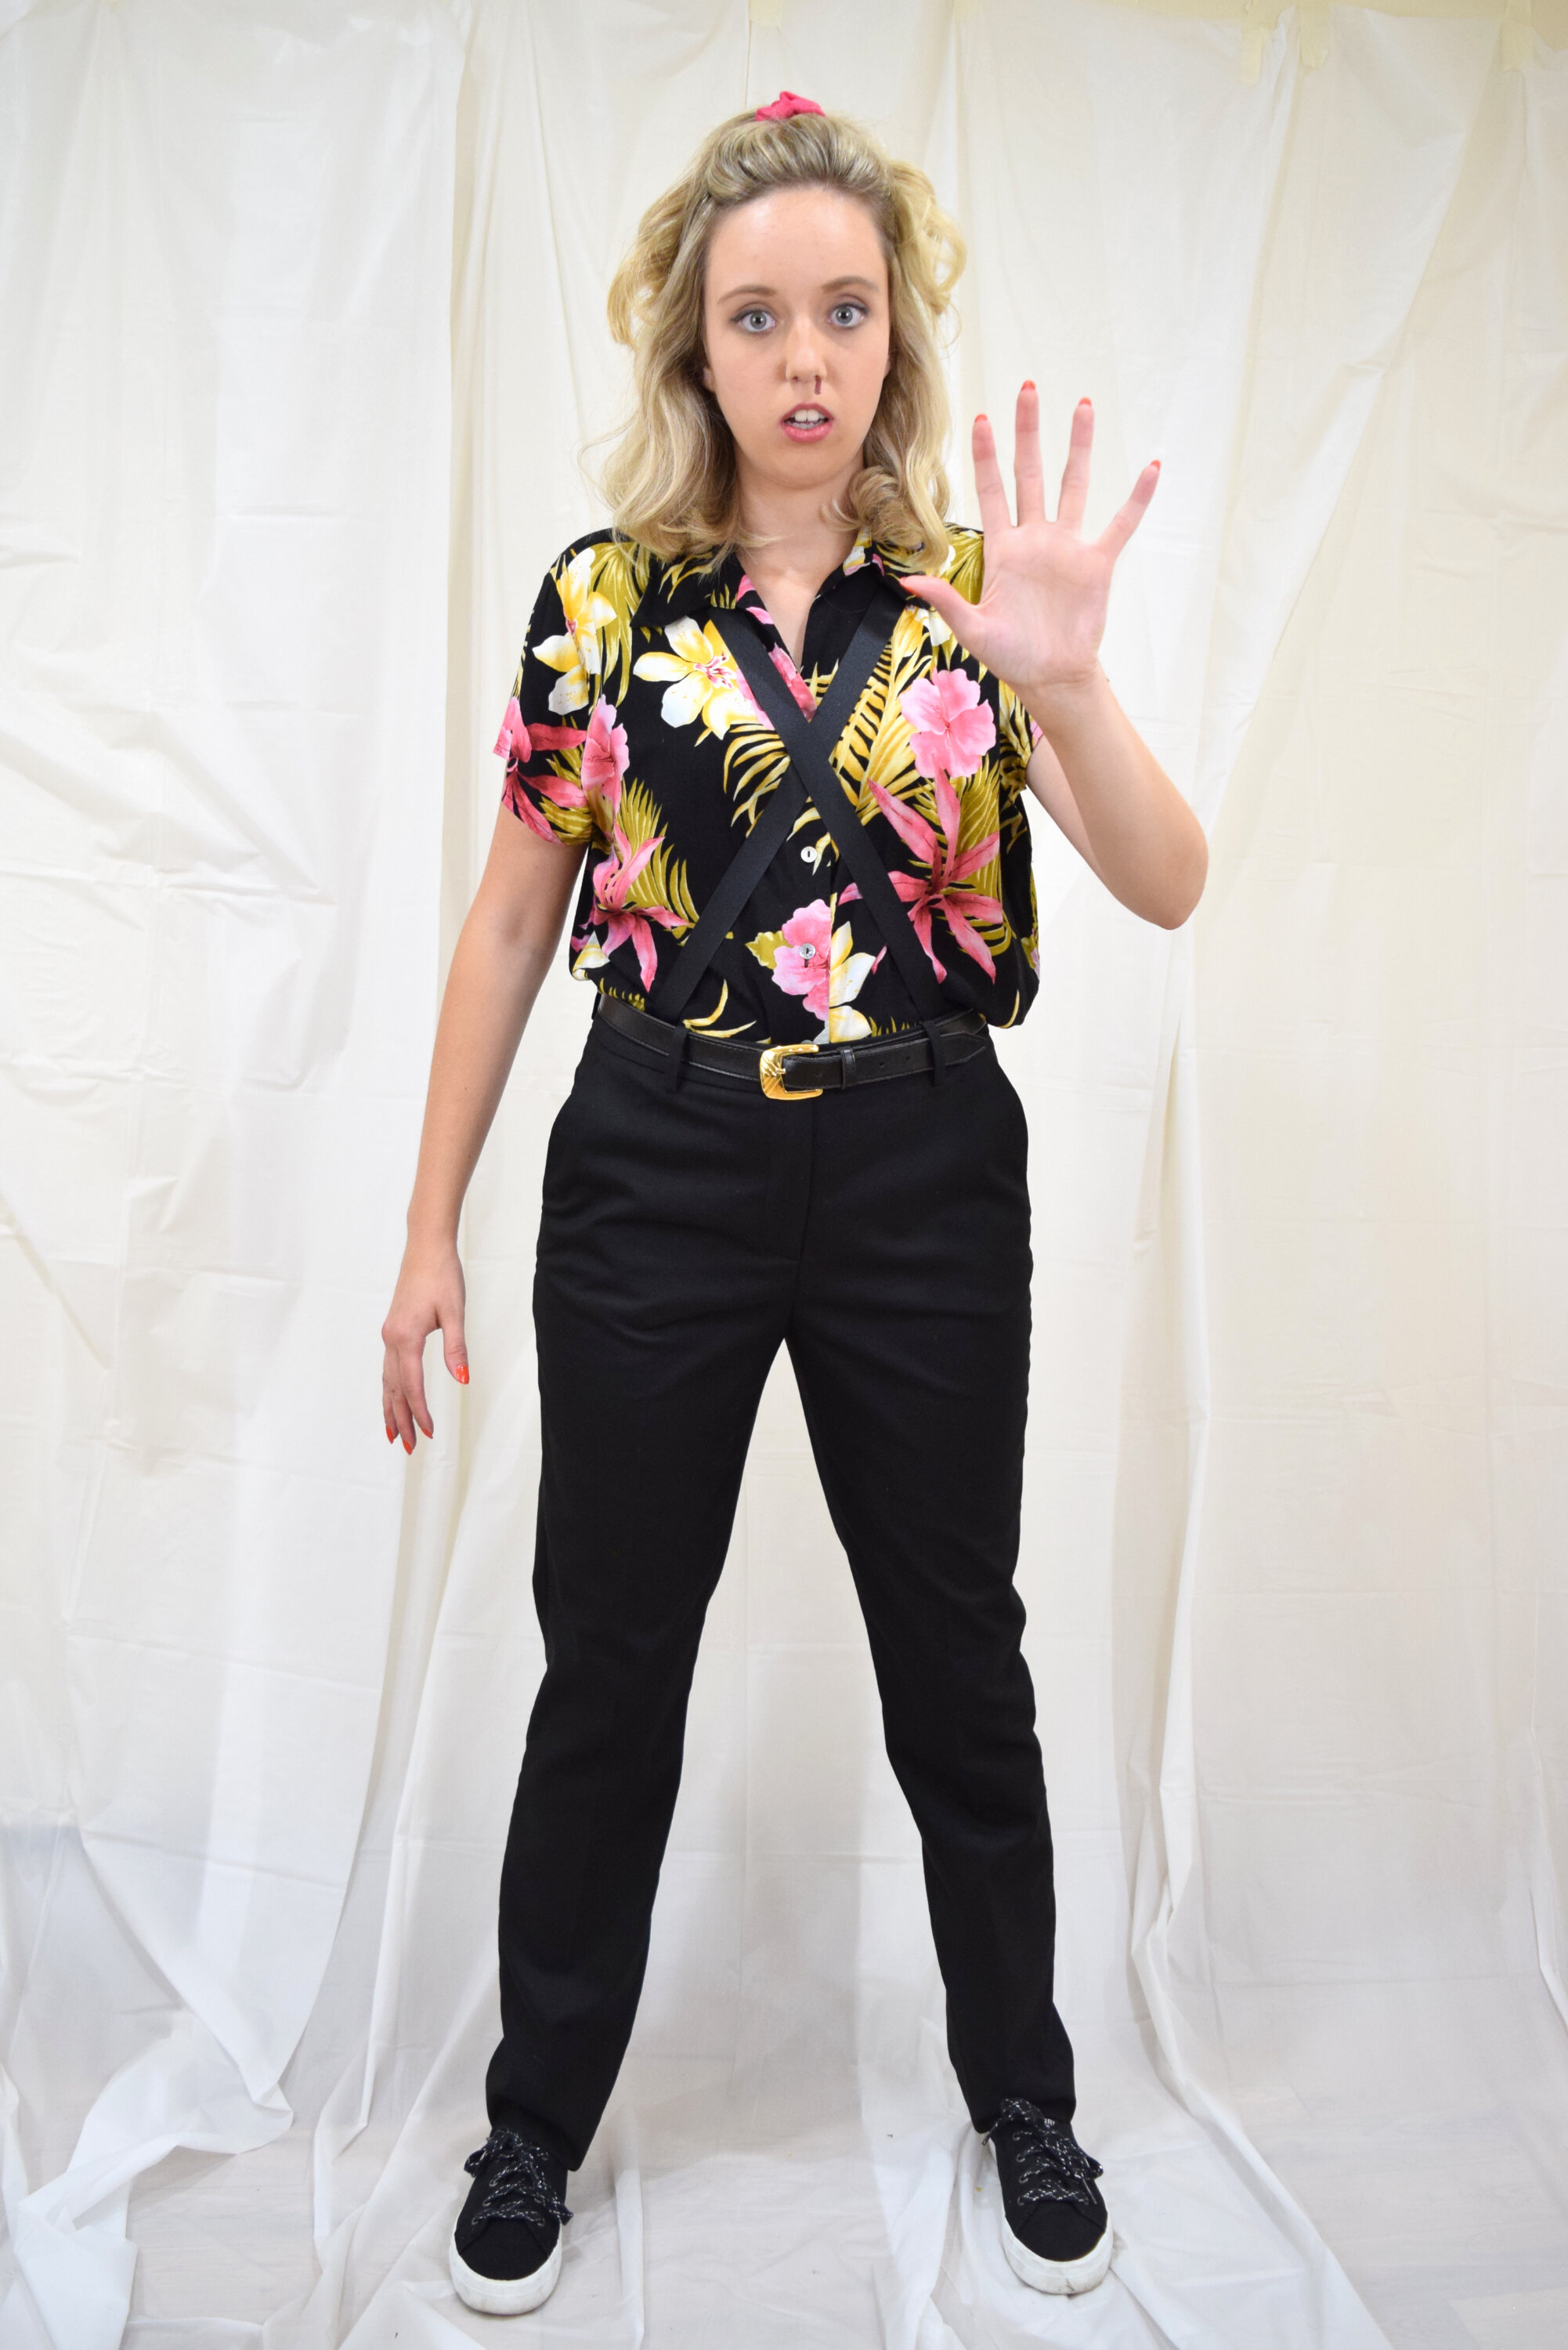
Of course I binged Stranger Things 3 as soon as it came out. And since I couldn’t stop thinking about it, I knew I needed to come up with an Eleven costume!
I wore a thrifted 80s-inspired button up in yellow tones… You could also TOTALLY DIY El’s top with a yellow button-up and some black paint.
I then added some black-high waisted pants, yellow socks and sneakers. While Eleven doesn’t wear a scrunchie with this look, I just wanted to add one since she does wear a scrunchie in the season.
Finally, I made El’s criss cross suspenders by taking two pieces of black ribbon and safety pinning them in the back and front. No need to buy fancy suspenders at all.
6) Cowboy

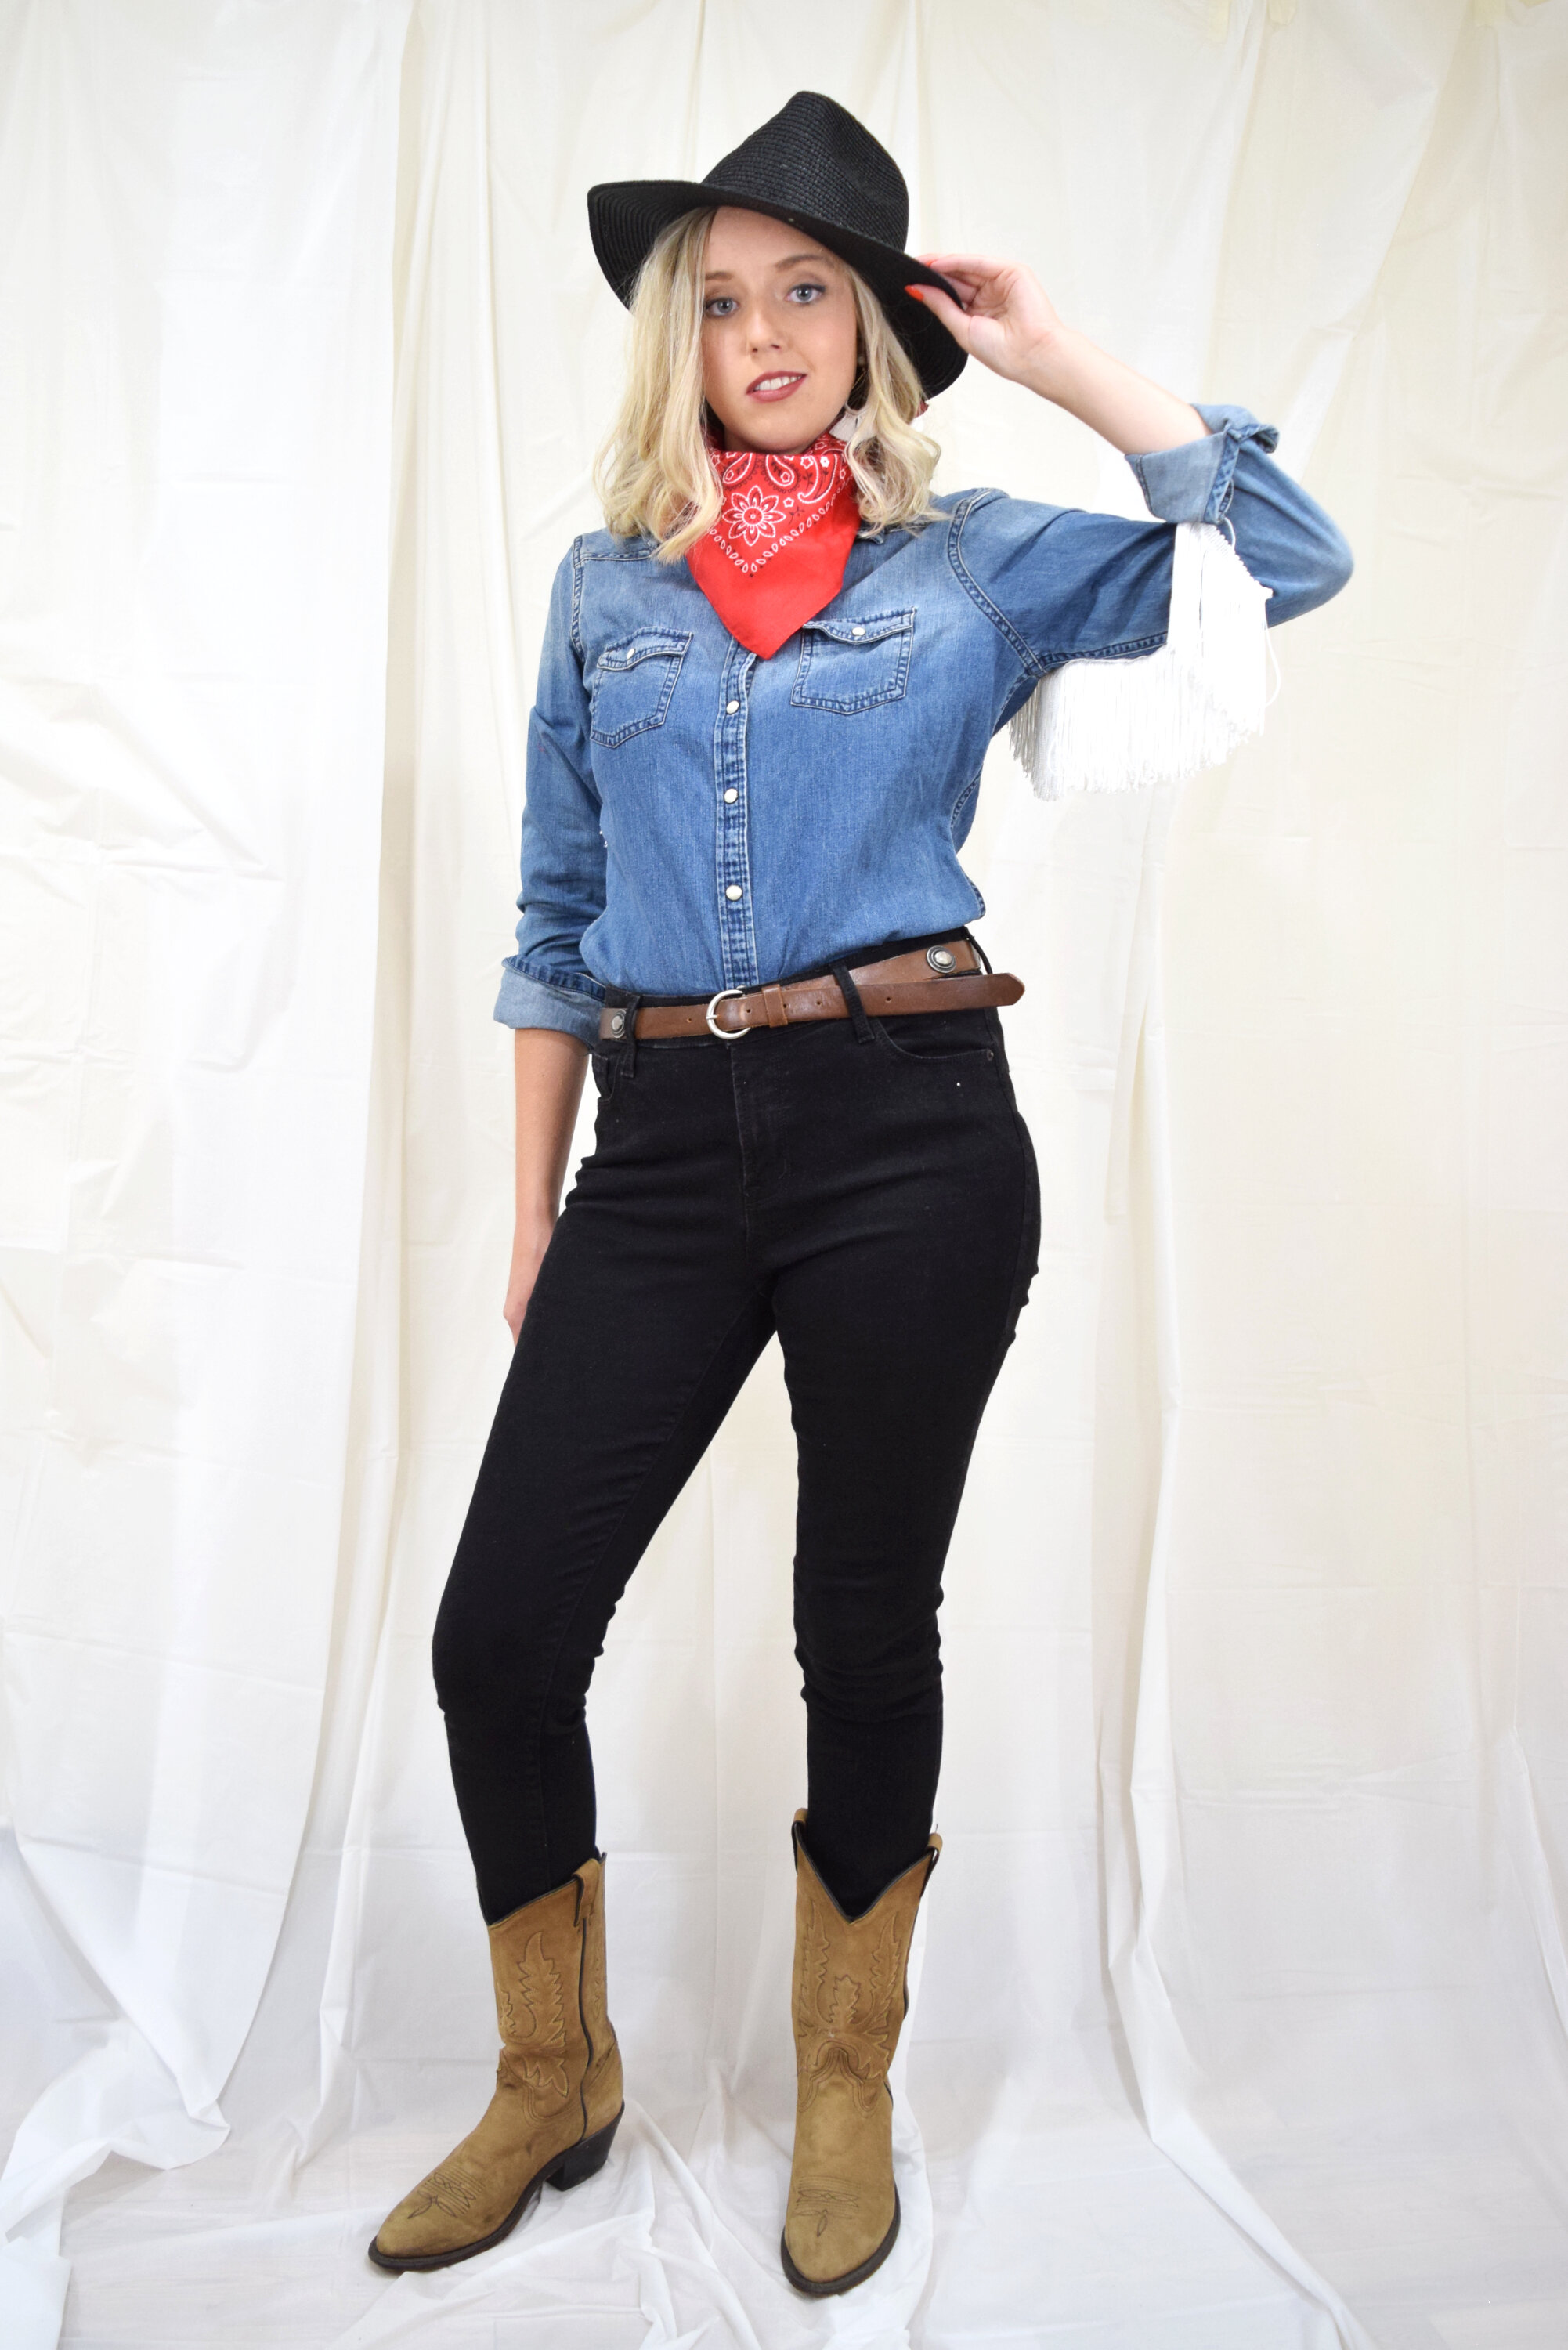
So I definitely also wanted to make an Old Town Road-inspired costume since it was so popular this year.
The first thing I did was DIY this fringed top by simply sewing fringe along the back of the shirt and down the bottom seams of both sleeves.
I paired the top with black jeans, a leather belt, my cowboy boots and a red bandana.
You’re also going to need a cowboy hat, and I added some big tassel earrings to match with the fringe.
7) Detective Pikachu
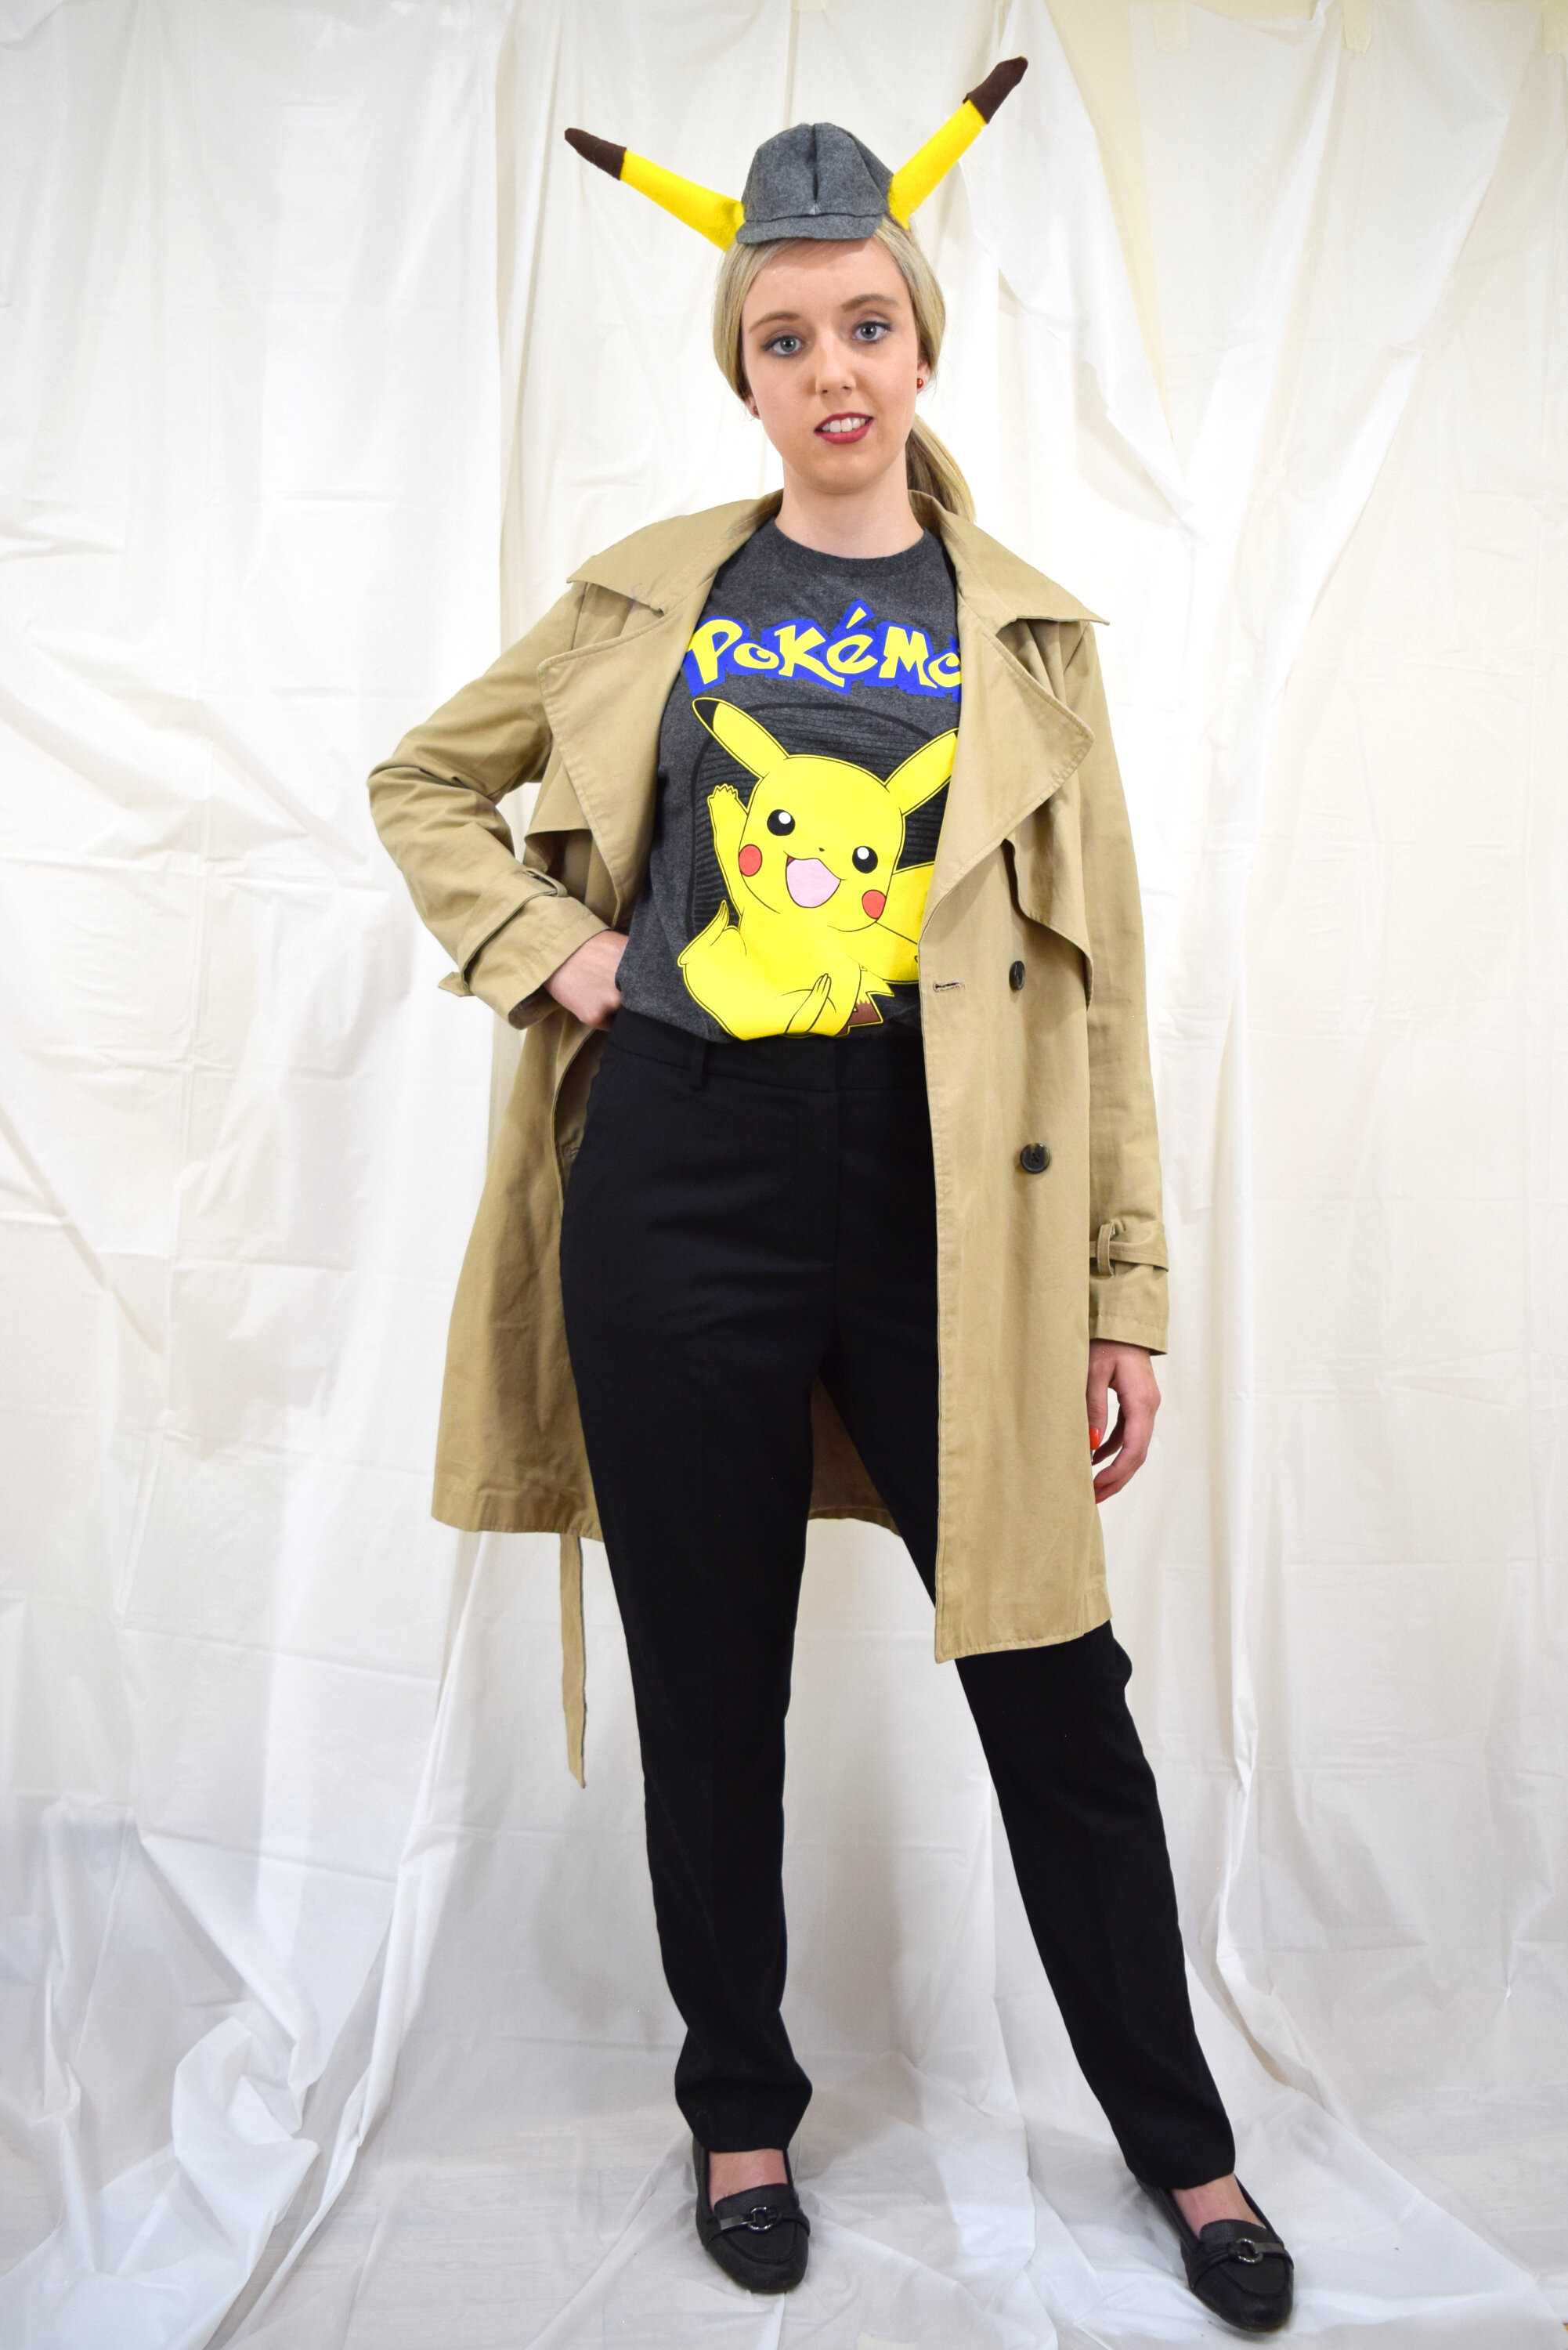

Here’s another fun movie-based costume: Detective Pikachu. While I haven’t seen it myself, I love Pokemon, so I wore a Pikachu t-shirt tucked into black dress pants.
Over top I added a tan trench coat, which I thrifted a few years ago, and adds to the detective aesthetic…
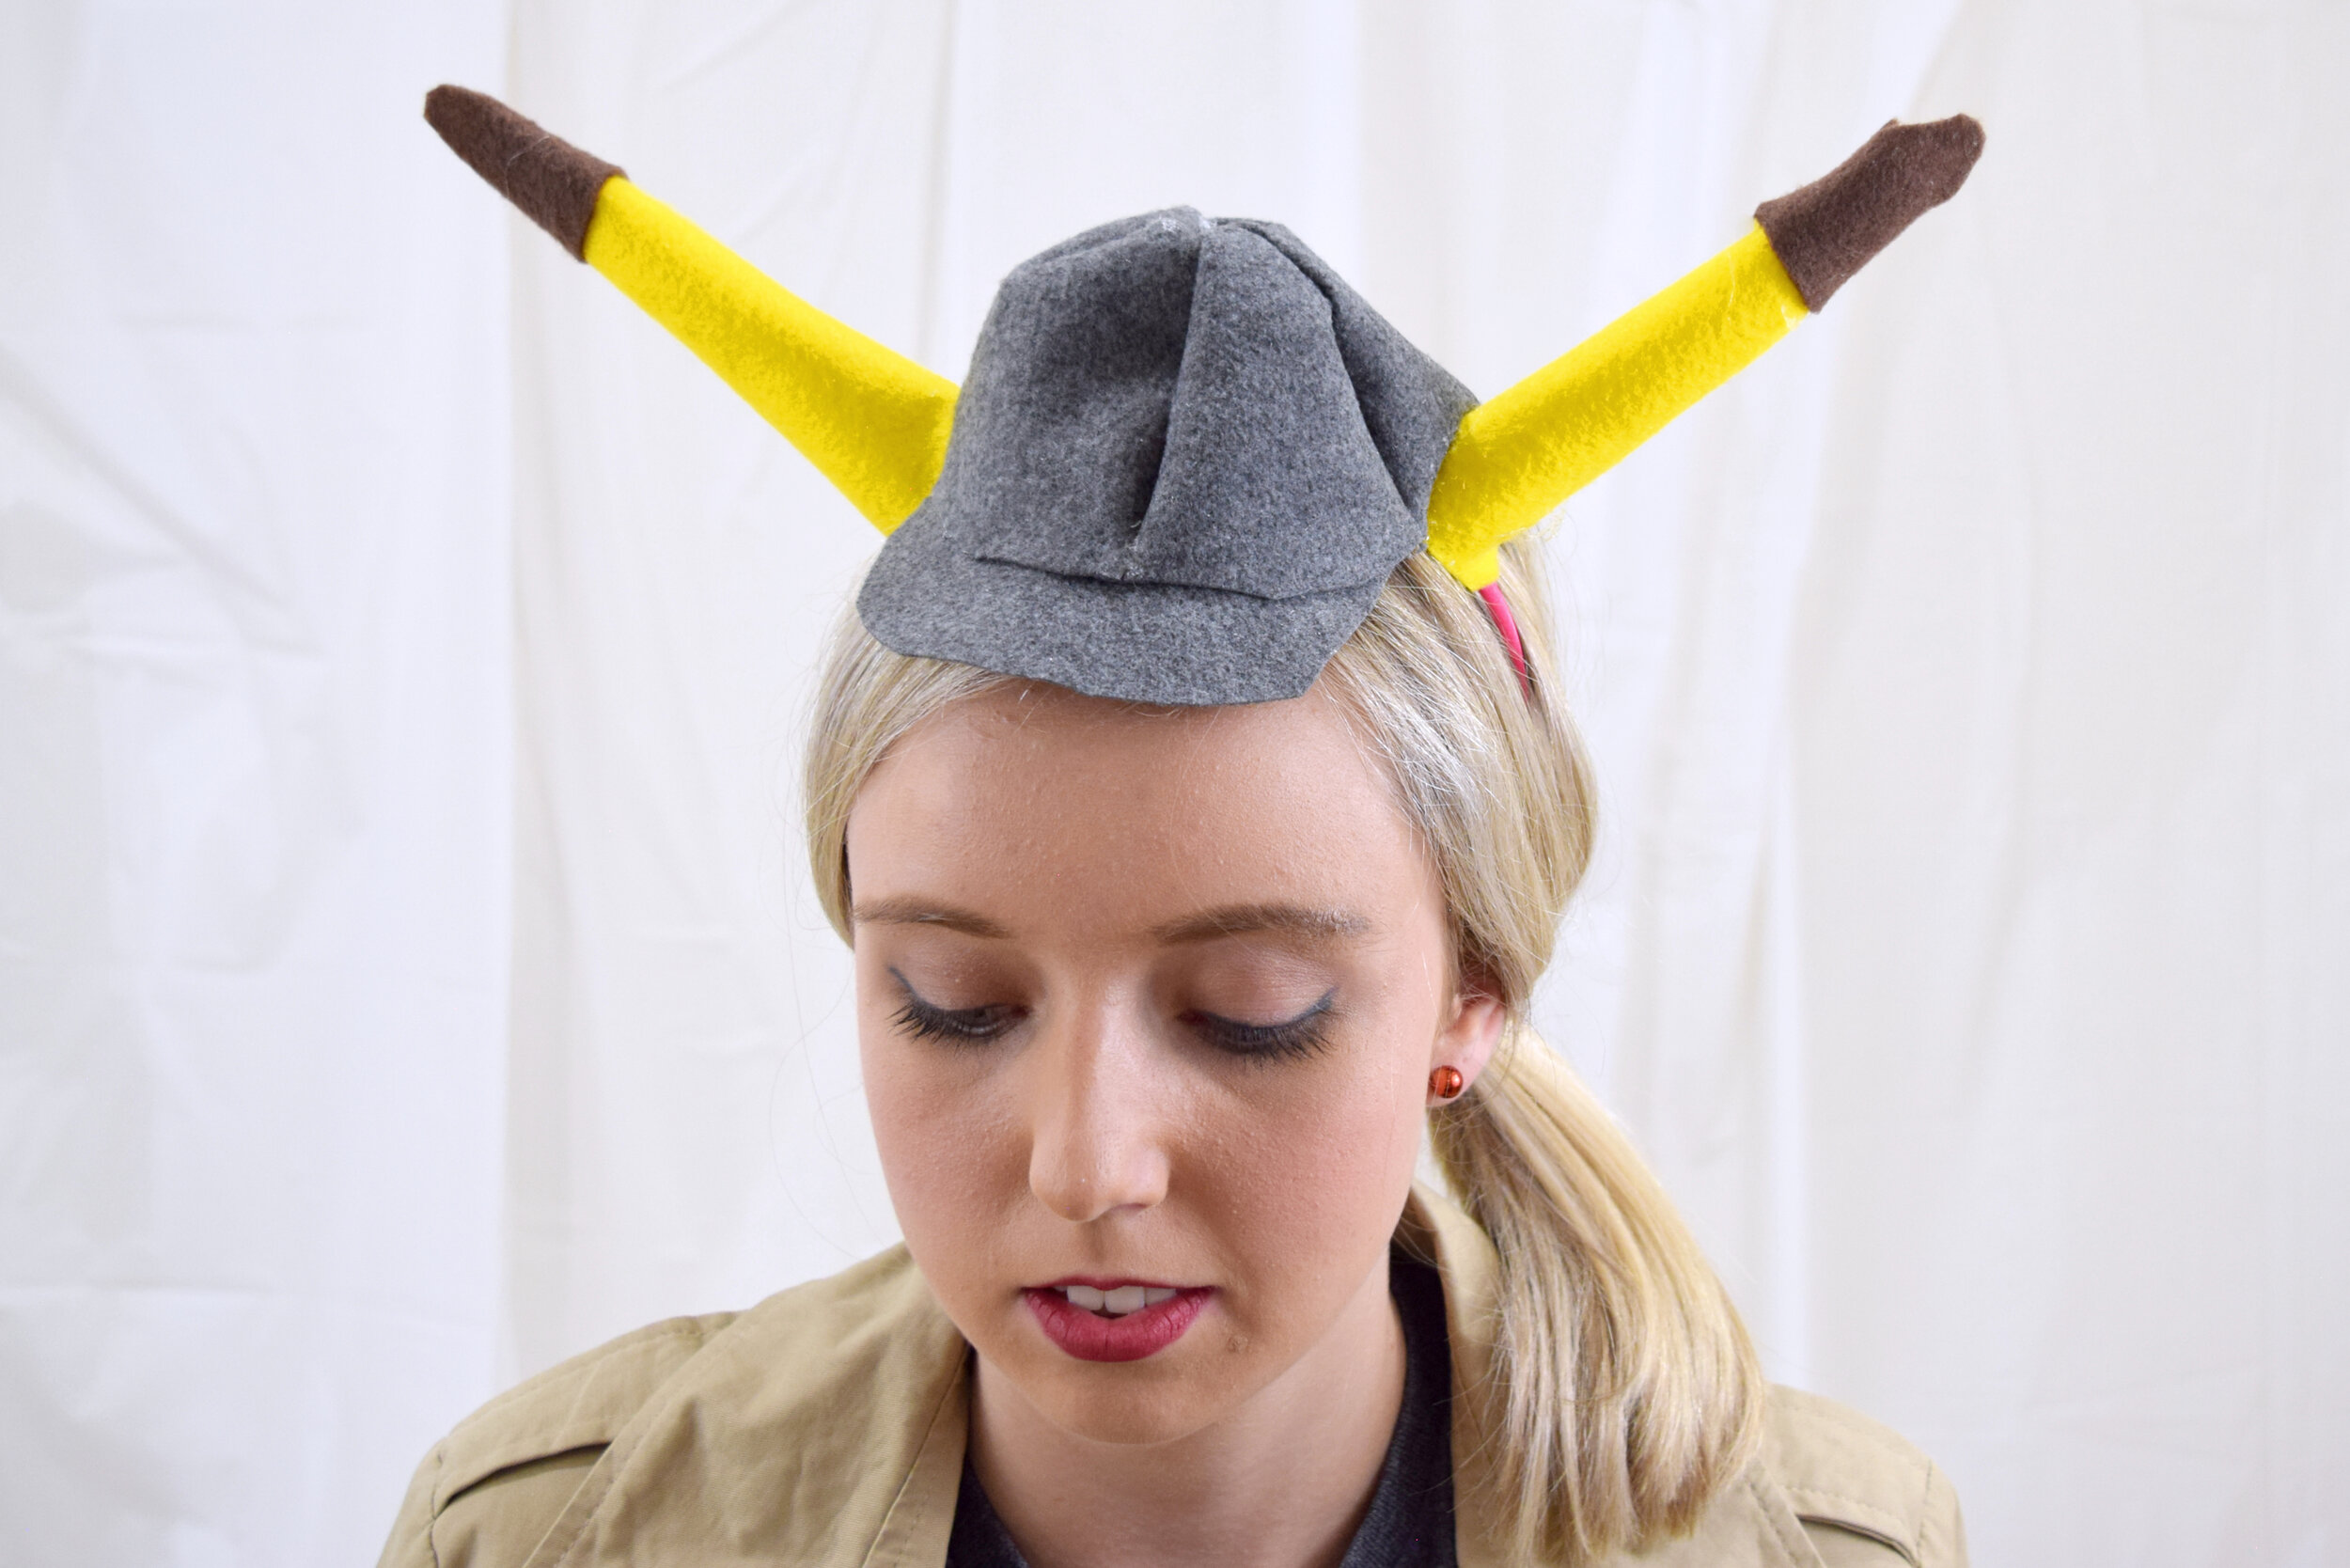
As for the hat, here’s the tutorial:
I started by cutting a piece of yellow felt in half and rolling it up to make a Pickachu ear.
I then wrapped the top of both ears with some brown felt.
Next, to make the hat, I cut out five rounded triangles on gray felt.
Then, to attach them, I made seams by gluing the good sides or outsides of the felt face down together. I repeated that until the hat formed a circle.
I turned the hat right-side-out and trimmed it so it was even on the bottom.
I then made a quick bill for the hat by cutting out more felt, creating small snips along the inside of the bill and gluing it to the inside of the hat.
After that, attach the ears to both sides of the hat and then glue the whole thing down onto a headband.
8) Spiderweb Dress
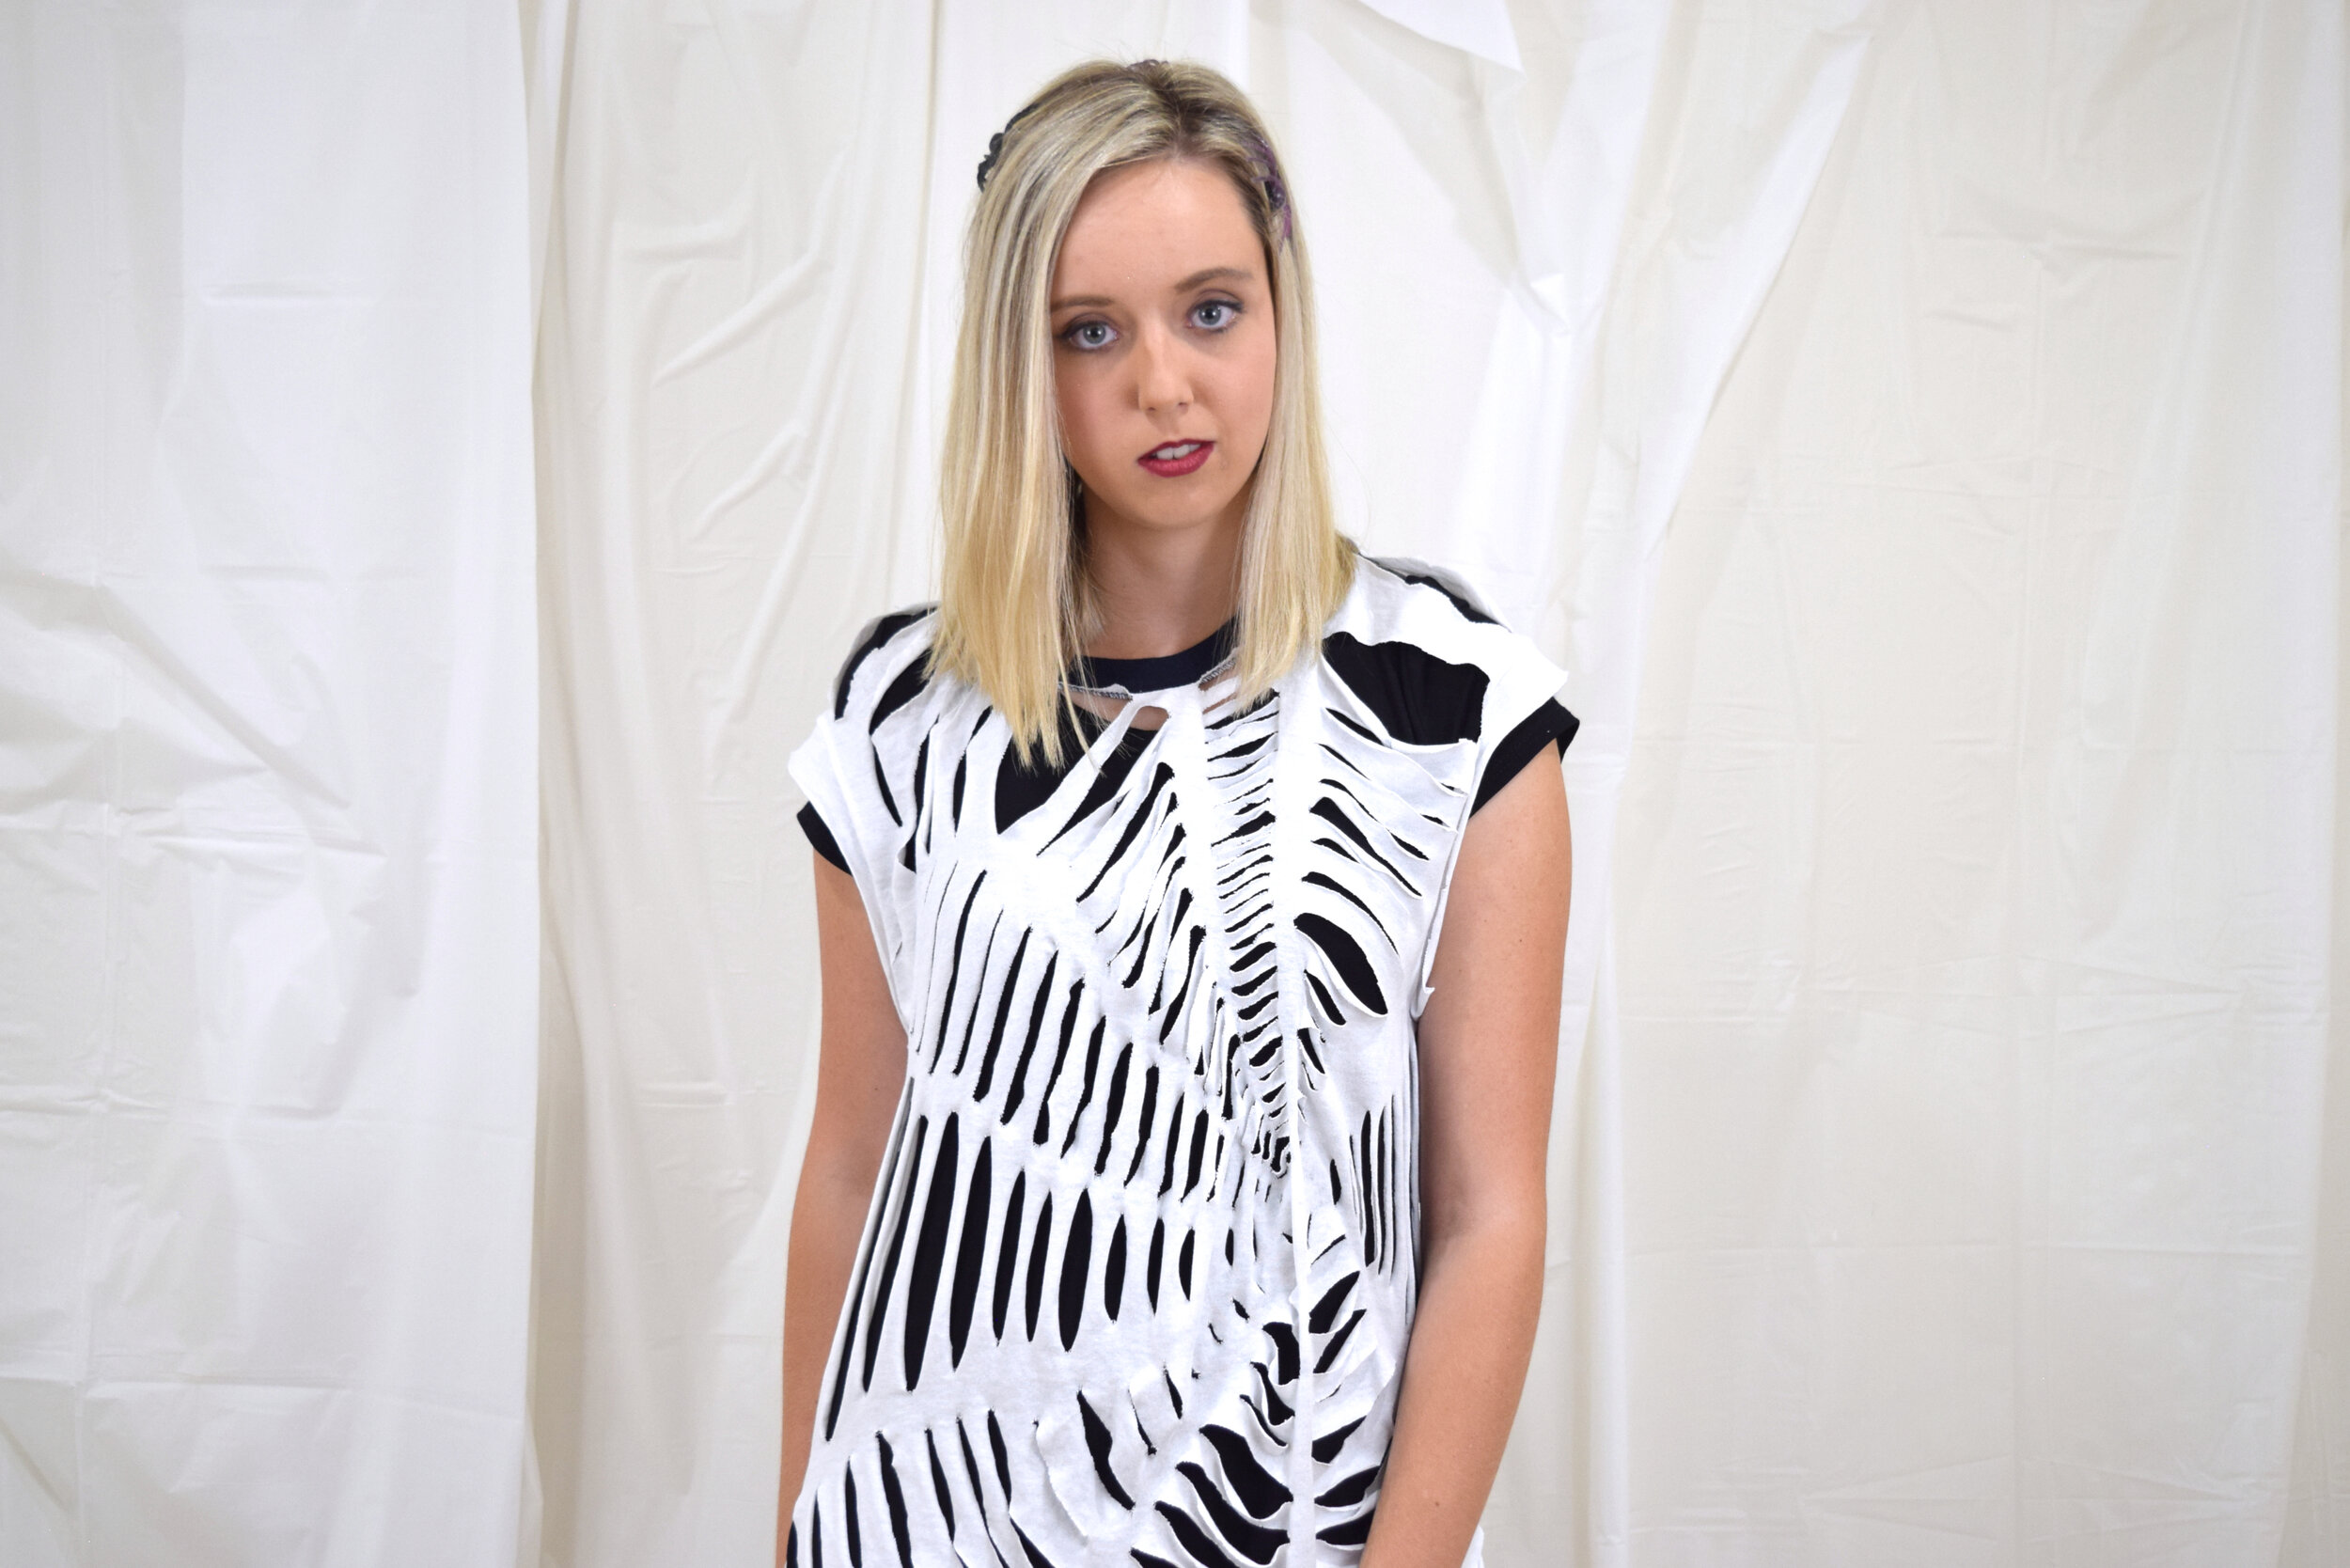
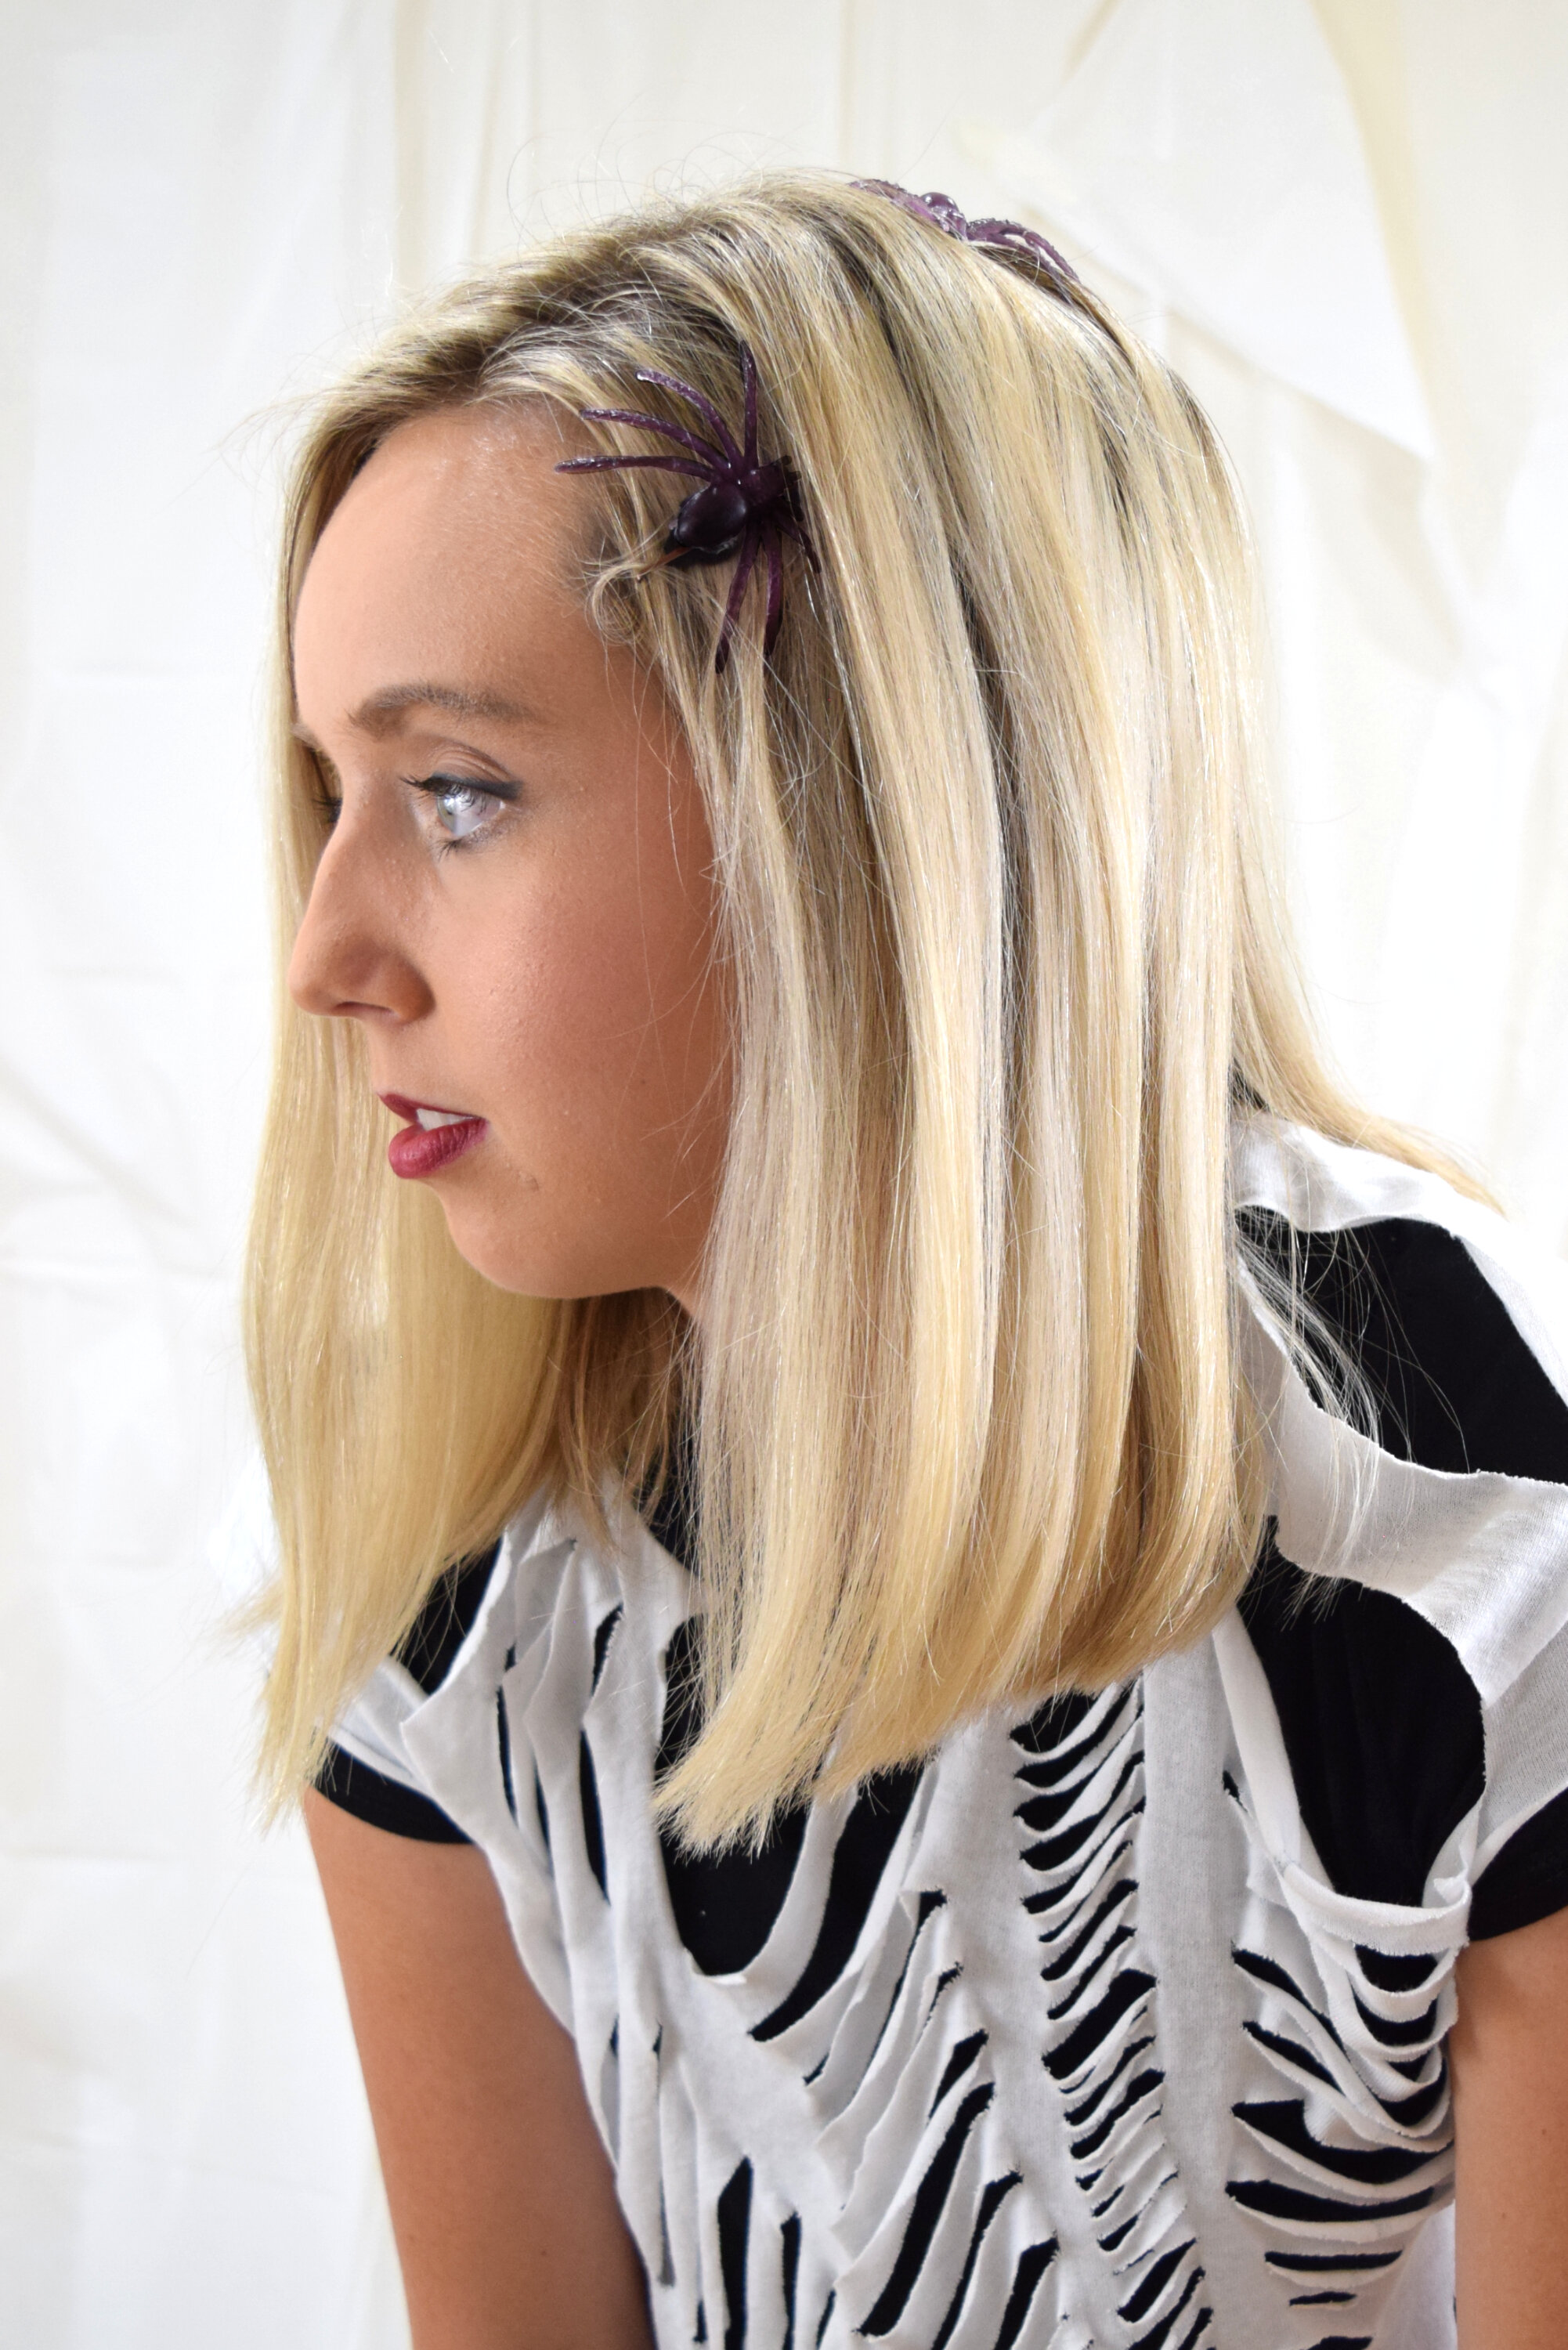
This is a simple and spooky costume for Halloween. I turned a large white t-shirt into a spiderweb dress.
Now this wasn’t an original idea, but I adapted it to be my own a bit, so here’s the original blog post.
Here’s how I did it:
I started by turning the shirt inside out and using a grey marker to draw guides for where I’ll cut the shirt.
I then folded the shirt along those guides, making sure I only folded the front of the shirt, not the back too.
Then I used sharp scissors to cut the lines to form a web… I made the web smaller at the top, then much bigger at the bottom. This will help the shirt keep its shape.
On the back, I folded the shirt in half and cut so it was more just two rows of straight across cuts, rather than a web. Making sure NOT to connect those cuts to the cuts on the front of the shirt.
Finally, I turned the shirt right-side-out and gently pulled it so the web would form.
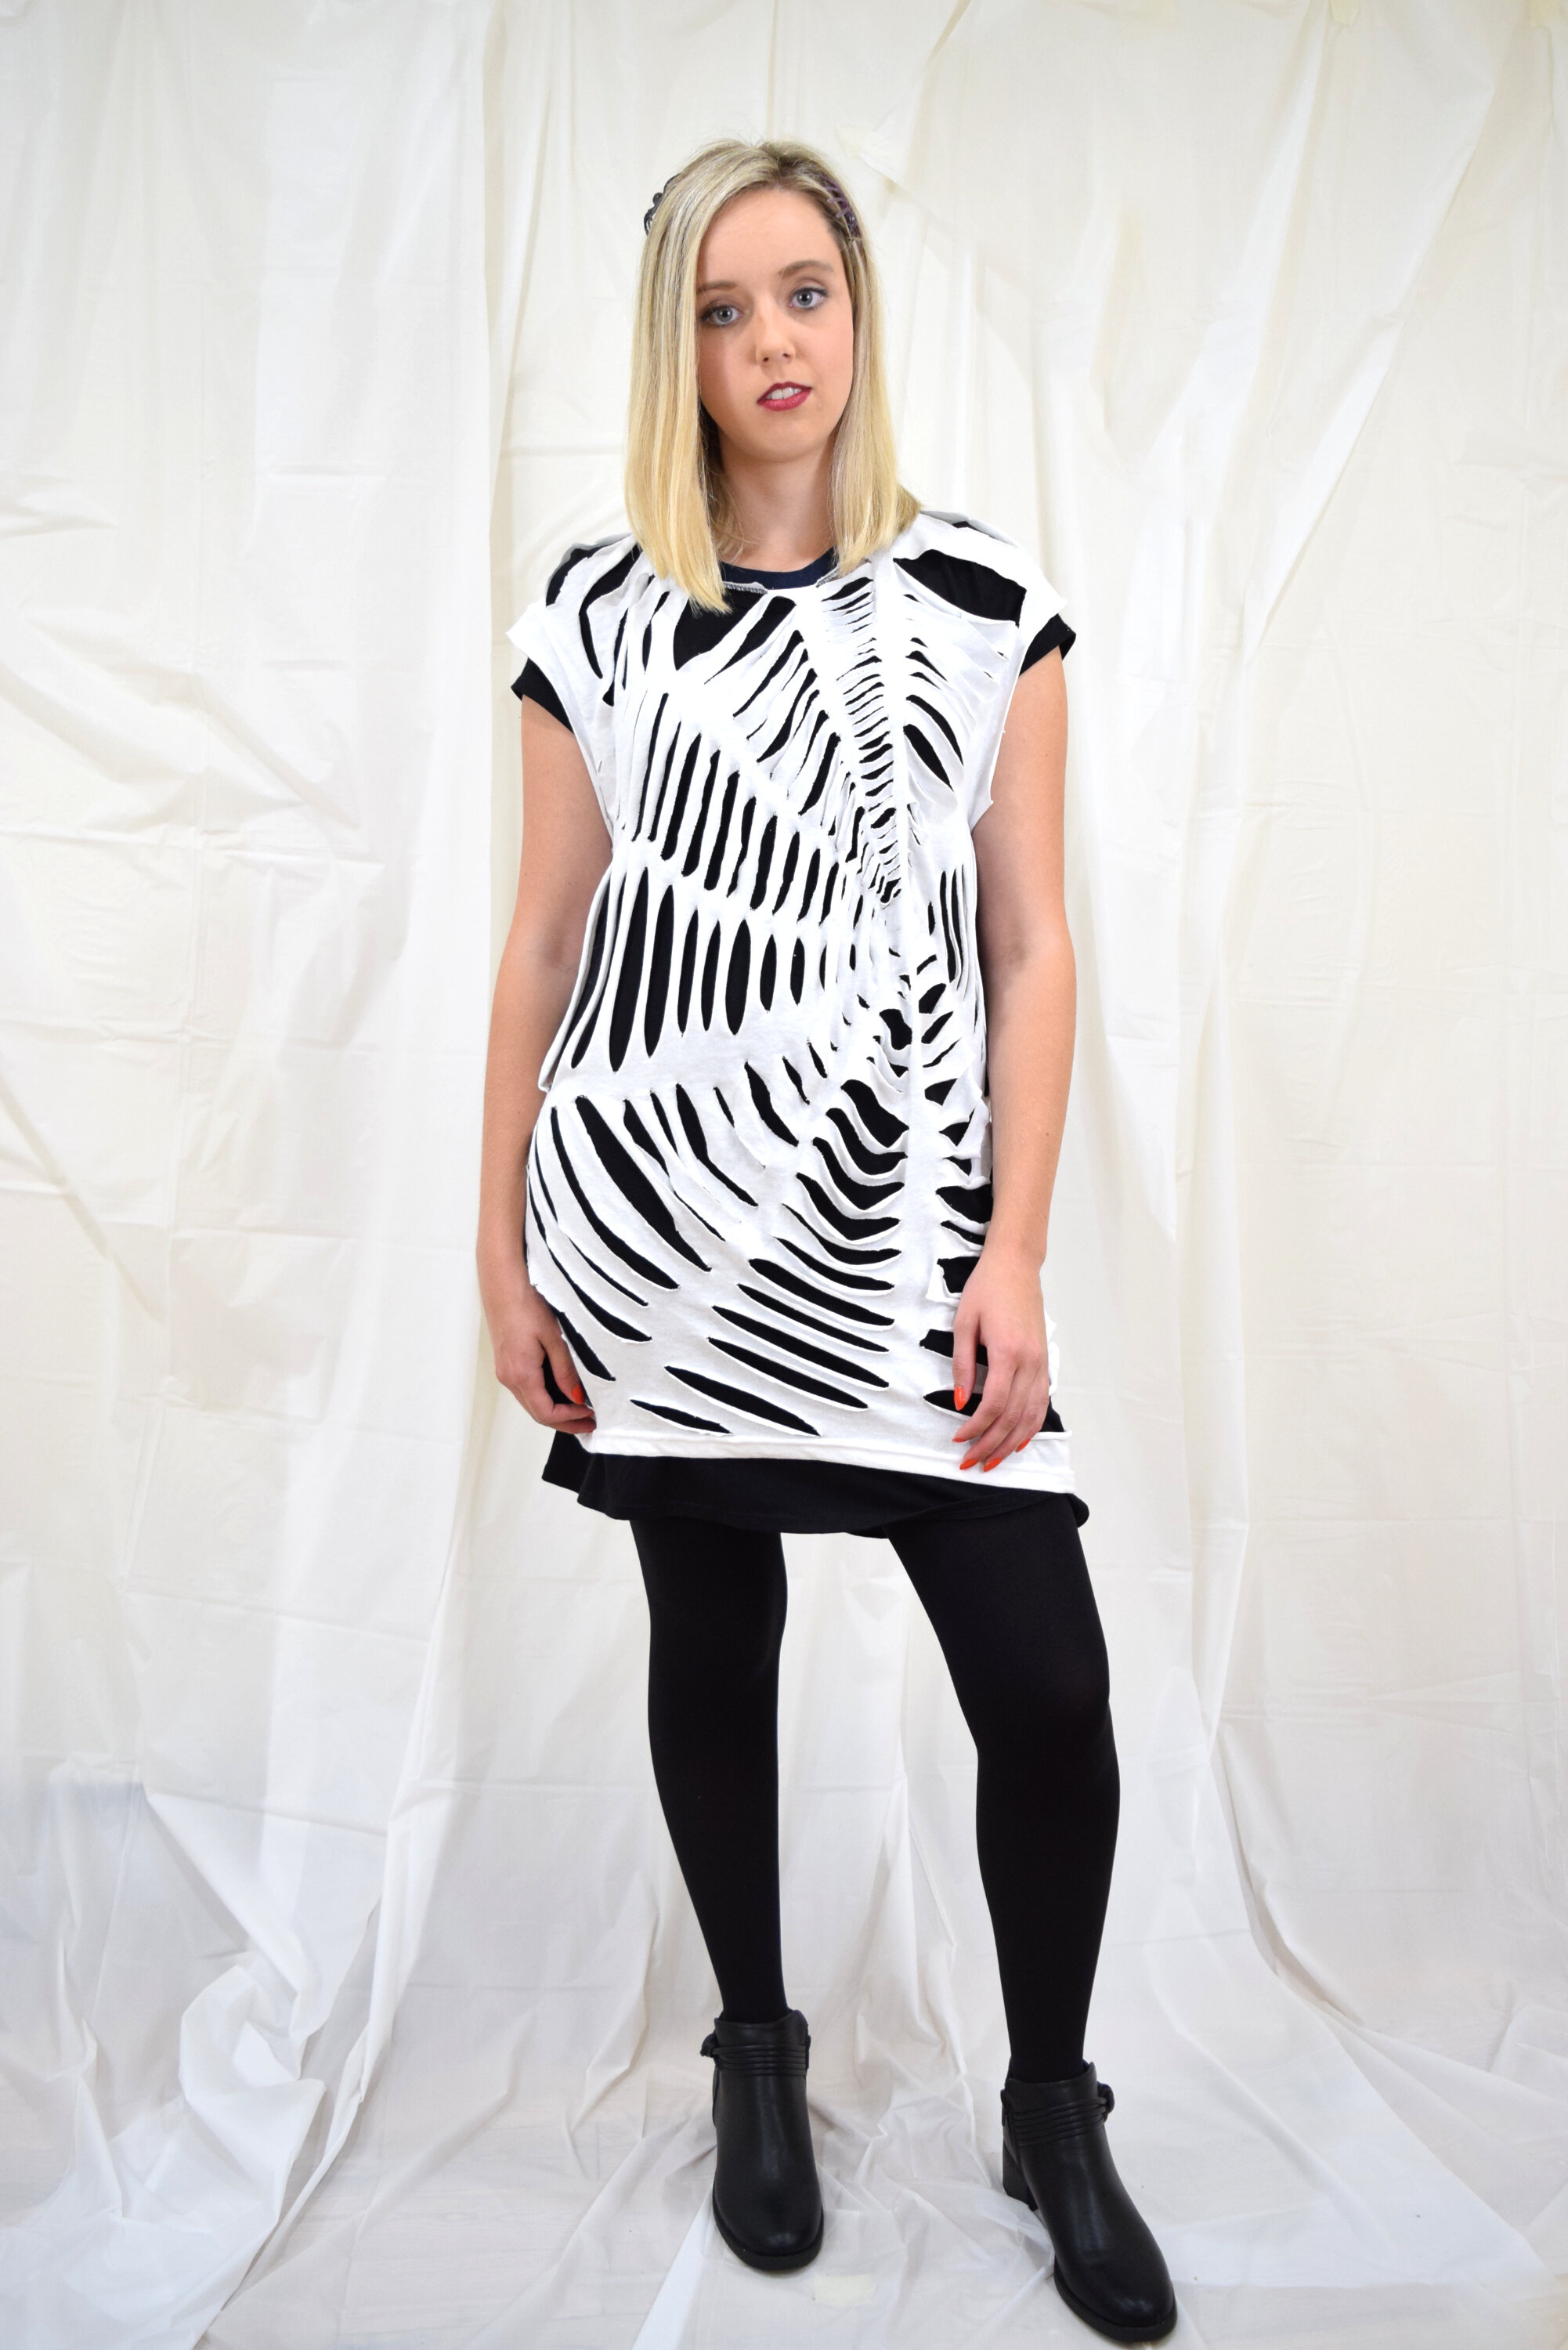
As a finishing touch, I placed small pieces of felt under bobby pins and glued plastic spiders on top.
I put that cut up t-shirt over a black t-shirt dress, paired it with black tights and black booties.
And finally, I pinned those spiders into my hair.
9) Rockabilly
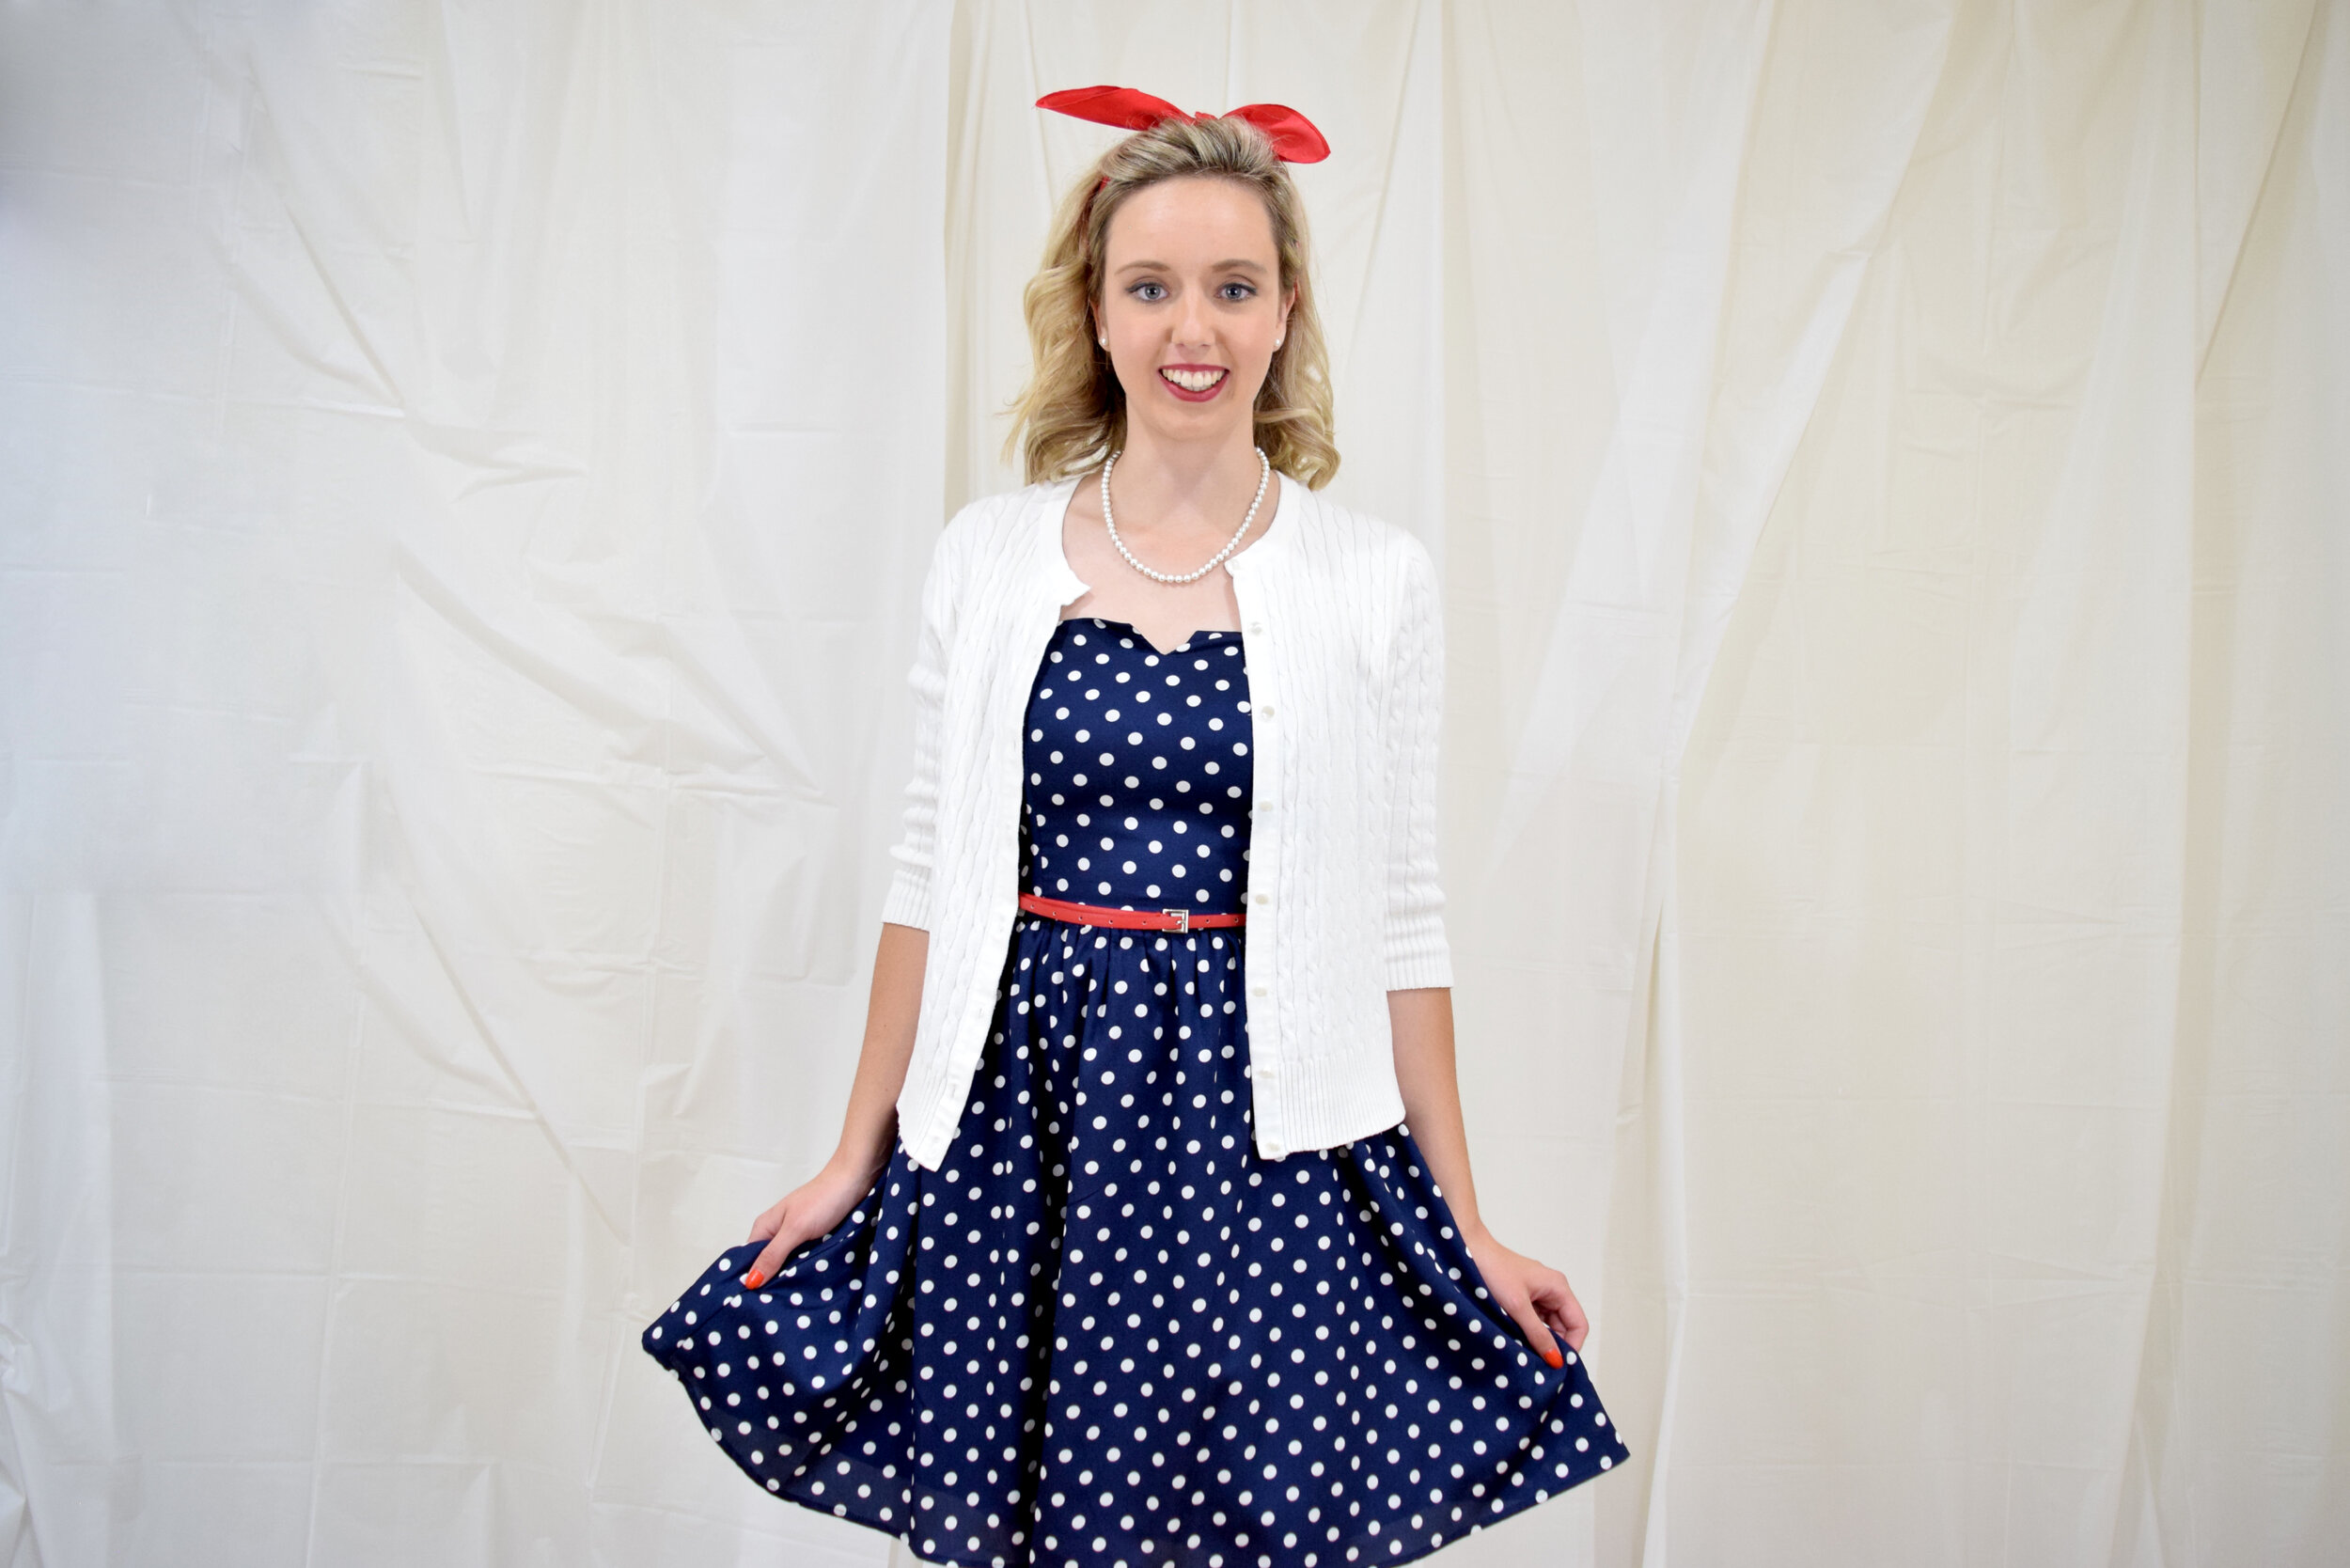
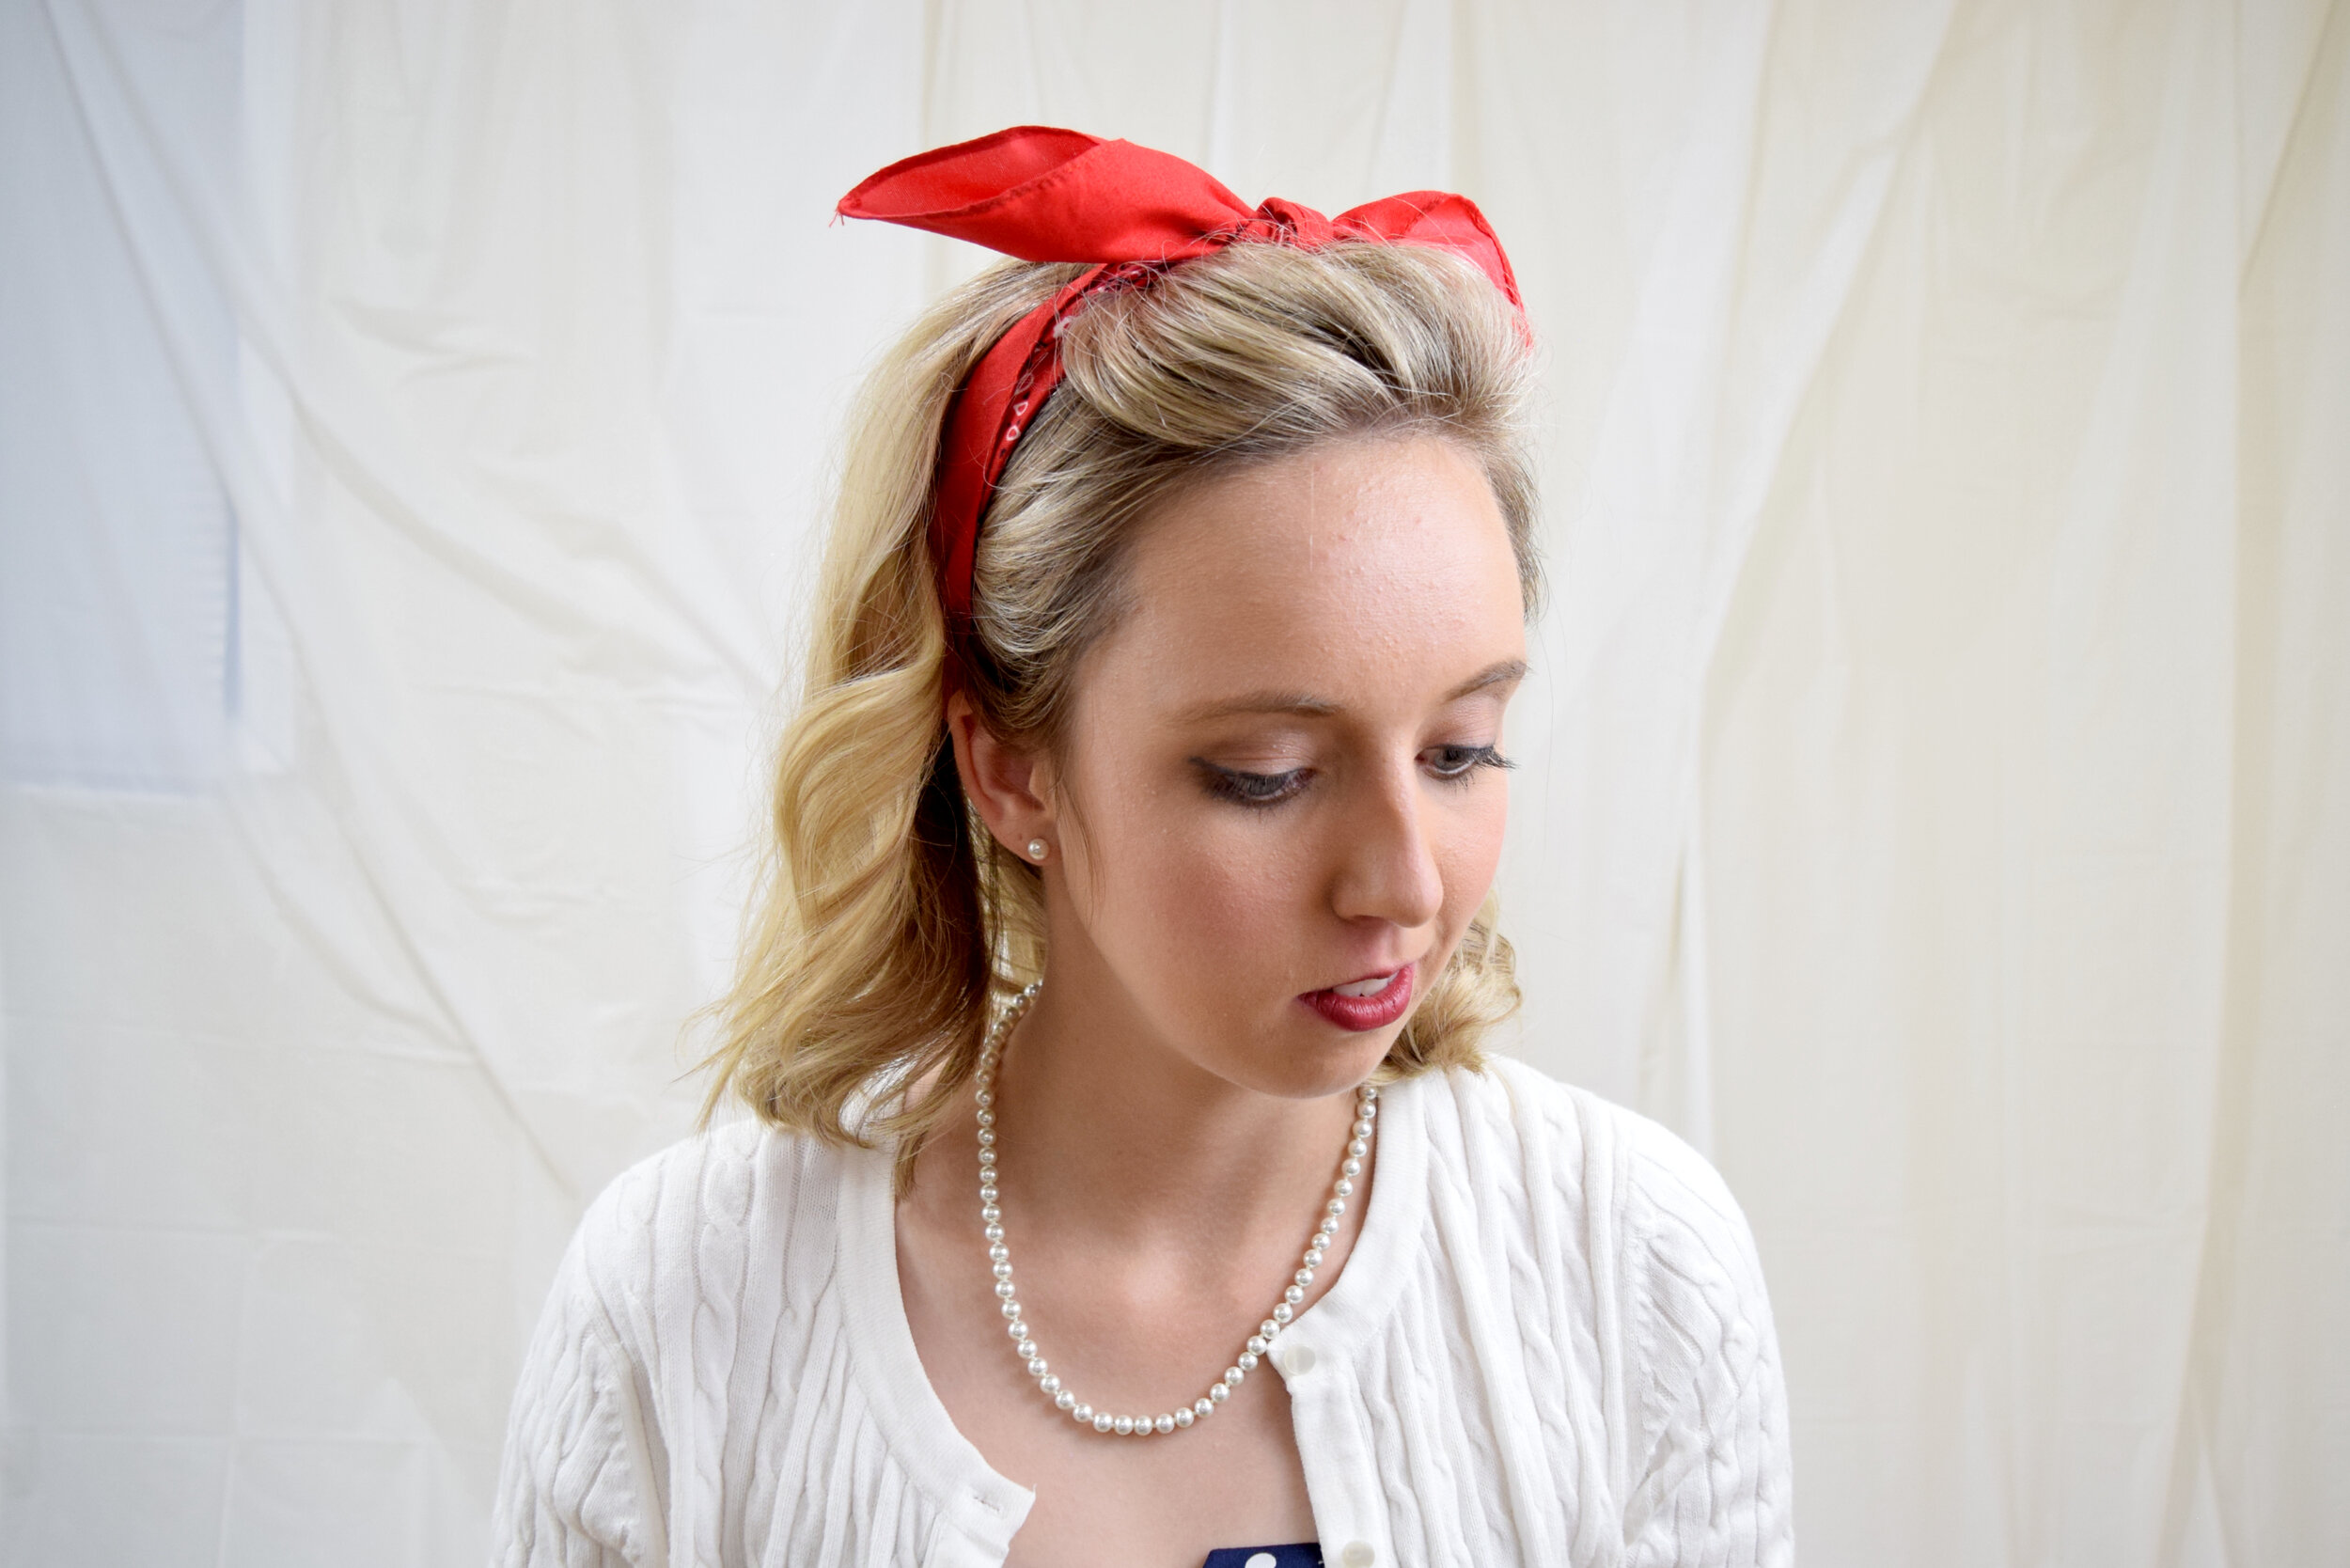
I’m wearing a vintage-looking polka-dotted dress, which I’ve had in my closet for a long time… a white cardigan sweater, a small red belt.
I styled my hair based on some inspiration I found on Pinterest. And added a pearl necklace and earrings to fully embrace that housewife look.
10) This Is My Costume Tee
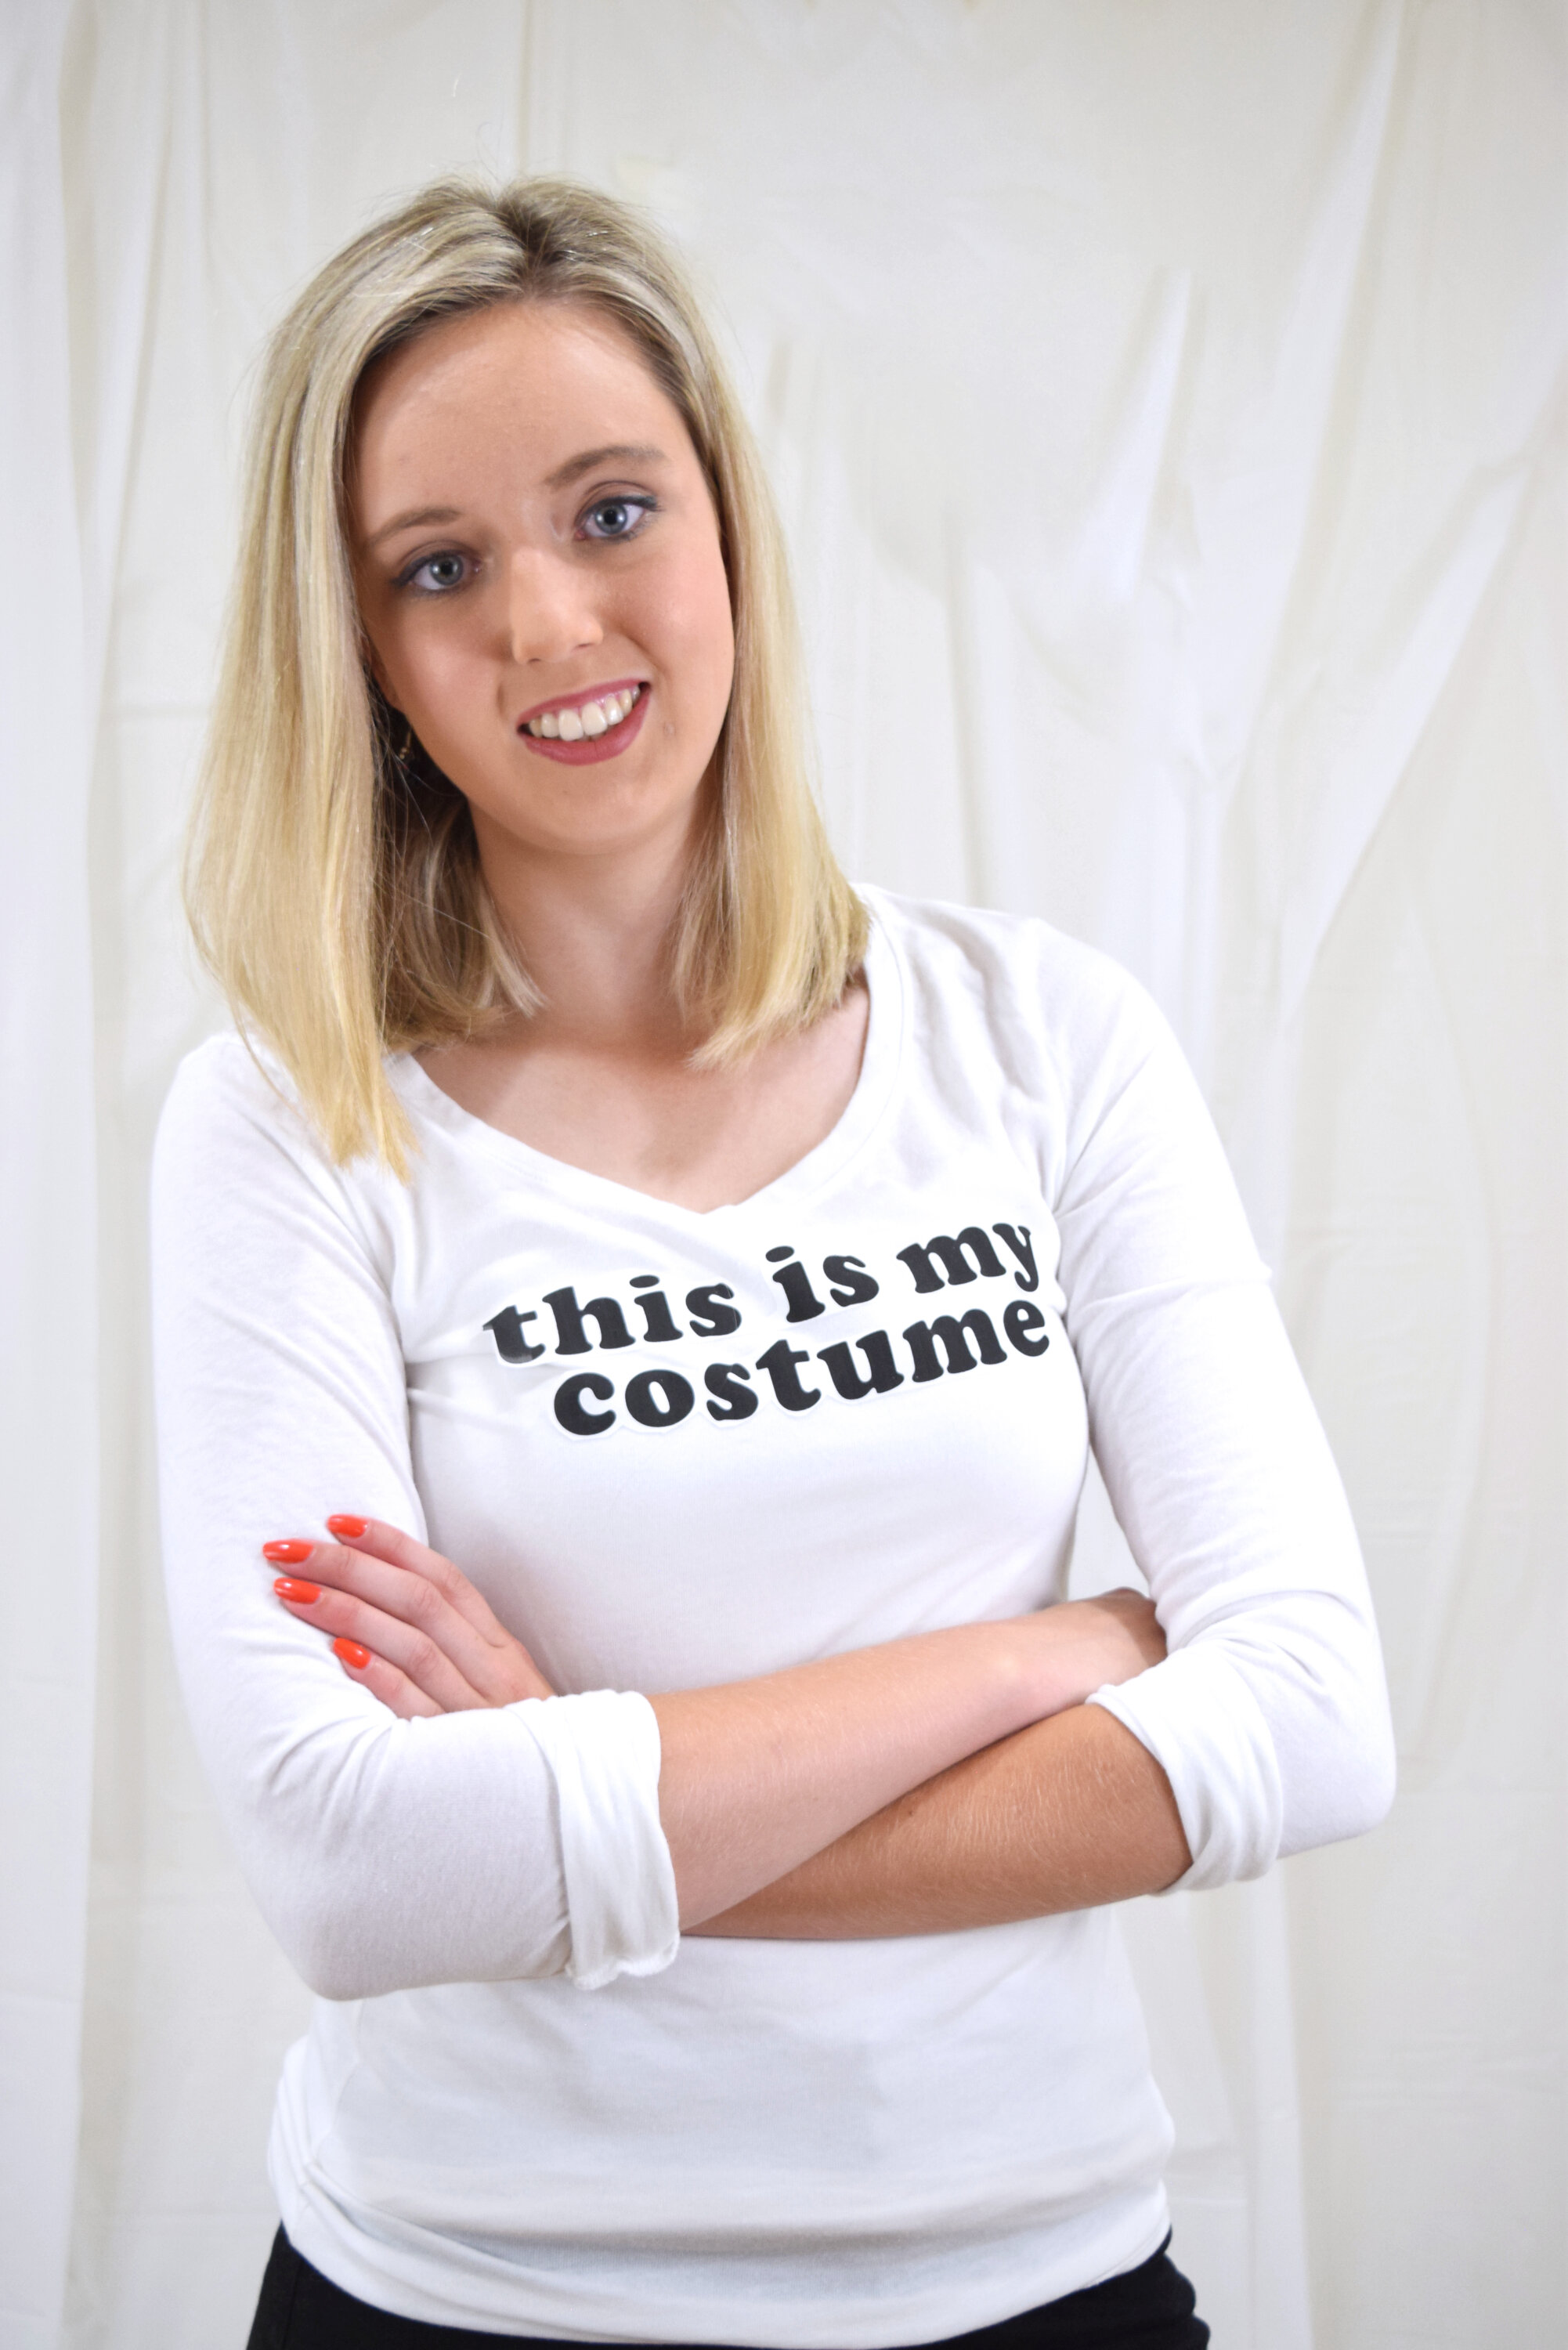
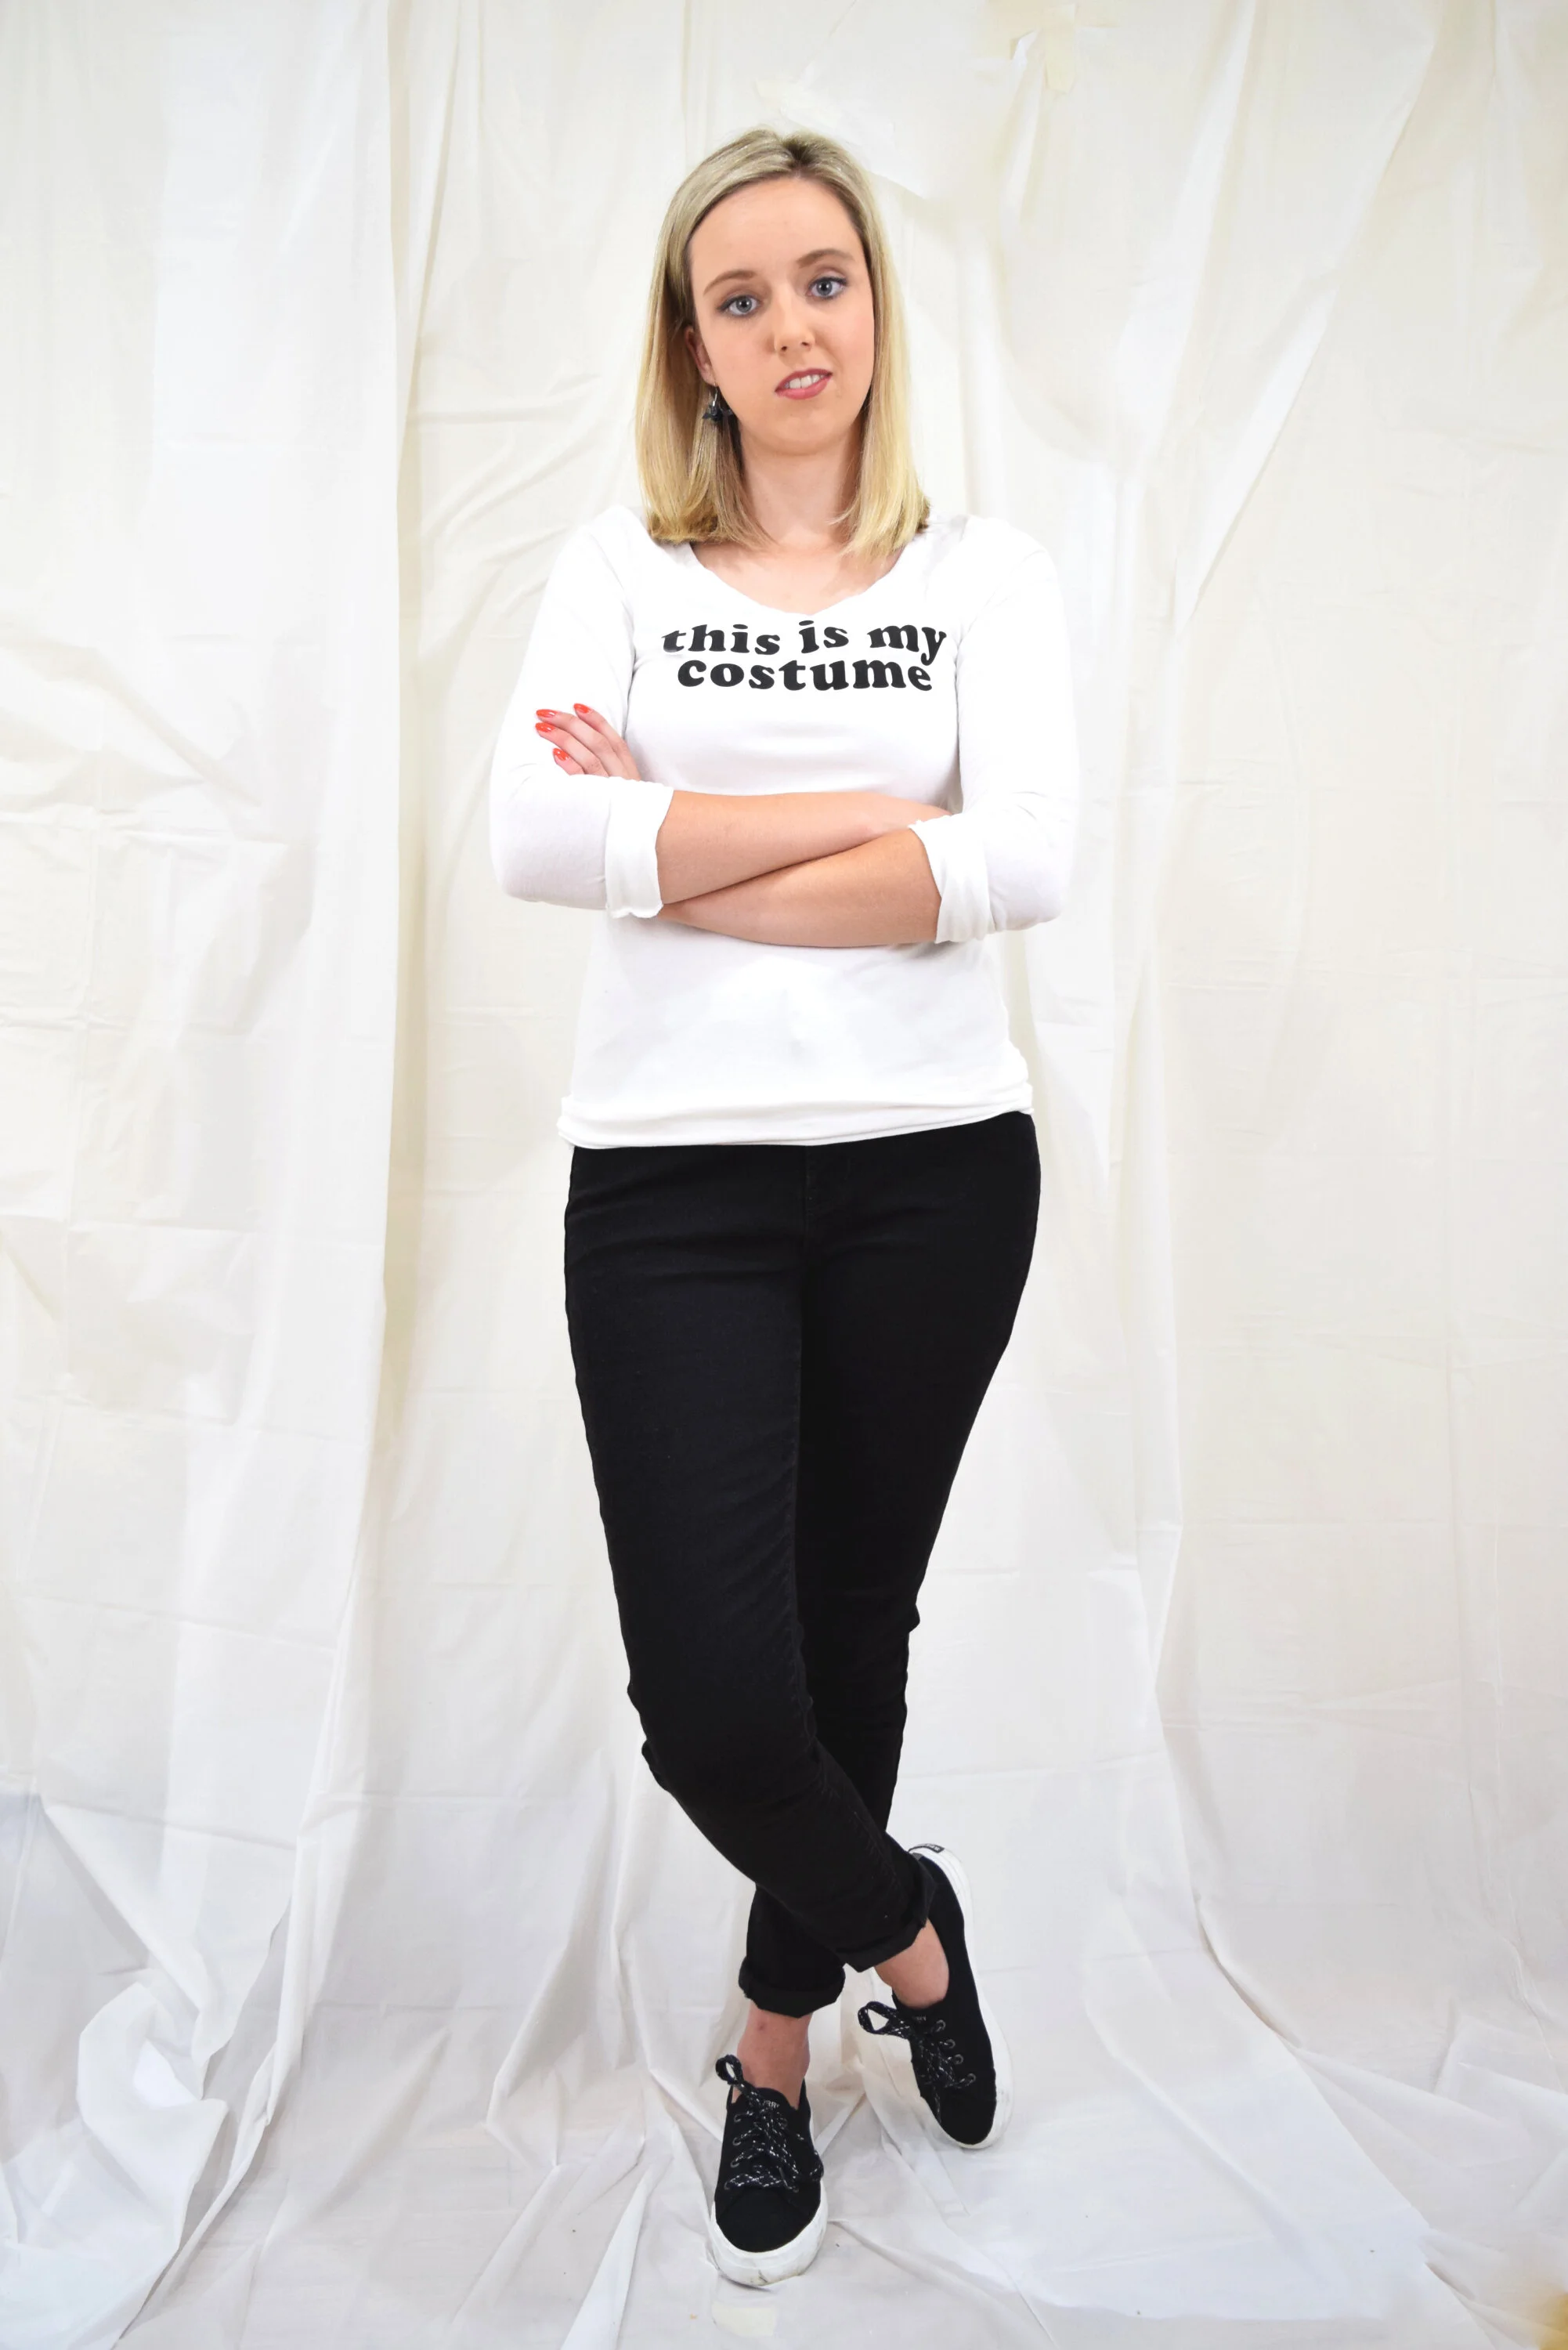
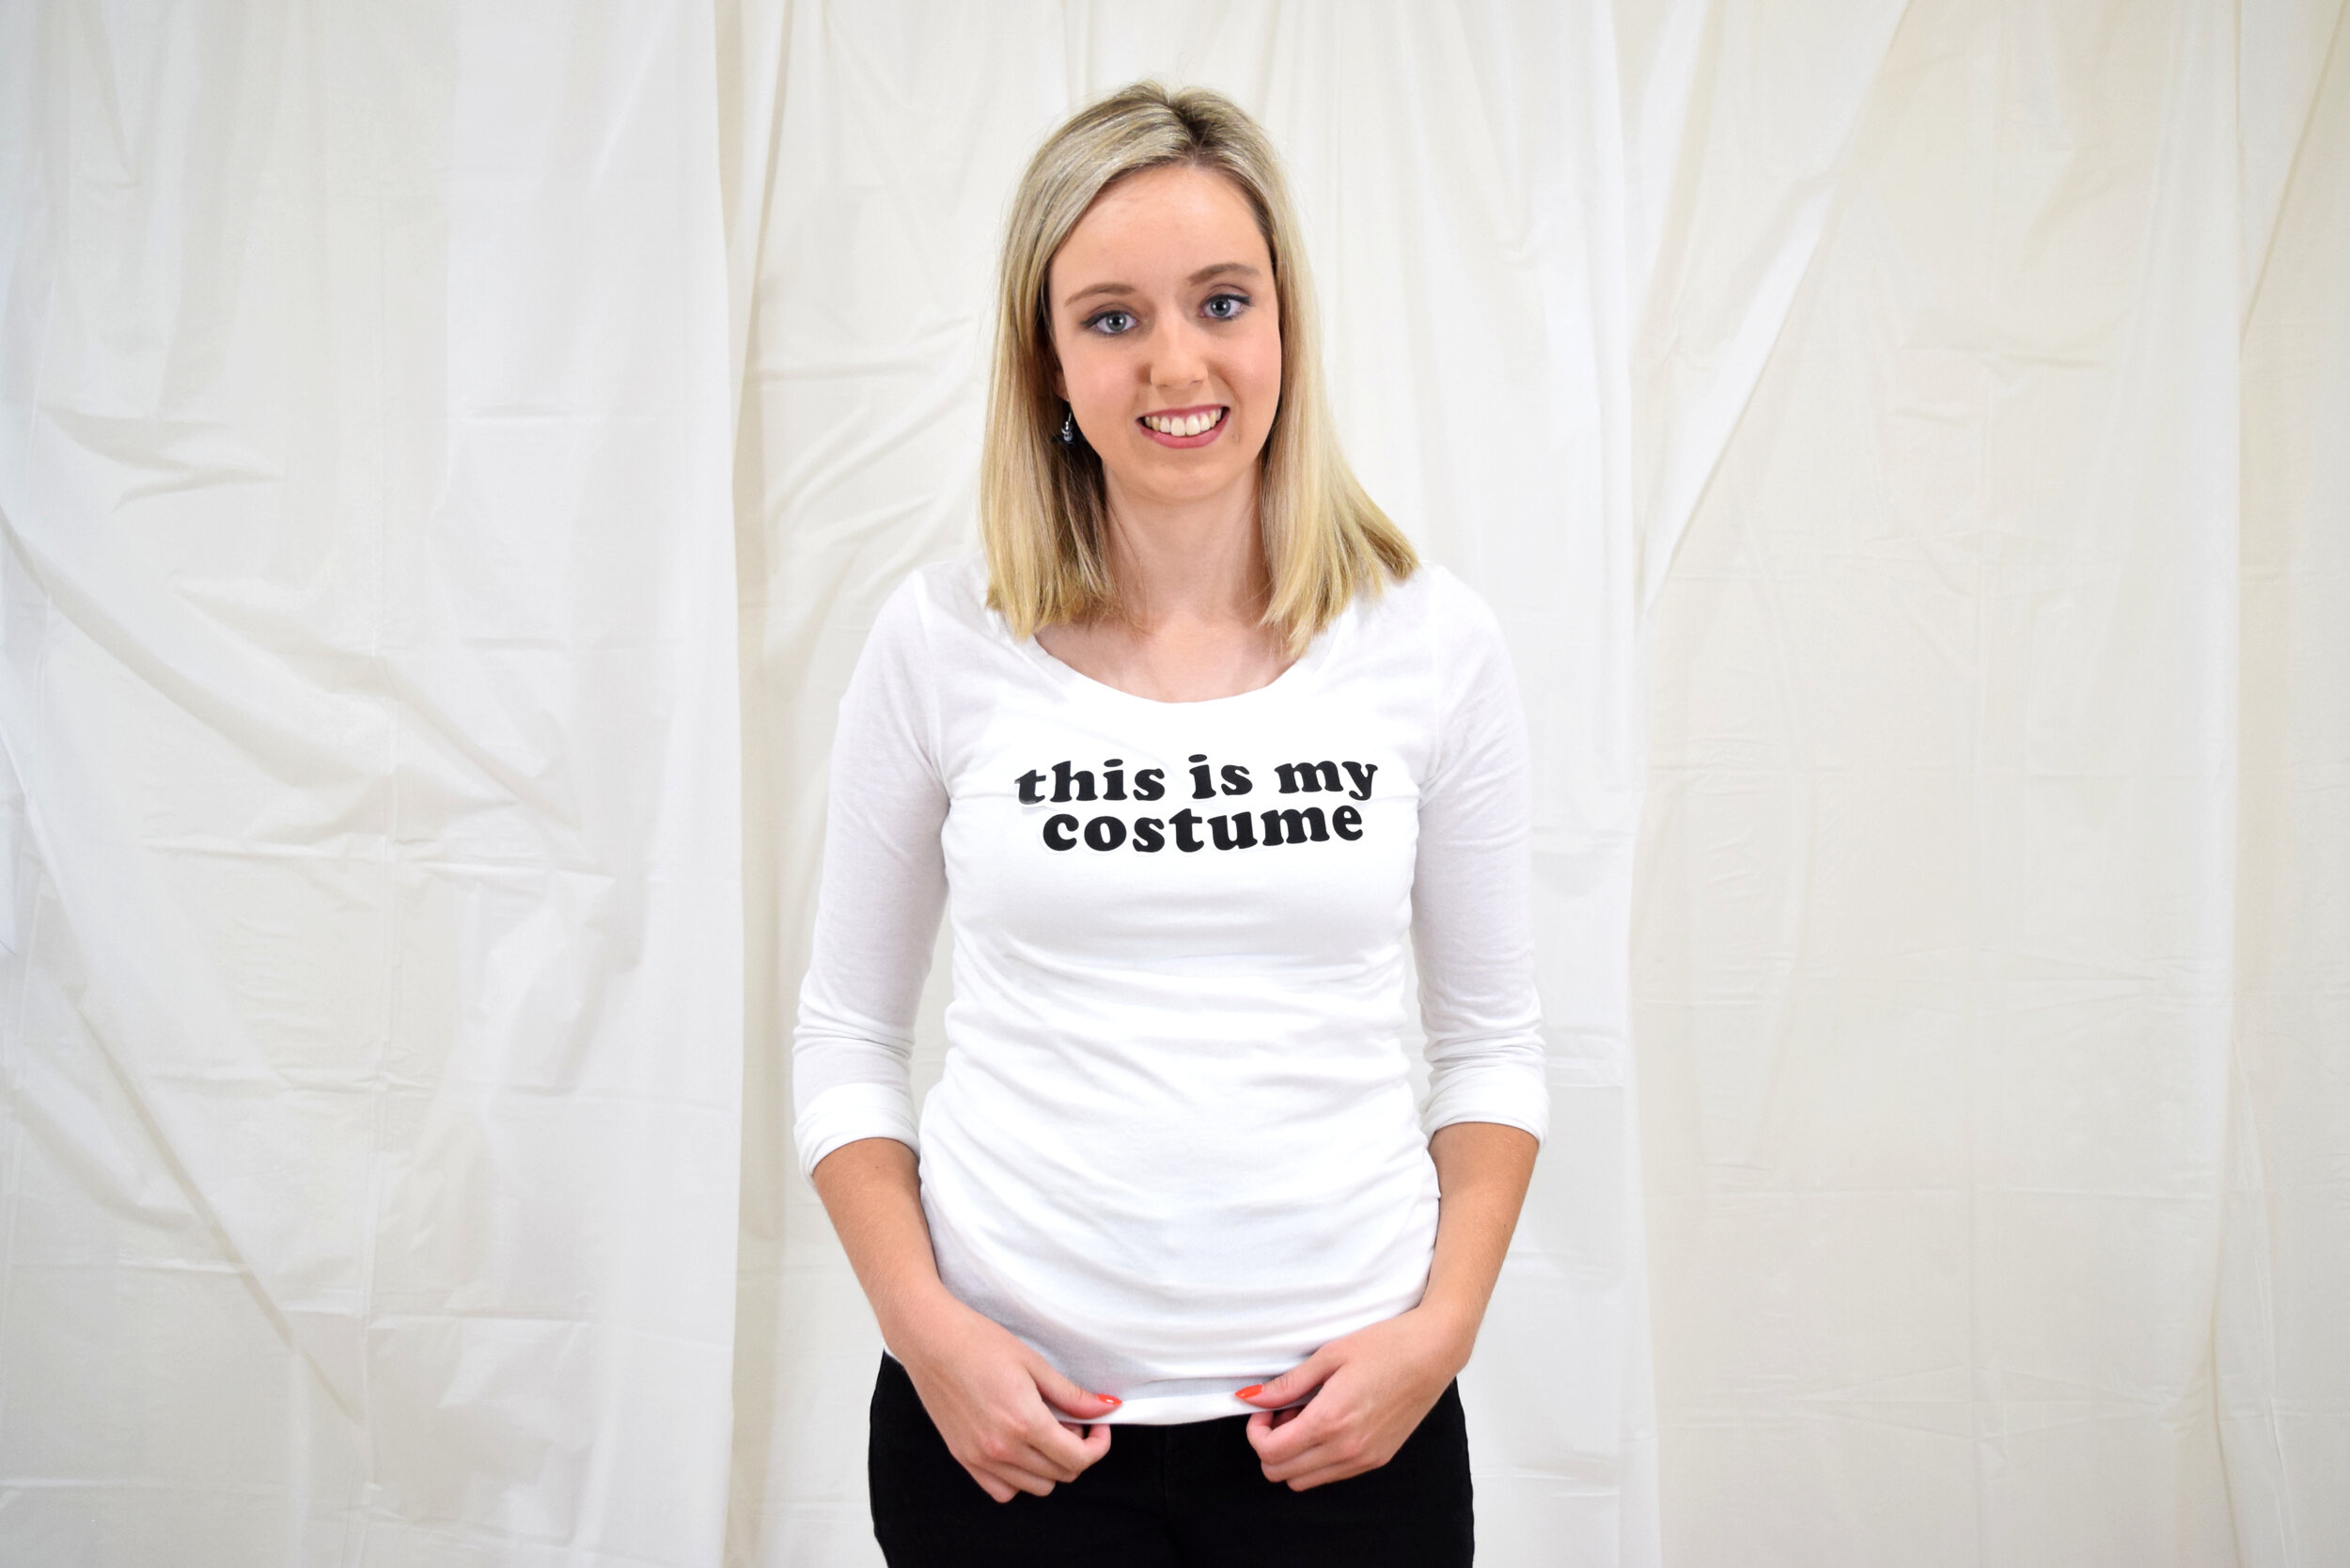
And finally, this is the costume for when you don’t want to actually wear a costume… or maybe can’t wear a costume but still want to celebrate Halloween.
The t-shirt is a really simple DIY and comes with a free downloadable printable PDF!
What you’ll need is a white t-shirt and some iron-on transfer paper. I personally do not like this exact transfer paper I used, I prefer the type where you have to print out an inverse design, it sticks on the fabric much better! (I’ll link it after I go back to the store and see what brand I like!)
Next, print out your design. You can download this version for if the paper requires your design as mirrored/inverse. You can download this version if your design requires you to print it without any image mirroring.
All I did was cut out the words carefully, then took them to my iron and ironed them onto the shirt following the instructions on the packaging.
I then just wore it with black jeans, black sneakers, simple hair and makeup and for a Halloween touch, I added my dangly bat earrings.
So that’s it! Those are my 10 Halloween costumes for 2019! I hope you enjoyed it! I’d love so much if you’d check out my YouTube channel and other social media. I’ll link those below!
latest posts