The BEST Way to Hang Balcony Curtains
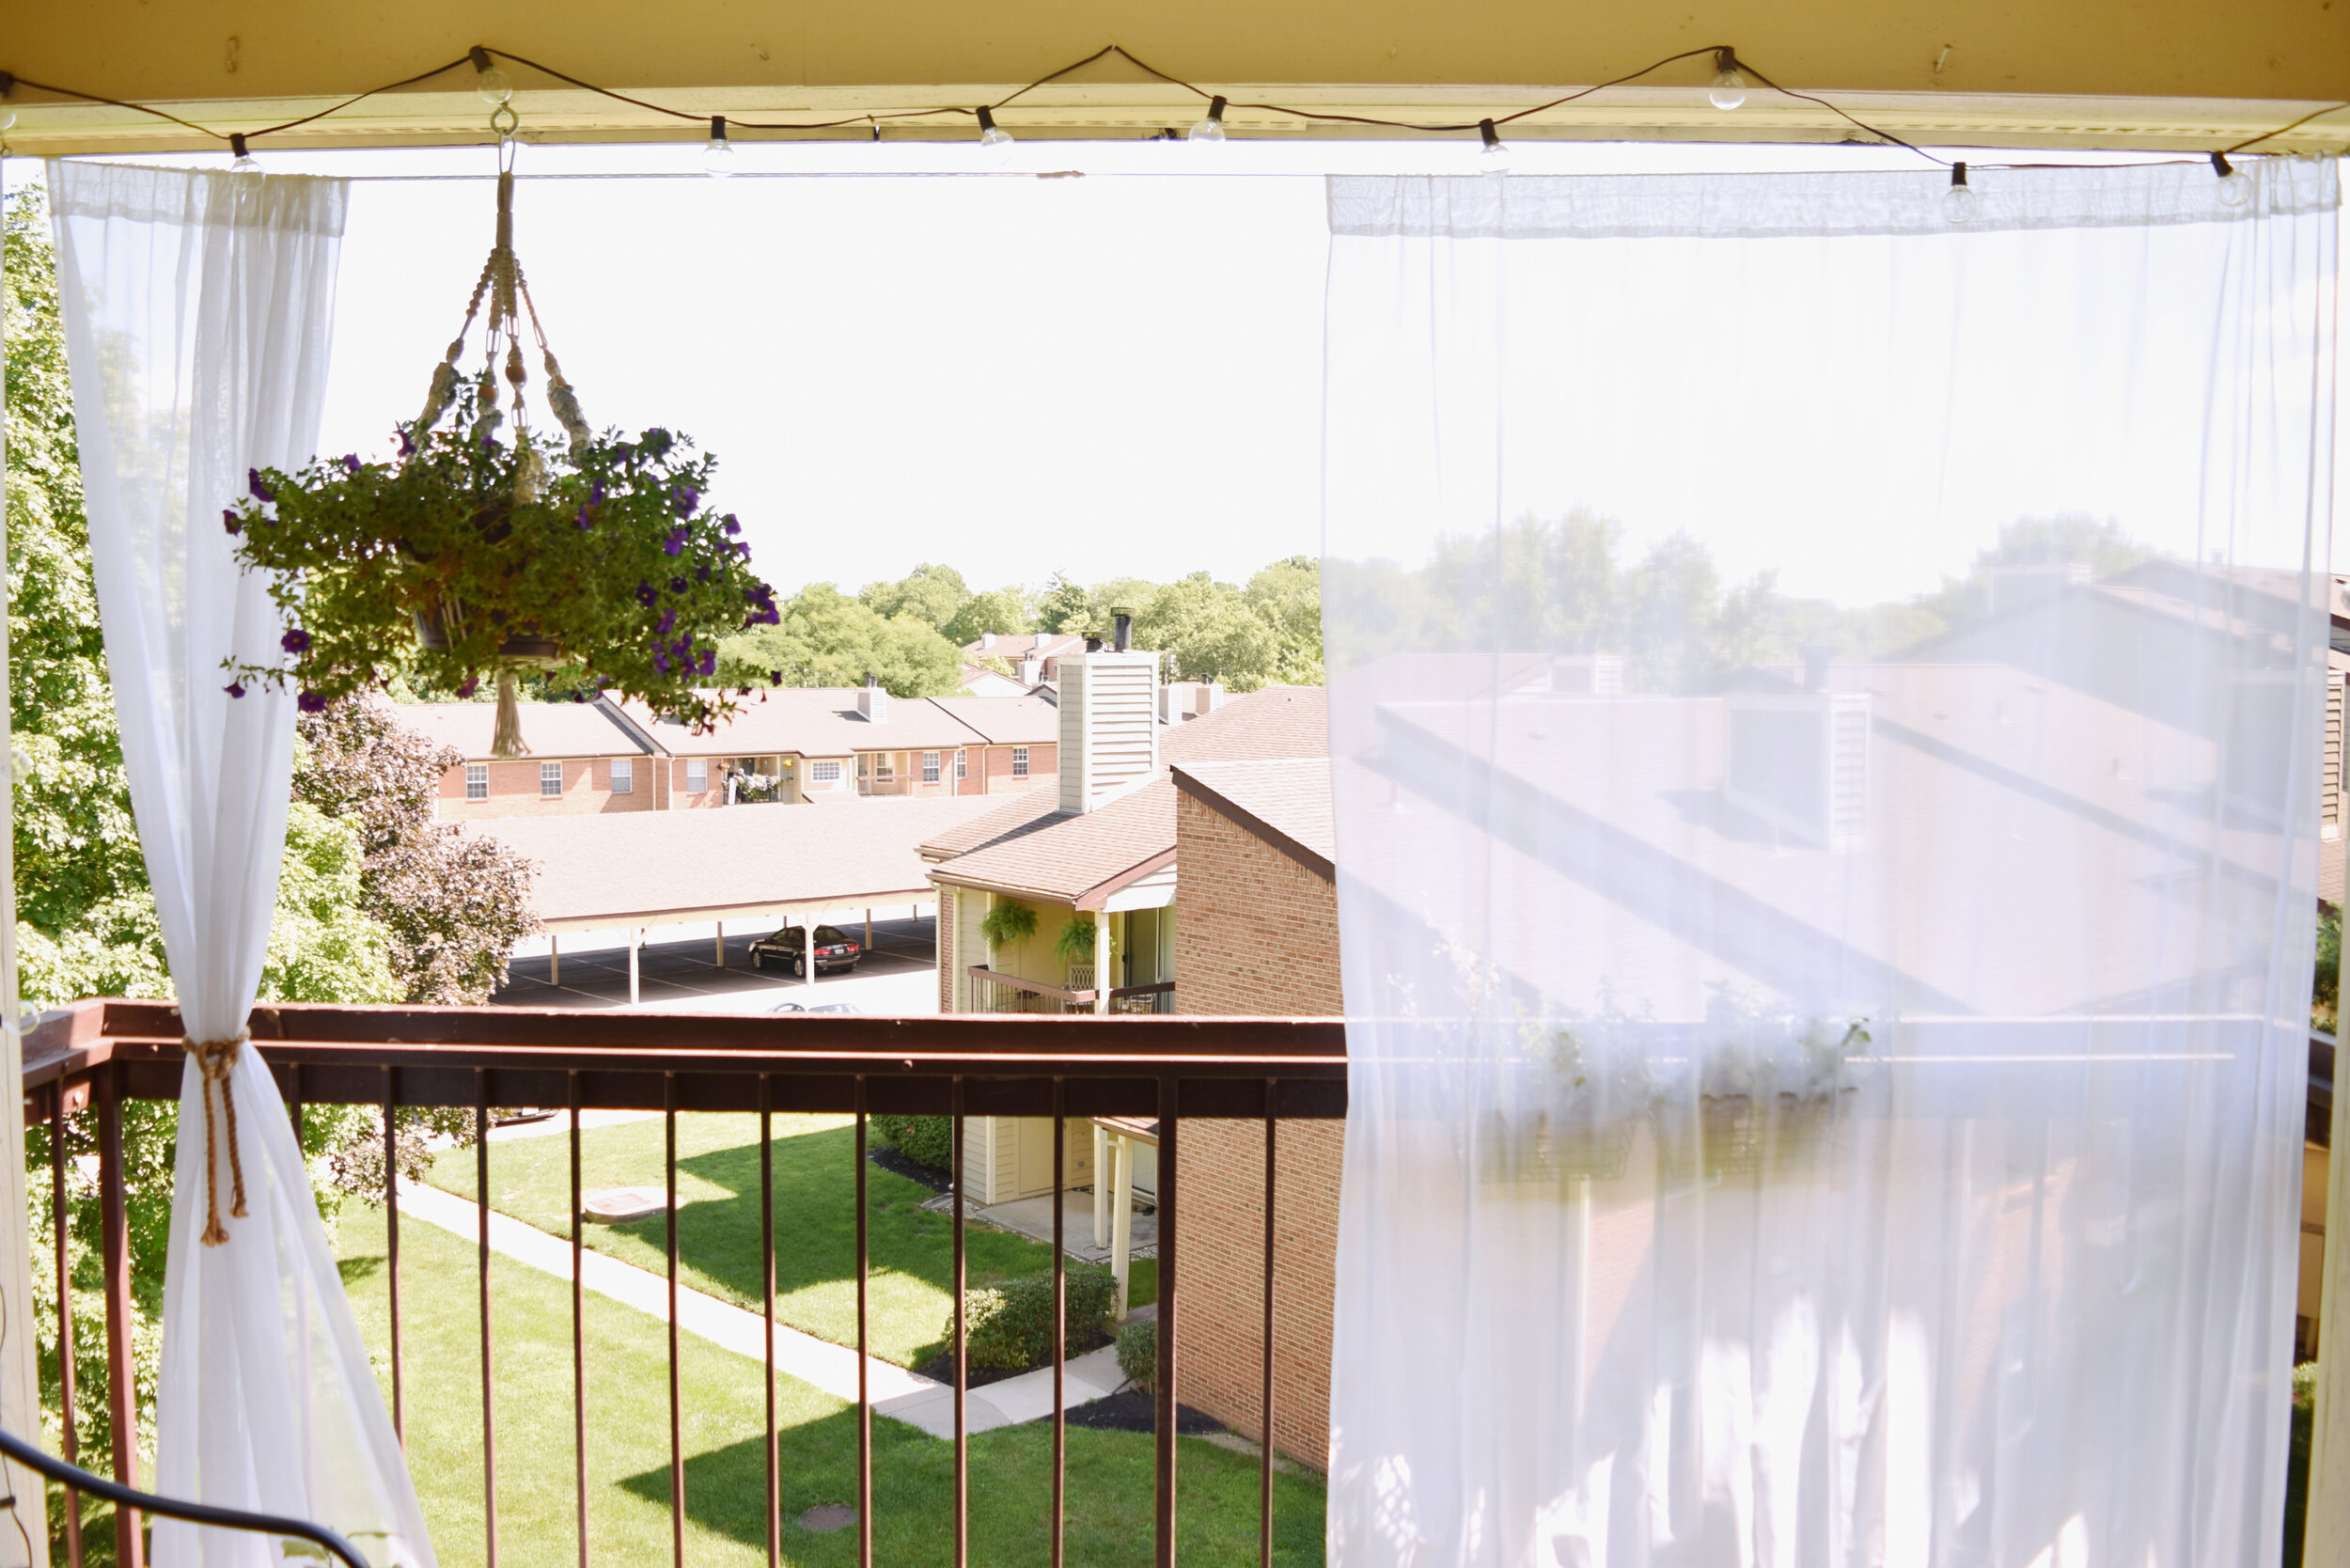
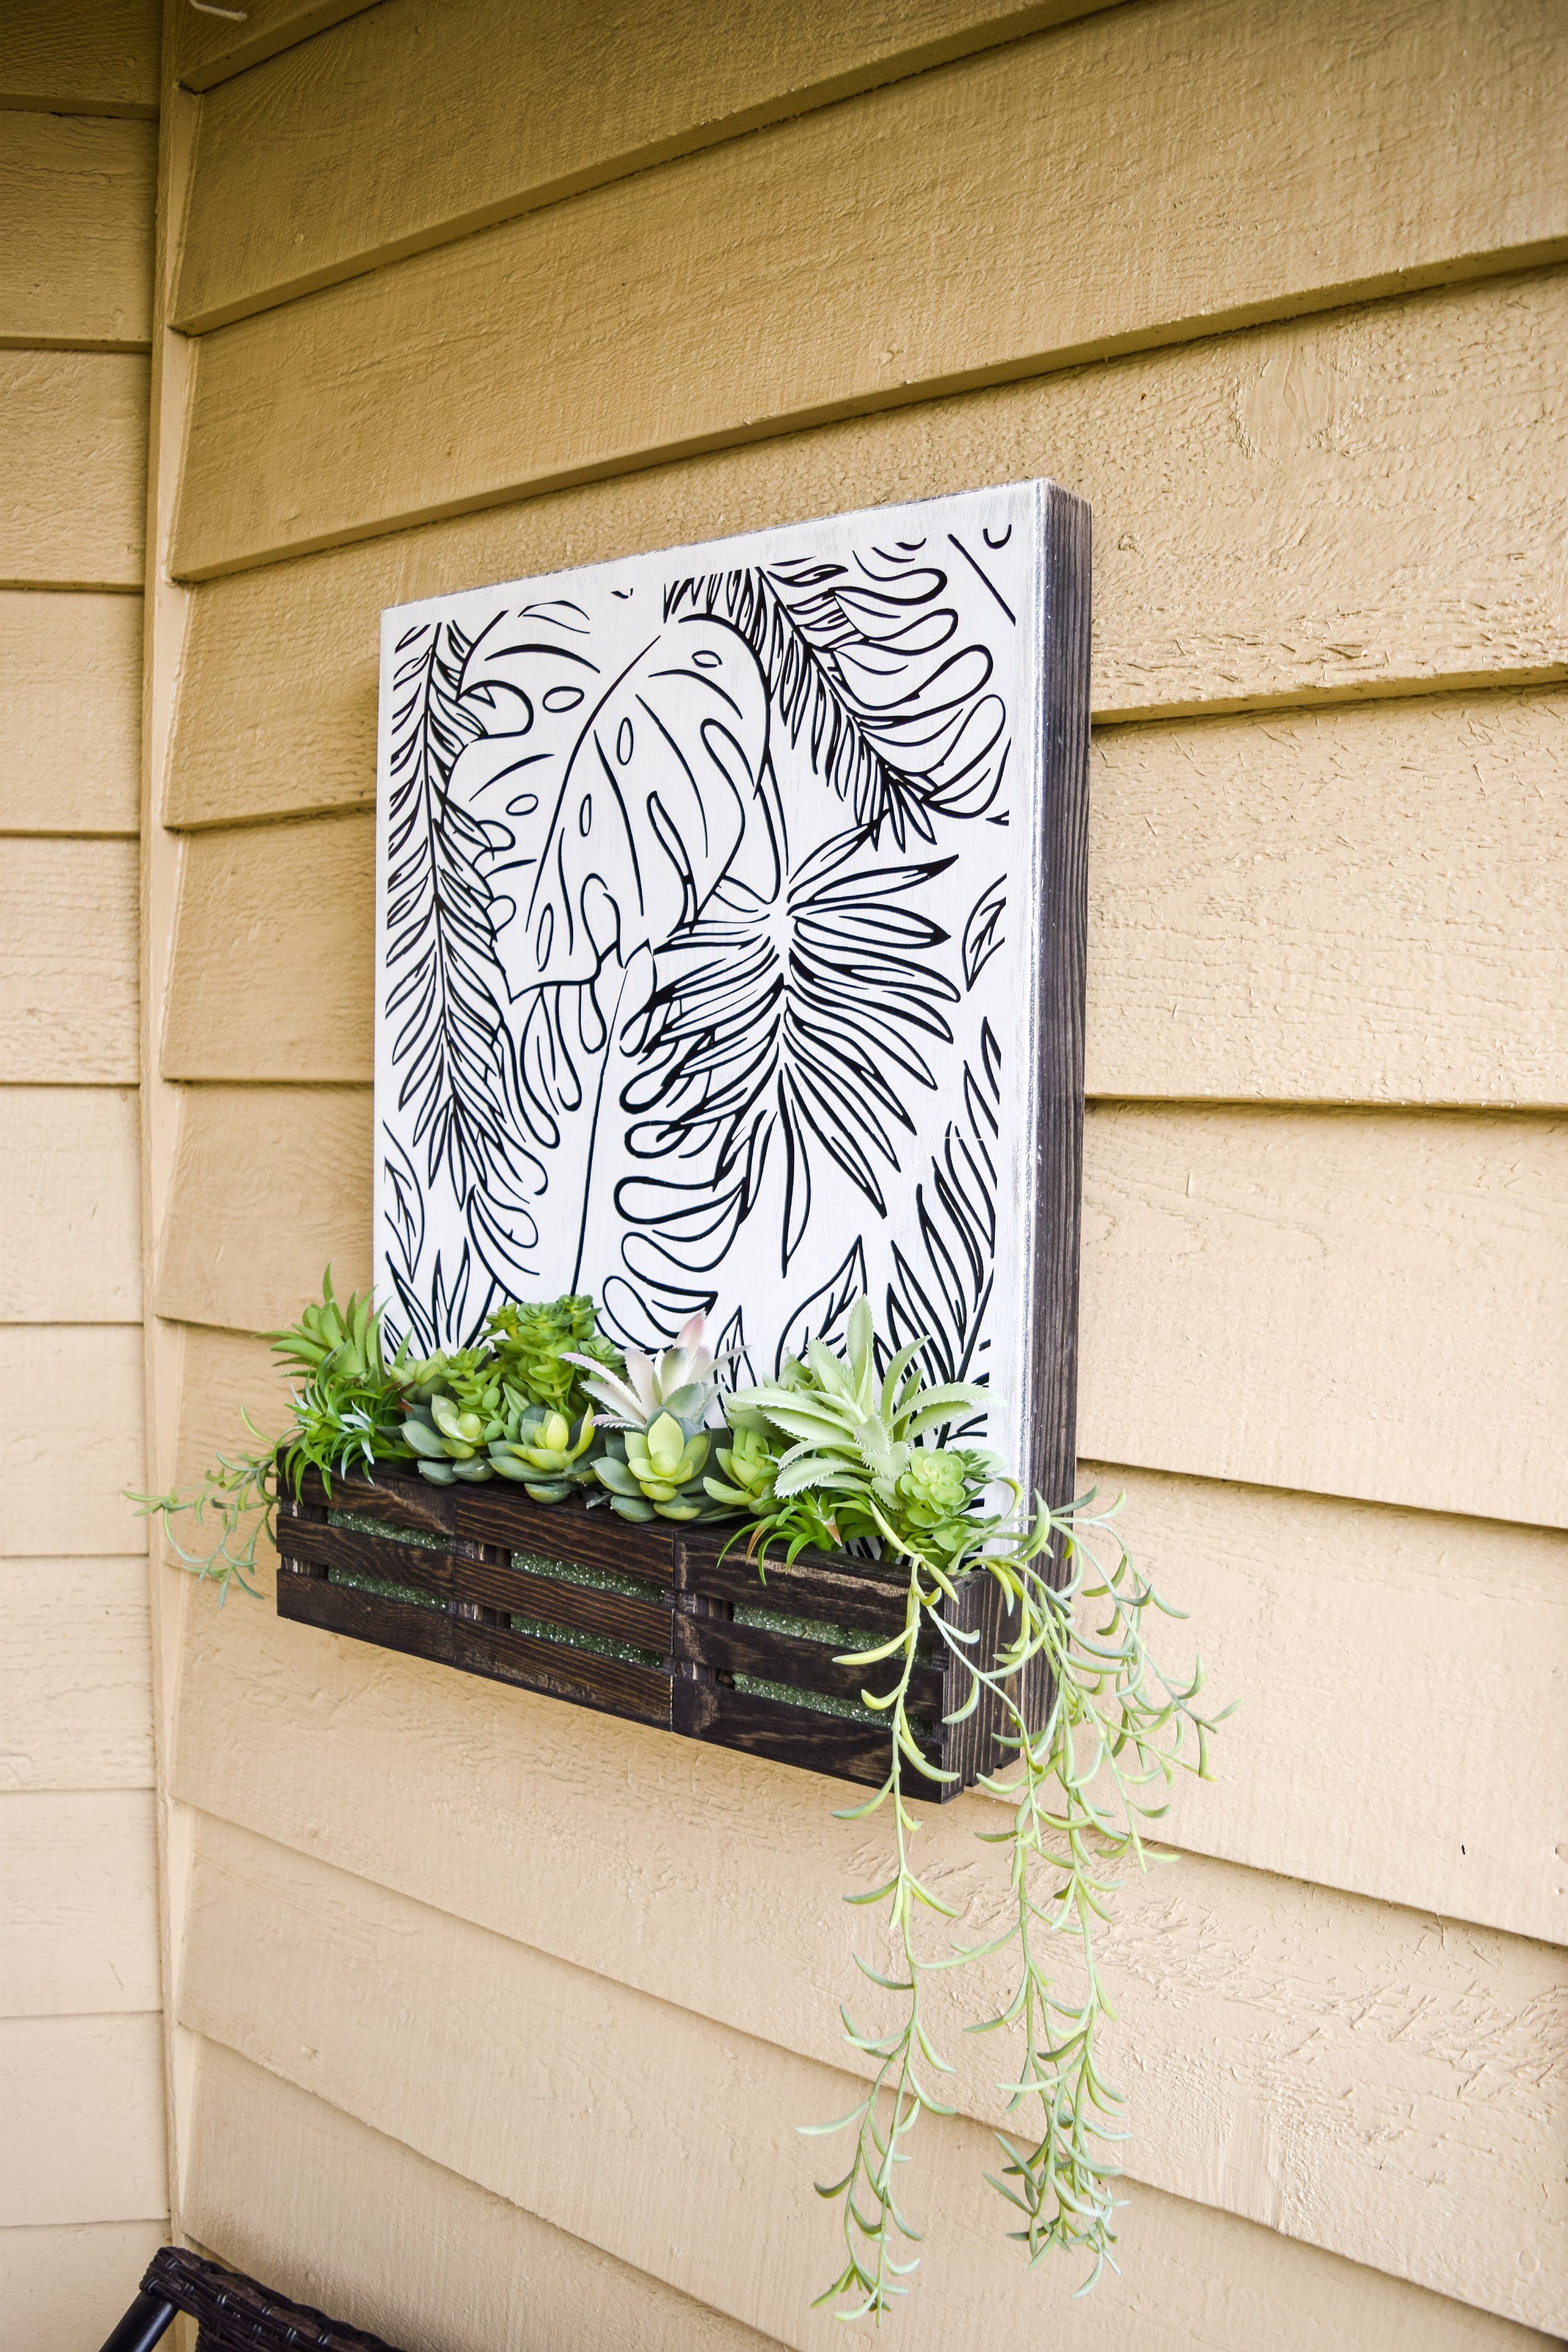
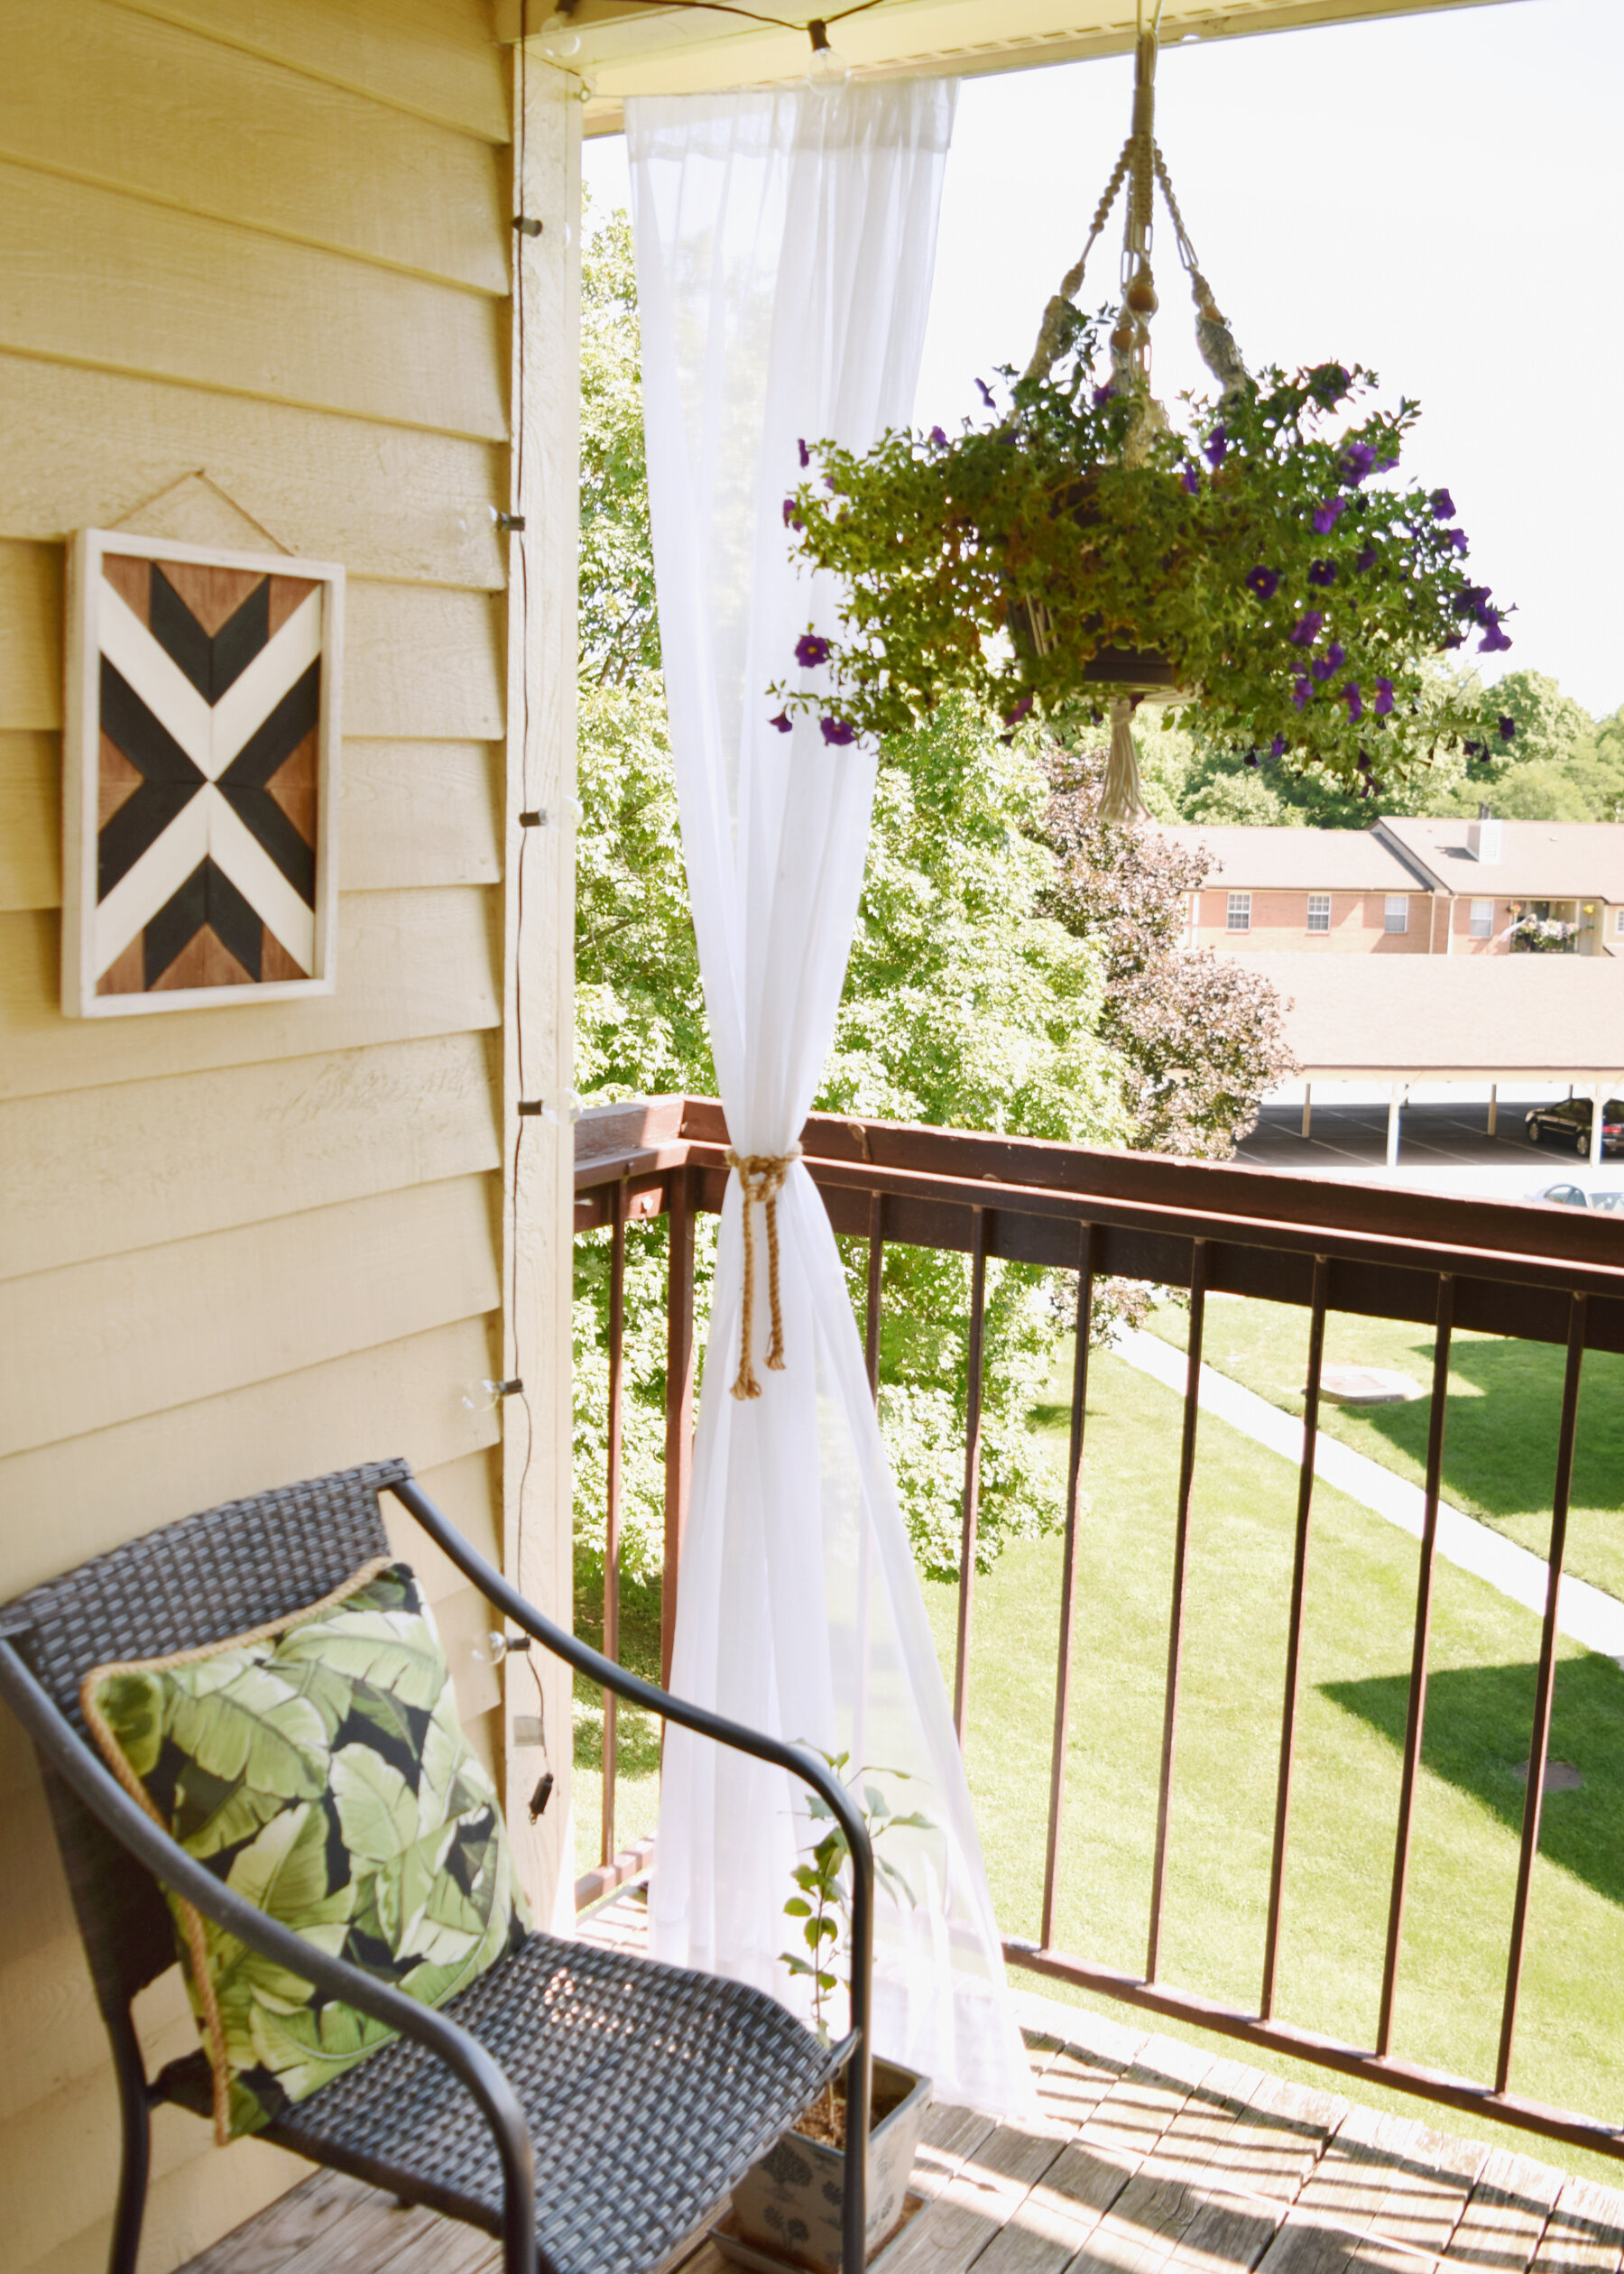
One of the key features of my patio makeover has to be the privacy curtains I added to my balcony. They’ve been up a few weeks now and let me tell you, they were the best thing I’ve ever done on my patio.
So I’m here to show you the best way to hang curtains when you have a covered patio or balcony. It’s also a renter-friendly option because it only involves drilling a couple holes, which could easily be filled in later.
You can check out my entire patio makeover in the video below, and the tutorial for the curtains comes in around the 8:33 mark. Under the video I have all the supplies and steps you’ll need to complete this project.
Supplies
A roll of white nylon clothesline rope
Two bolt snaps
White sheer curtains (measured to cover your balcony, two 84” panels worked for me)
Lighter
Scissors
Tape measure
Pencil

1) First up, measure and mark where you want the eye hook to go at the top of the balcony opening. Then use a drill to make a pilot hole.

2) Next, just twist in the screw eye hook. (You can use pliers to help grip the hook when screwing it into the wall). Then repeat steps 1 and 2 on the opposite wall.
Now, you may be thinking it’s time to hang the rope and curtains… which would make this a super short tutorial… but we’re not there yet! I want to string a second rope that will go through the bottom hem of the curtains to prevent them from blowing around on a windy day.

3) Measure from the top eye hook to the floor the length of your curtains. Mine are 84 inches, so I’m making where to drill at around 83 inches, just so the bottom hem of the curtains aren’t pulled too tight to the rope.

4) Next, drill the pilot holes and screw in the eye hooks. Then repeat steps 3 and 4 to install the final hook on the other side.
5) After the hooks are installed, cut two pieces of the clothesline rope so you have more than enough to stretch across the top and bottom of your patio.

6) Tie a anchor knot to attach the bolt snap to one end of the rope:
First, insert your rope through the bottom of the bolt snap.
Then, loop the rope around to the back of the bolt snap and pull it back through.
Next, take the end of the rope around the back of the left-side rope, up and through the loops wrapped around the bolt snap and pull it tight.
Finish it off by wrapping the end around the rope and through the loop like you see here twice. That will lock it in place.
To prevent your rope from fraying, use a lighter to melt the ends.

7) Finally, attach the bolt snap to the eye hook.


8) I hope you’re not already tired of rope tying because on the other side, it’s time to add a midshipman’s knot. I chose this one because you’re able to pull the knot to make the rope nice and tight.
To tie the knot, first insert the rope through the eye hook opposite the bolt snap.
Next, cross the end over the top of the rope, around the back, and through the loop like so.
Now, make a D-shape with the rope end and take it under and around the loop of the D and pull it tight.
This is the cool part. To tighten the rope, pull the rope on the right side with your right hand and guide the knot down with your left hand until it’s nice and tight.
Finally, lock the knot in place using the same knots used to lock in the anchor knot.
And repeat that same exact process to tie the top rope

9) With the ropes tied and attached, it’s time to add the curtains. All you have to do is unhook the bolt snaps and string the rope through the top and bottom hems of both curtains. Then just re-hook the bolt snaps to the eye hooks and you have your curtained patio.

pin this post

latest posts