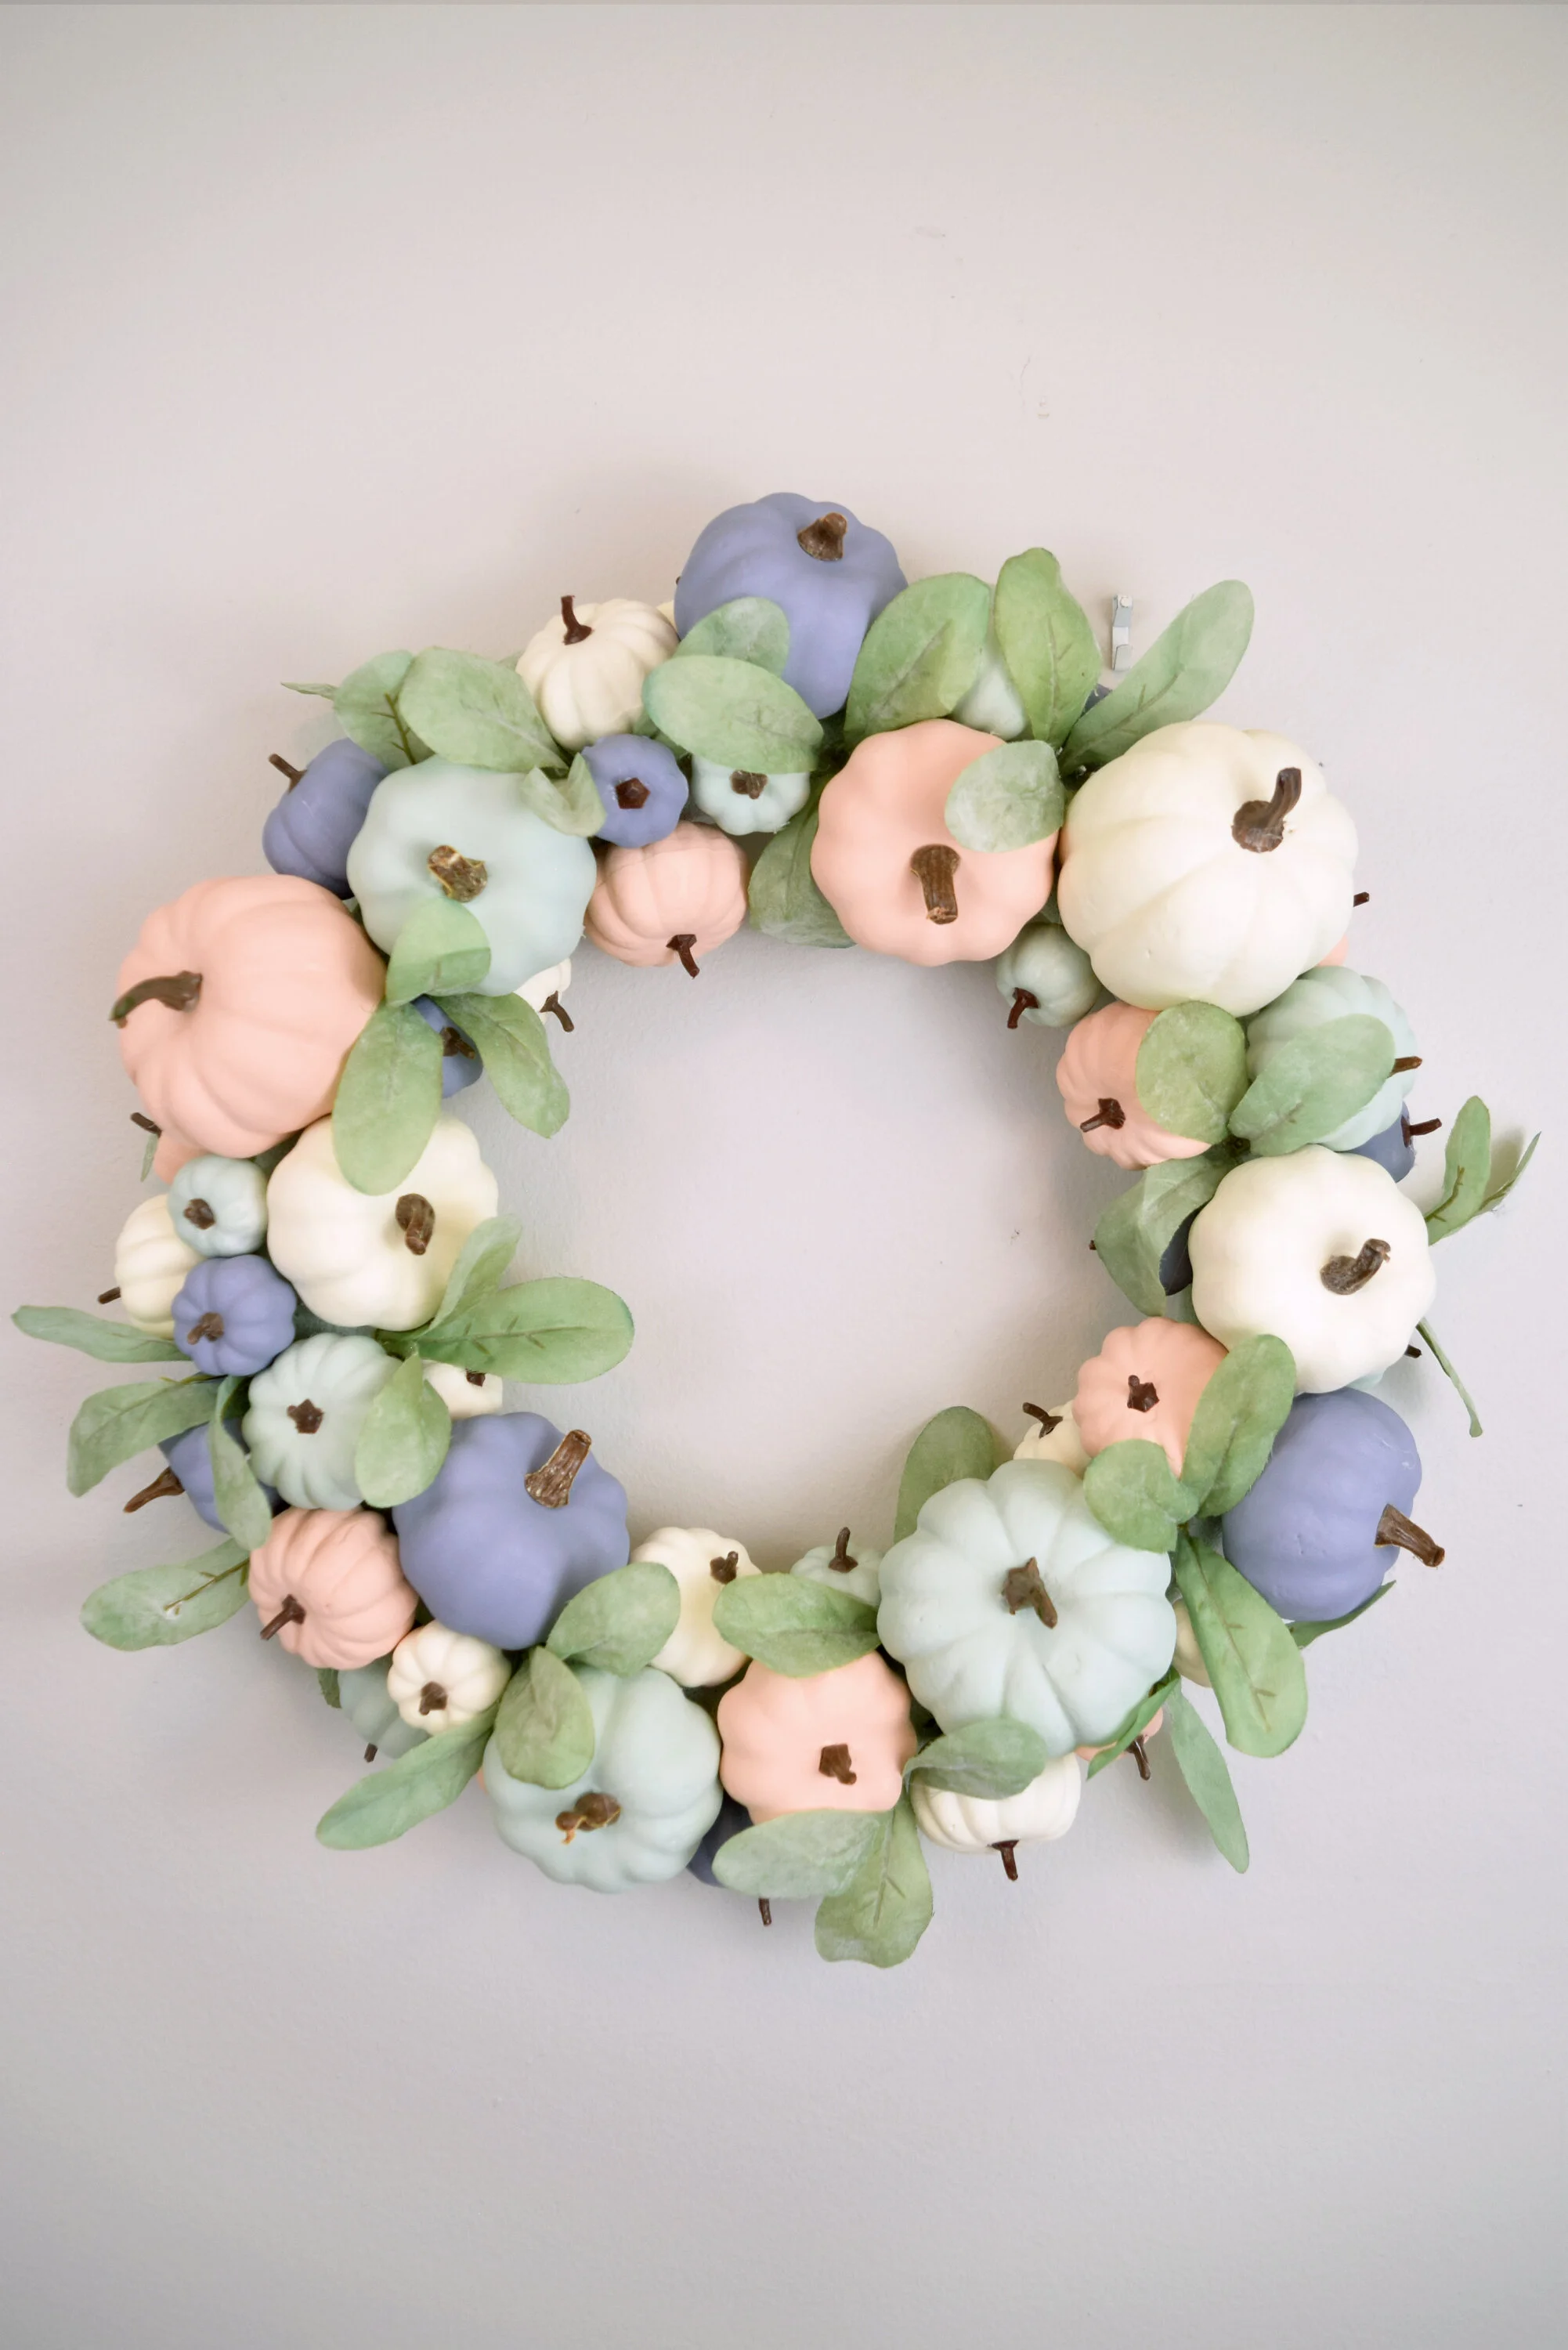
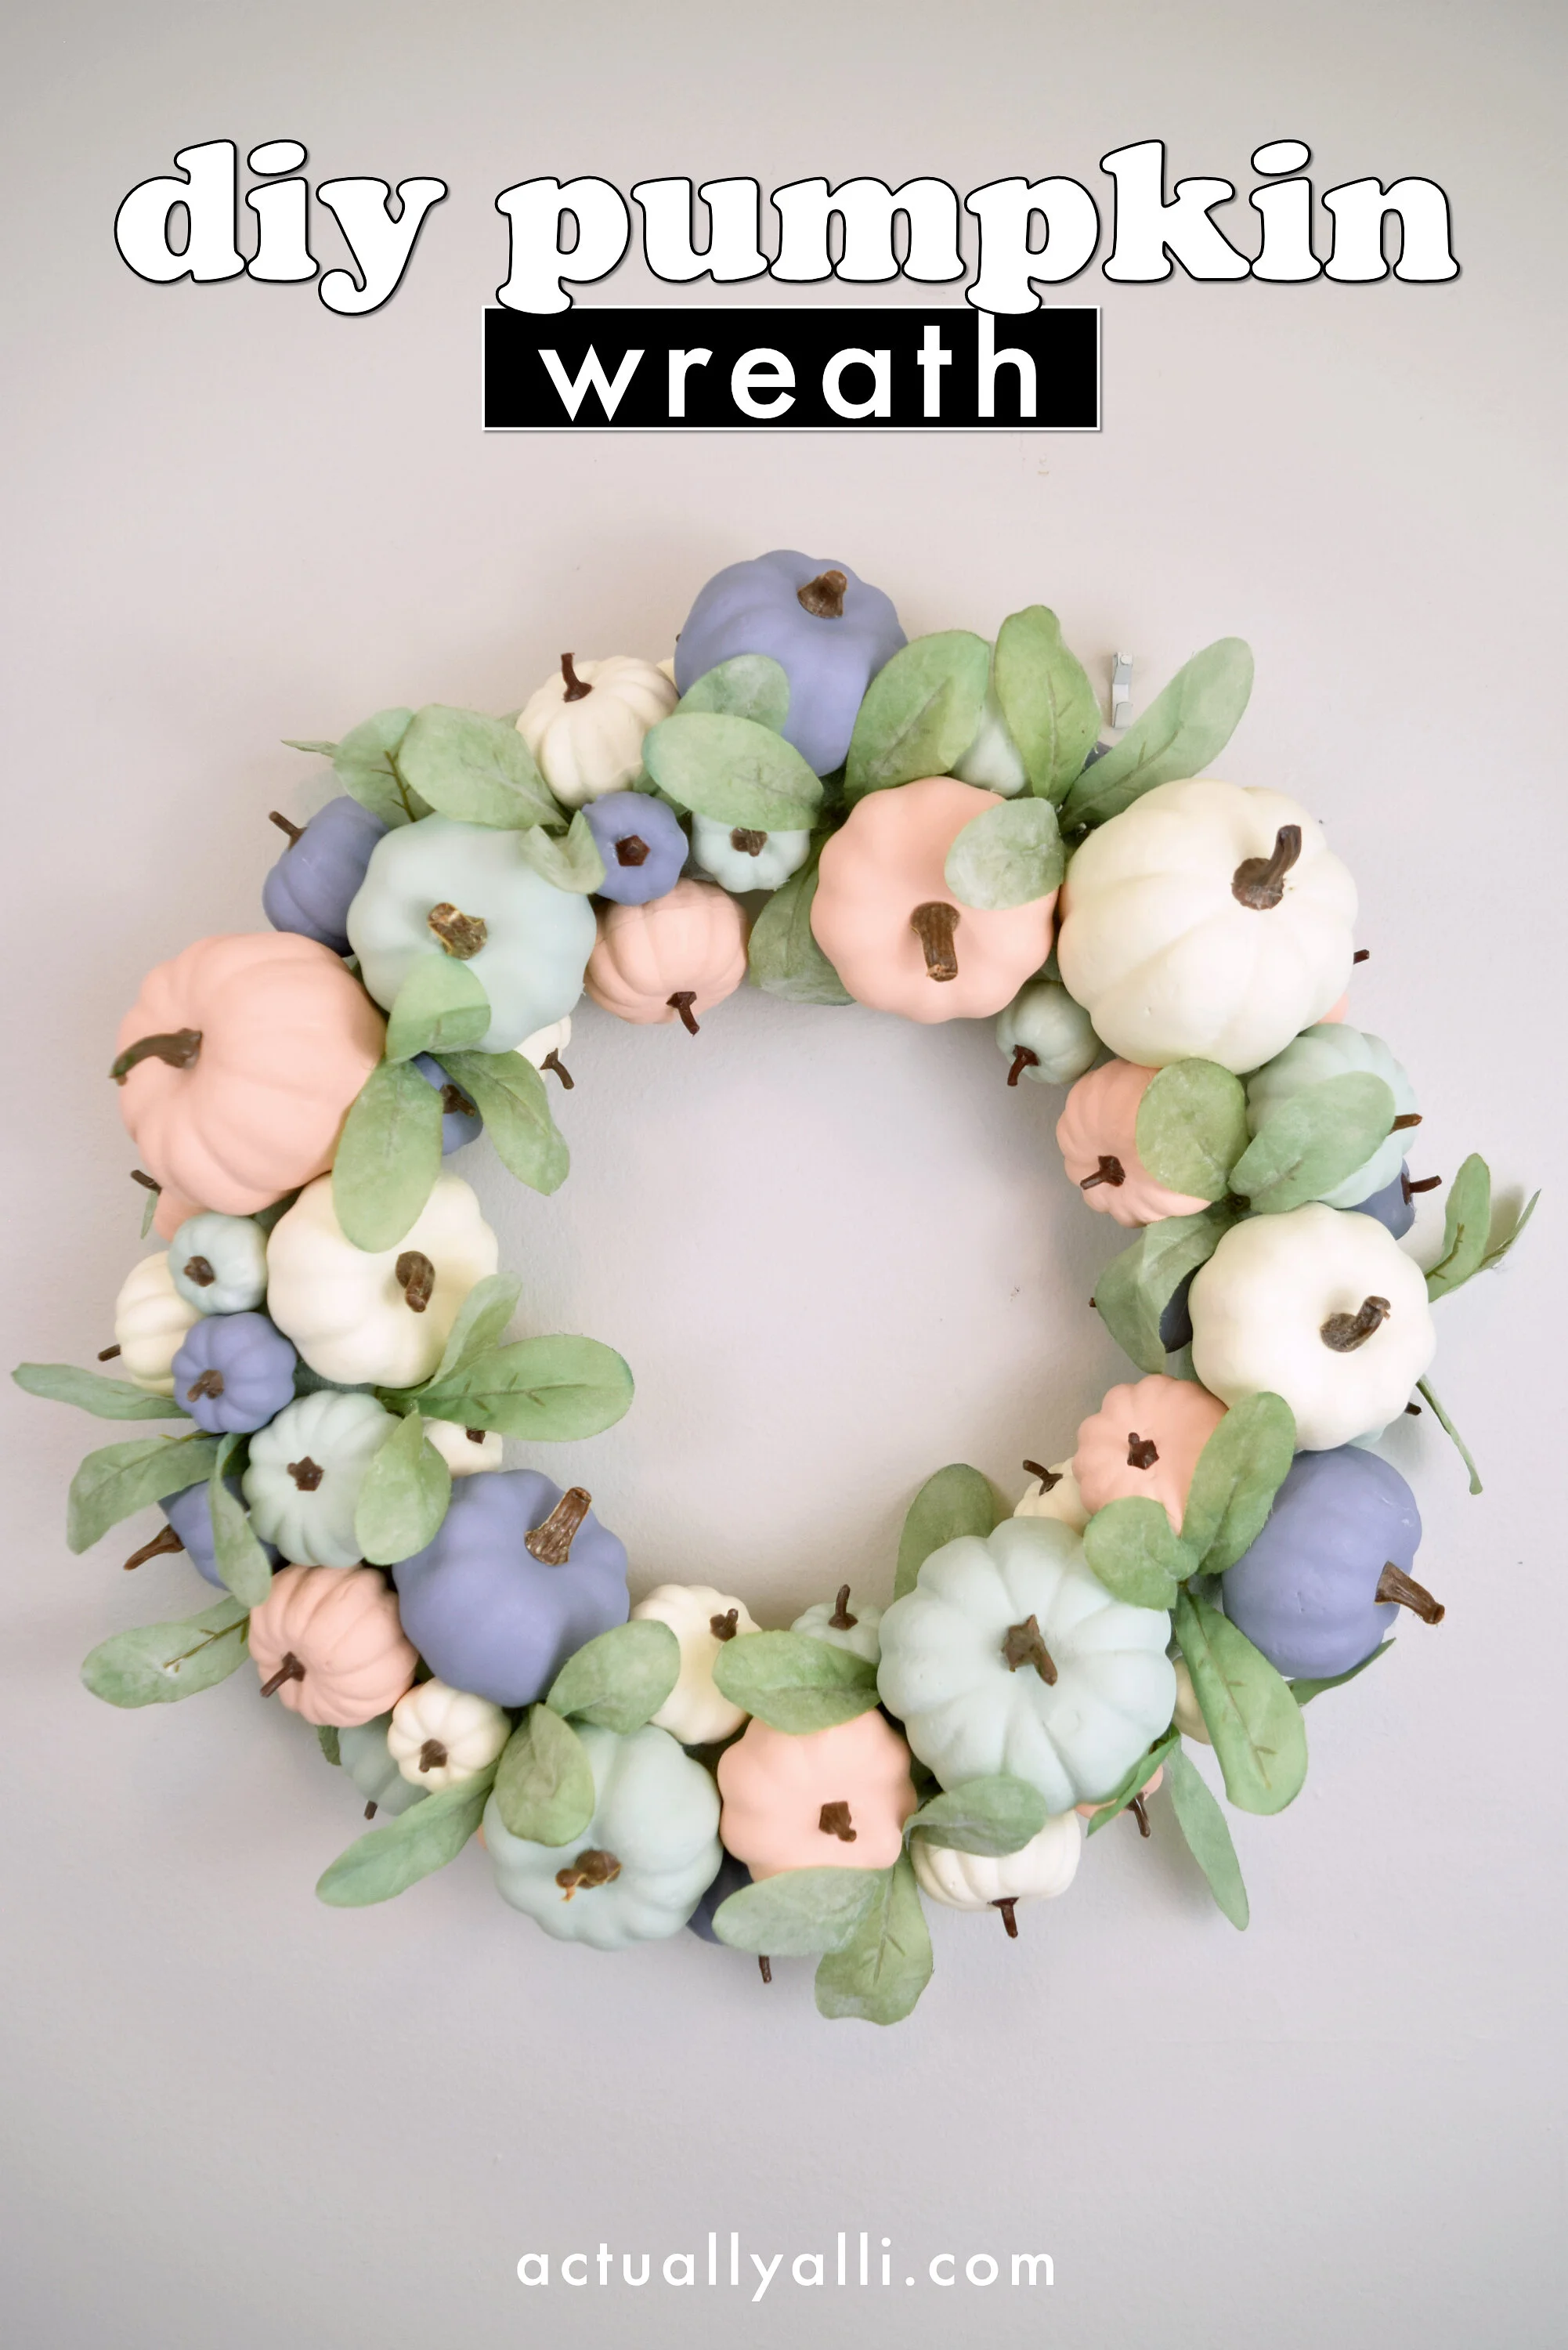
DIY Modern Farmhouse Pumpkin Wreath

It’s September, which means even though the weather refuses to dip below 75, it’s fall! And I love fall most of all (yes I said that to sound like a corny Pinterest quote, but it’s true so *shrug emoji*).
Today I’m tackling a pumpkin-covered fall wreath. I’ve seen this wreath done by a few others, and I think the idea was originally inspired by the Instagramer Mrs. Threadhead.
The thing with all those amazing pumpkin wreaths that I didn’t like, though, was that they were all bright or rainbow colors. Which is SO cute, but doesn’t match my decor (or my “brand” or whatever lol). So I wanted to tone down the rainbow colors by choosing a muted modern-farmhouse inspired color palette.
Watch the video tutorial to make this wreath below, or keep scrolling for the text tutorial.
Supplies:
A lot of small foam pumpkins in multiple sizes (I picked mine up at Dollar Tree and Joann’s)
Foam 14” wreath form
Chalk paint in sage green, pale orange, lavender, and cream (or white chalk paint and acrylic paint to make your own colors!)
Faux lambs ear
Glue gun
Gorilla hot glue sticks
White spray paint
Toothpicks
Paintbrushes

Instructions:
1) I started with several packs of foam pumpkins. I got mine at Dollar Tree and Joann’s. You’ll actually need at least double what you see above. First, I removed all the tags and stems.

2) Next, I took the pumpkins outside and gave them a light coat of white spray paint. This is just to dull the vibrant colors to make them easier to paint. I let the paint dry completely before moving on.
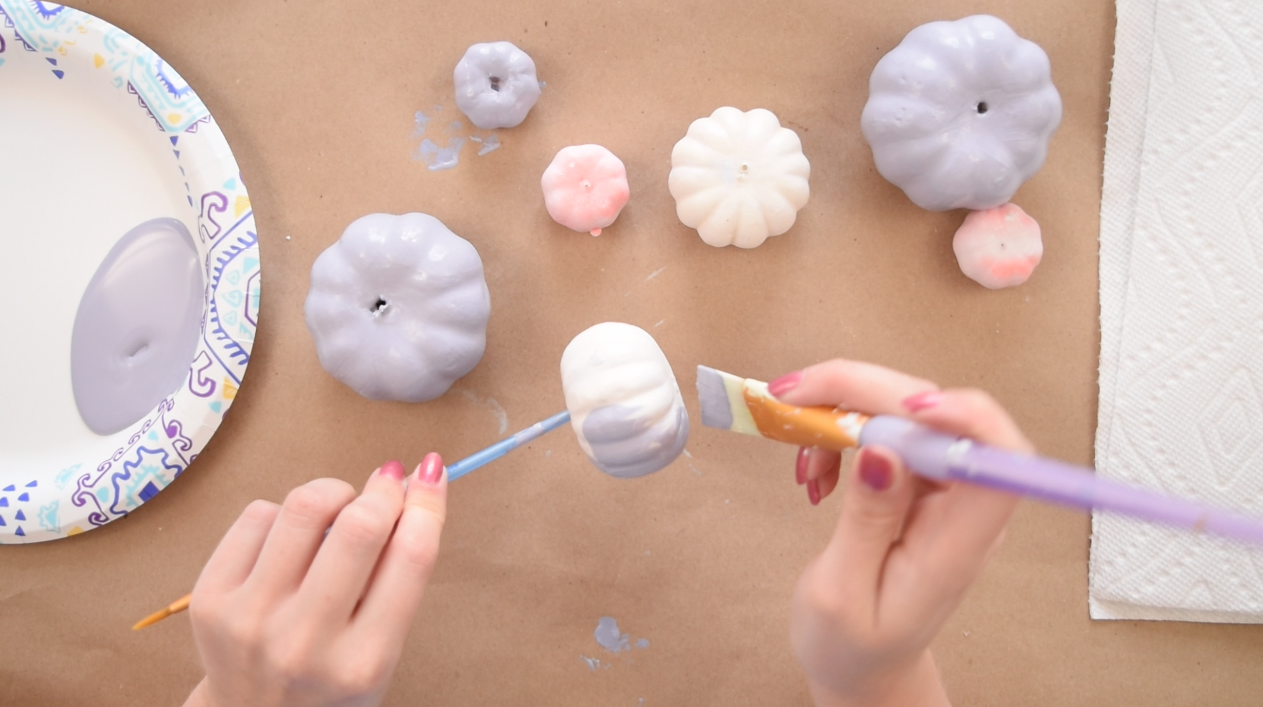
3) I’m painting my pumpkins in four different colors, starting with the Waverly chalk paint in lavender. I chose it because of it’s greyish-purple-blue tone.

4) Now I couldn’t find small bottles of other chalk paint colors anywhere, so I mixed my own using white chalk paint and colored acrylic paint. First I mixed up a yellowish off-white color… Then combined terra cotta and bright orange to make a pale orange paint… and finally, I mixed evergreen and olive green acrylic paint to make a sage green color. A tip, the colors will dry darker than what they appear when wet!

5) With my colors mixed, I gave the pumpkins their first coat of paint. I made sure to paint the same amount of pumpkins in each color. Let the first coat of paint dry for about 2 hours before moving on.
6) I then added the second coat of paint, and these pumpkins began looking sooo good. I actually let all the pumpkins dry overnight (because I didn’t feel like finishing this project in one day lol) but they were dry in about 2 hours.

7) As the second coat of paint was drying, I decided I wanted to lightly spray some white spray paint on the foam wreath form to mute the bright green color of the foam. Then I let that dry completely.
8) Next, I used Gorilla brand hot glue sticks to reattach all of the stems to the pumpkins. I’ll be using Gorilla brand hot glue for this entire project.
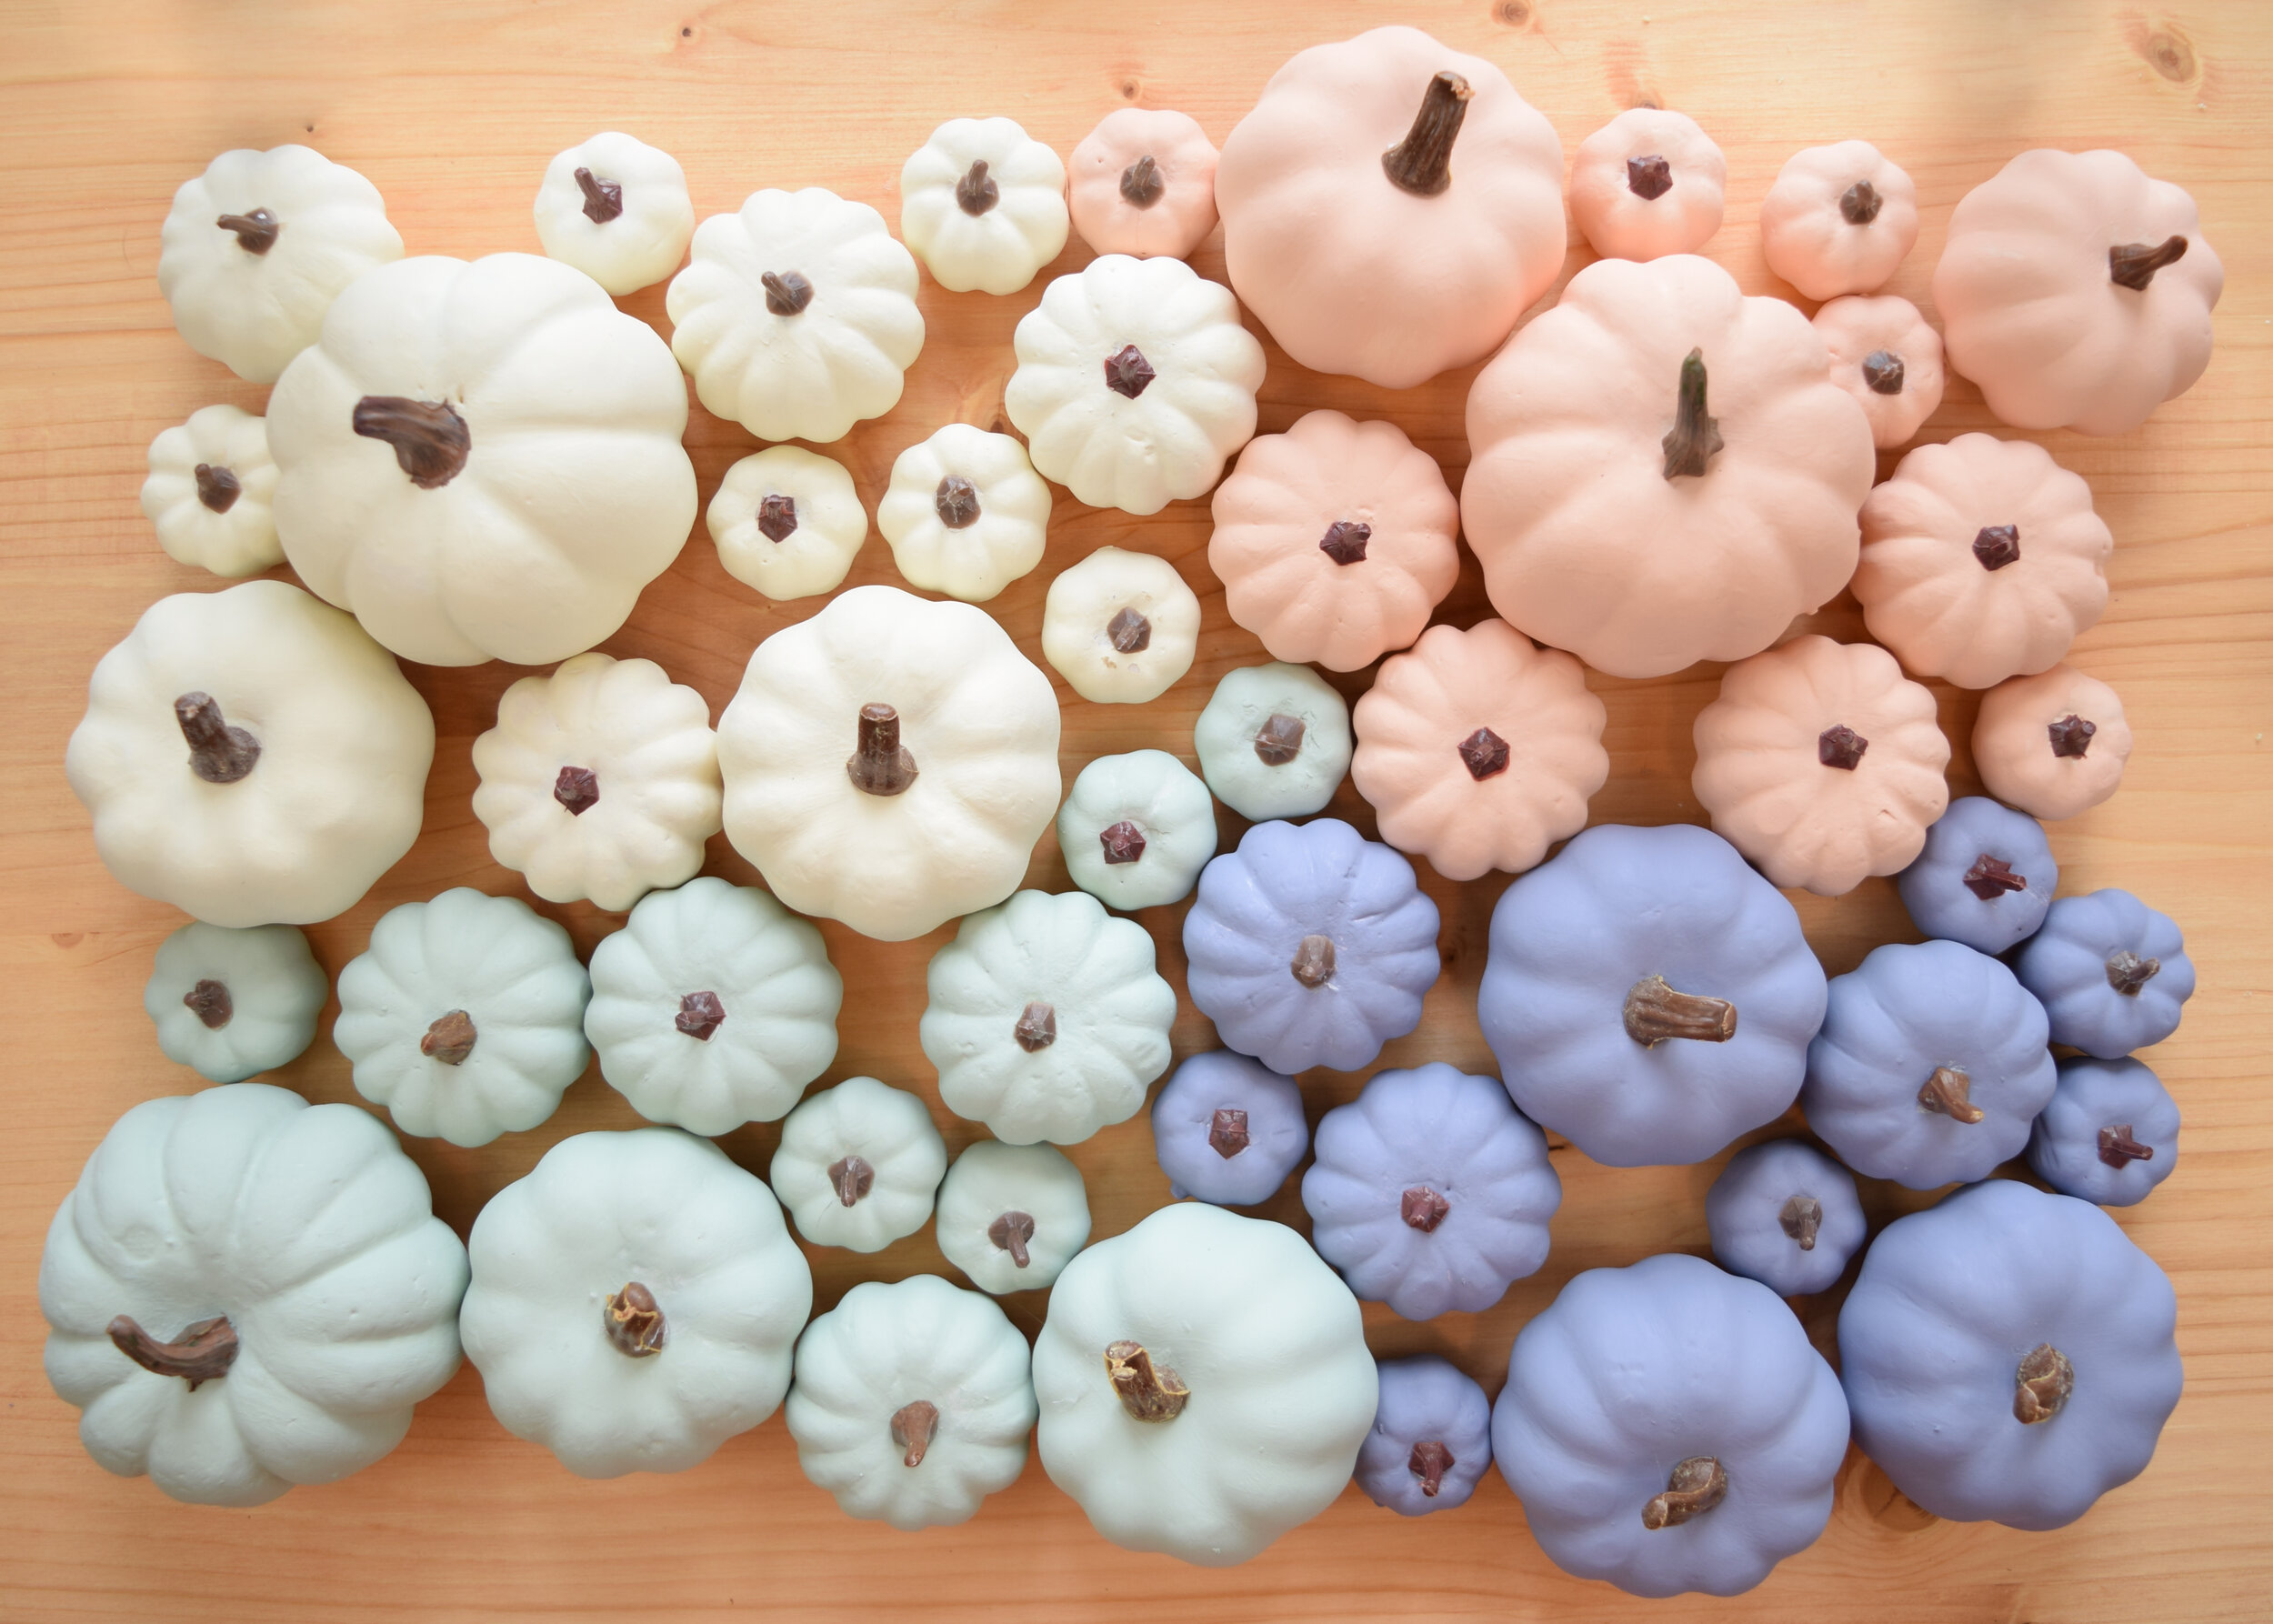
After I glued all the stems on, I had to take a moment to admire just how CUTE all these pumpkins look! I spent a good 20 minutes arranging them and taking photos for my blog, Instagram and YouTube community tab.
The colors turned out exactly how I wanted them to and now I wish I had about 100 more of these pumpkins in all different sizes because imagine scattering them all throughout your fall decor!
At this point, I knew this DIY was going to be fantastic.

9) OK back to the tutorial! I put bit of hot glue the end of a toothpick, then stuck the toothpick into the bottom of each pumpkin. This will make it SO much easier to add the pumpkins to the foam wreath form.

10) Before I assembled the wreath, I tied some jute twine in two places at the top of the wreath form and secured the knots with hot glue.

11) Now it’s time to add the pumpkins. I put hot glue on the bottom of the toothpick and stuck it into the wreath. I started by placing the largest pumpkins because I wanted to ensure they were neatly spaced.
12) I then just repeated the steps of hot gluing and sticking the pumpkins all around the wreath. I recommend sticking the pumpkin into the form without glue first to just ensure you like the placement. I made the mistake of not doing that a few times, and the Gorilla hot glue makes it very difficult to readjust.

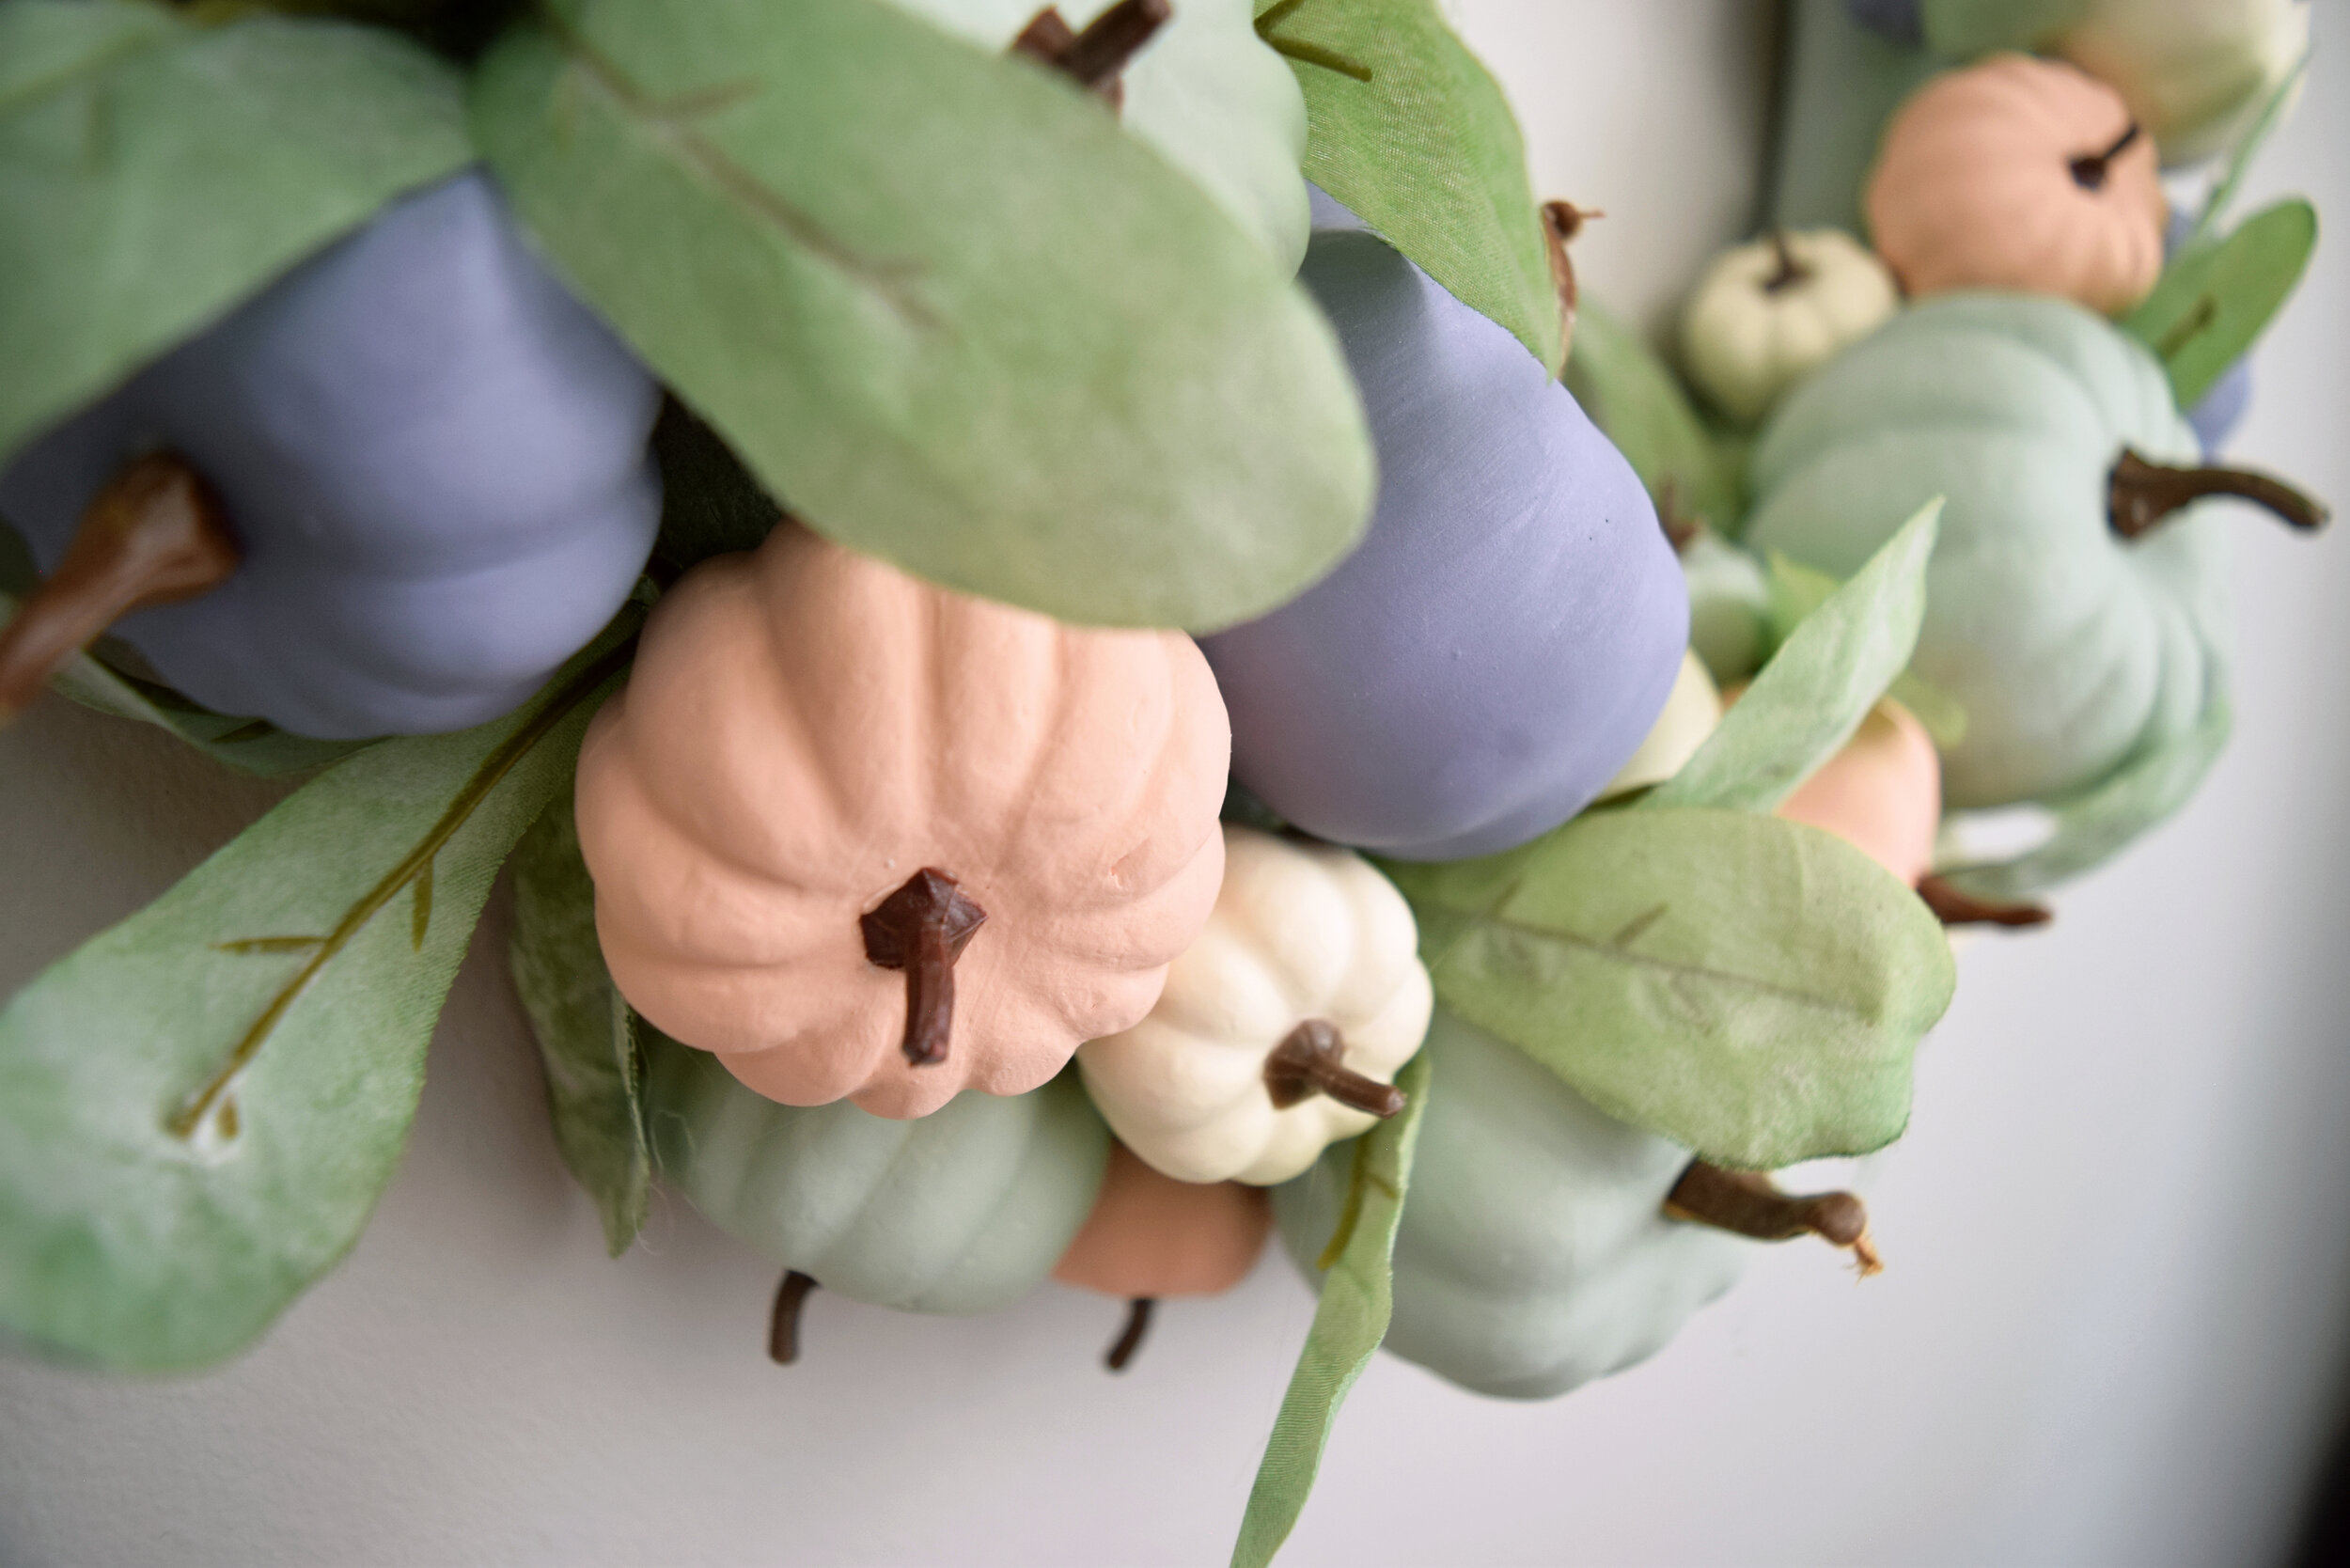
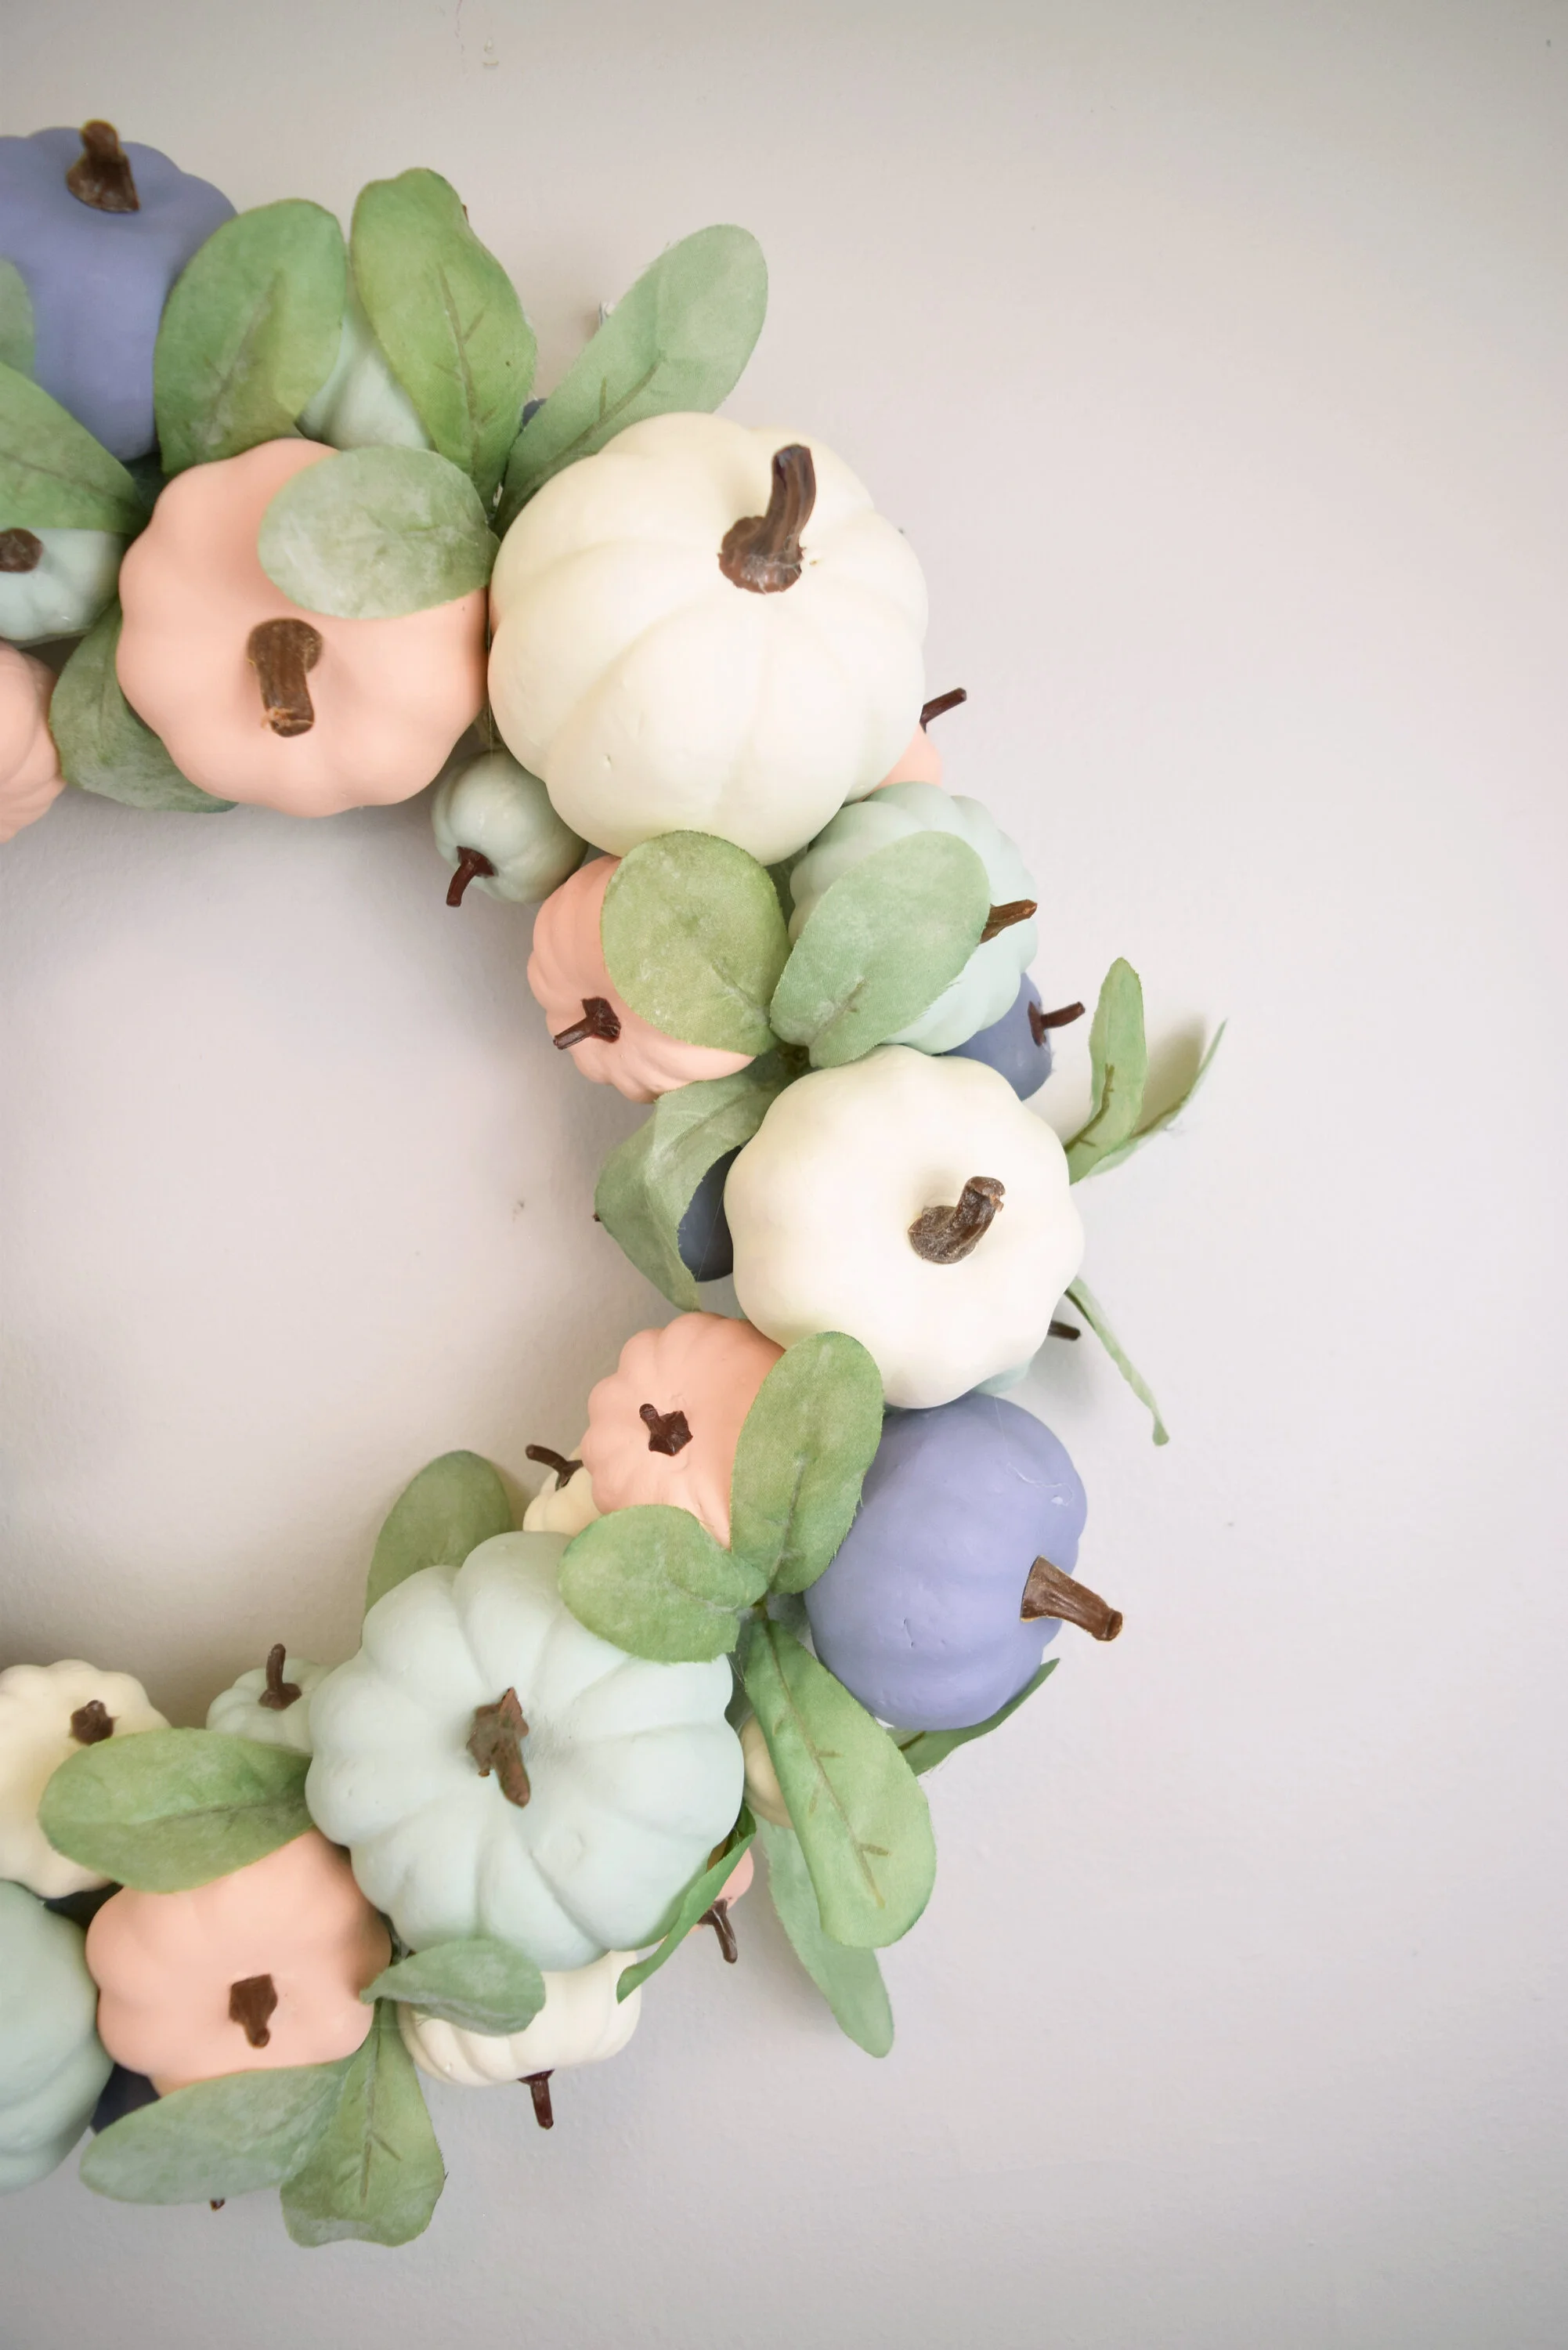
13) Finally, I’m going to fill out the wreath by hot gluing sprigs of this faux lambs ear I got from Walmart… since the pumpkins don’t cover the wreath form entirely, and I didn’t like the look of the gaps. I think this was the perfect finishing touch to make this look like a modern farmhouse wreath.
And here are a few photos of how this project turned out! I love everything about this wreath and I hope you enjoyed following along with my process to make it!

Don’t forget to give me a follow on my other social media below! I’d love to have you in the community I’m growing.
pin this post
latest posts