Black and White Halloween DIYs

HalloWeek is continuing with some black and white themed DIYs! So far I’ve done Dollar Tree DIYs and a thrift flip!
Black and white seems to be very popular this year as a trend for Halloween. Maybe because it almost is like neutral decor but a bit spookier with the black.
So I came up with a few black and white Halloween decor DIYs, which you can watch all the tutorials in the video right below. Then there are photos and the written instructions after that.
DIY Trick or Treat Sign

First up, let’s talk about this cute trick or treat sign! I found the wood letters at Dollar Tree and then totally revamped them by removing the pumpkins and adding some chic holographic black glitter over velvety matte black paint. This is hands-down my favorite Halloween DIY this year
Supplies
12x16 wood craft sign
Dollar Tree trick or treat sign, or any wood letter cutouts from the craft store
Black glitter
Black acrylic paint
White acrylic paint
Mod Podge
Hot glue
1) For this first DIY, I’m using this Dollar Tree wood trick-or-treat sign and this 12x16 wood craft sign from Joann’s. I started by taping around the edges of the sign because I like the white background, but not the brown frame.
2) After that, I decided to cut the pumpkins off the trick-or-treat sign carefully with my utility knife. This part is optional.
3) Next, I painted the frame of the craft sign and trick-or-treat sign with two coats of black acrylic paint. My craft sign already had a white background, but if yours doesn’t, give it a few coats of white paint!
4) Once all the paint dried, I used more painter’s tape to mask off the “or” on the trick-or-treat sign, this is optional again, I just wanted a really nice clean line for the next step.
5) Next, I painted Mod Podge over “trick” and covered it with black glitter. I repeated that with the word “treat”. I also used my fingers to press the glitter into the glue before dumping off the excess glitter.
6) I allowed the glitter to dry for about 5 minutes before going over all the glitter with a thick layer of Mod Podge to seal it in. I also sprinkled just a little extra glitter on top. I did this step for both trick and treat.
7) Once the glitter dried completely, I removed the painter’s tape off the sign and off trick or treat.
8) Then I found the middle of the sign, which I marked with painter’s tape, put hot glue on the back of trick or treat and carefully placed it in the middle of the sign.
DIY Spiderweb Door Mat

I’m using a Dollar Tree door mat for this next DIY. I’ve already done a sunflower doormat similar to this, and I wanted to do the same concept but for Halloween!
Supplies
Dollar Tree door mat
Dollar Tree chalk pen
Scissors
White acrylic paint
1) First thing I did was draw a semi-circle on the doormat by wrapping a string around a Dollar Tree chalk pen and holding the other end in place, making a make-shift compass.
2) Then I used the chalk pen and a ruler to make each spoke of the spider web and the connector pieces in between.
3) After that, I used a sharp pair of scissors to cut out the shape of the spider web.
6) Next, I painted on the spider web design using white acrylic paint and let it dry completely before putting it on display.
DIY Crow Wreath
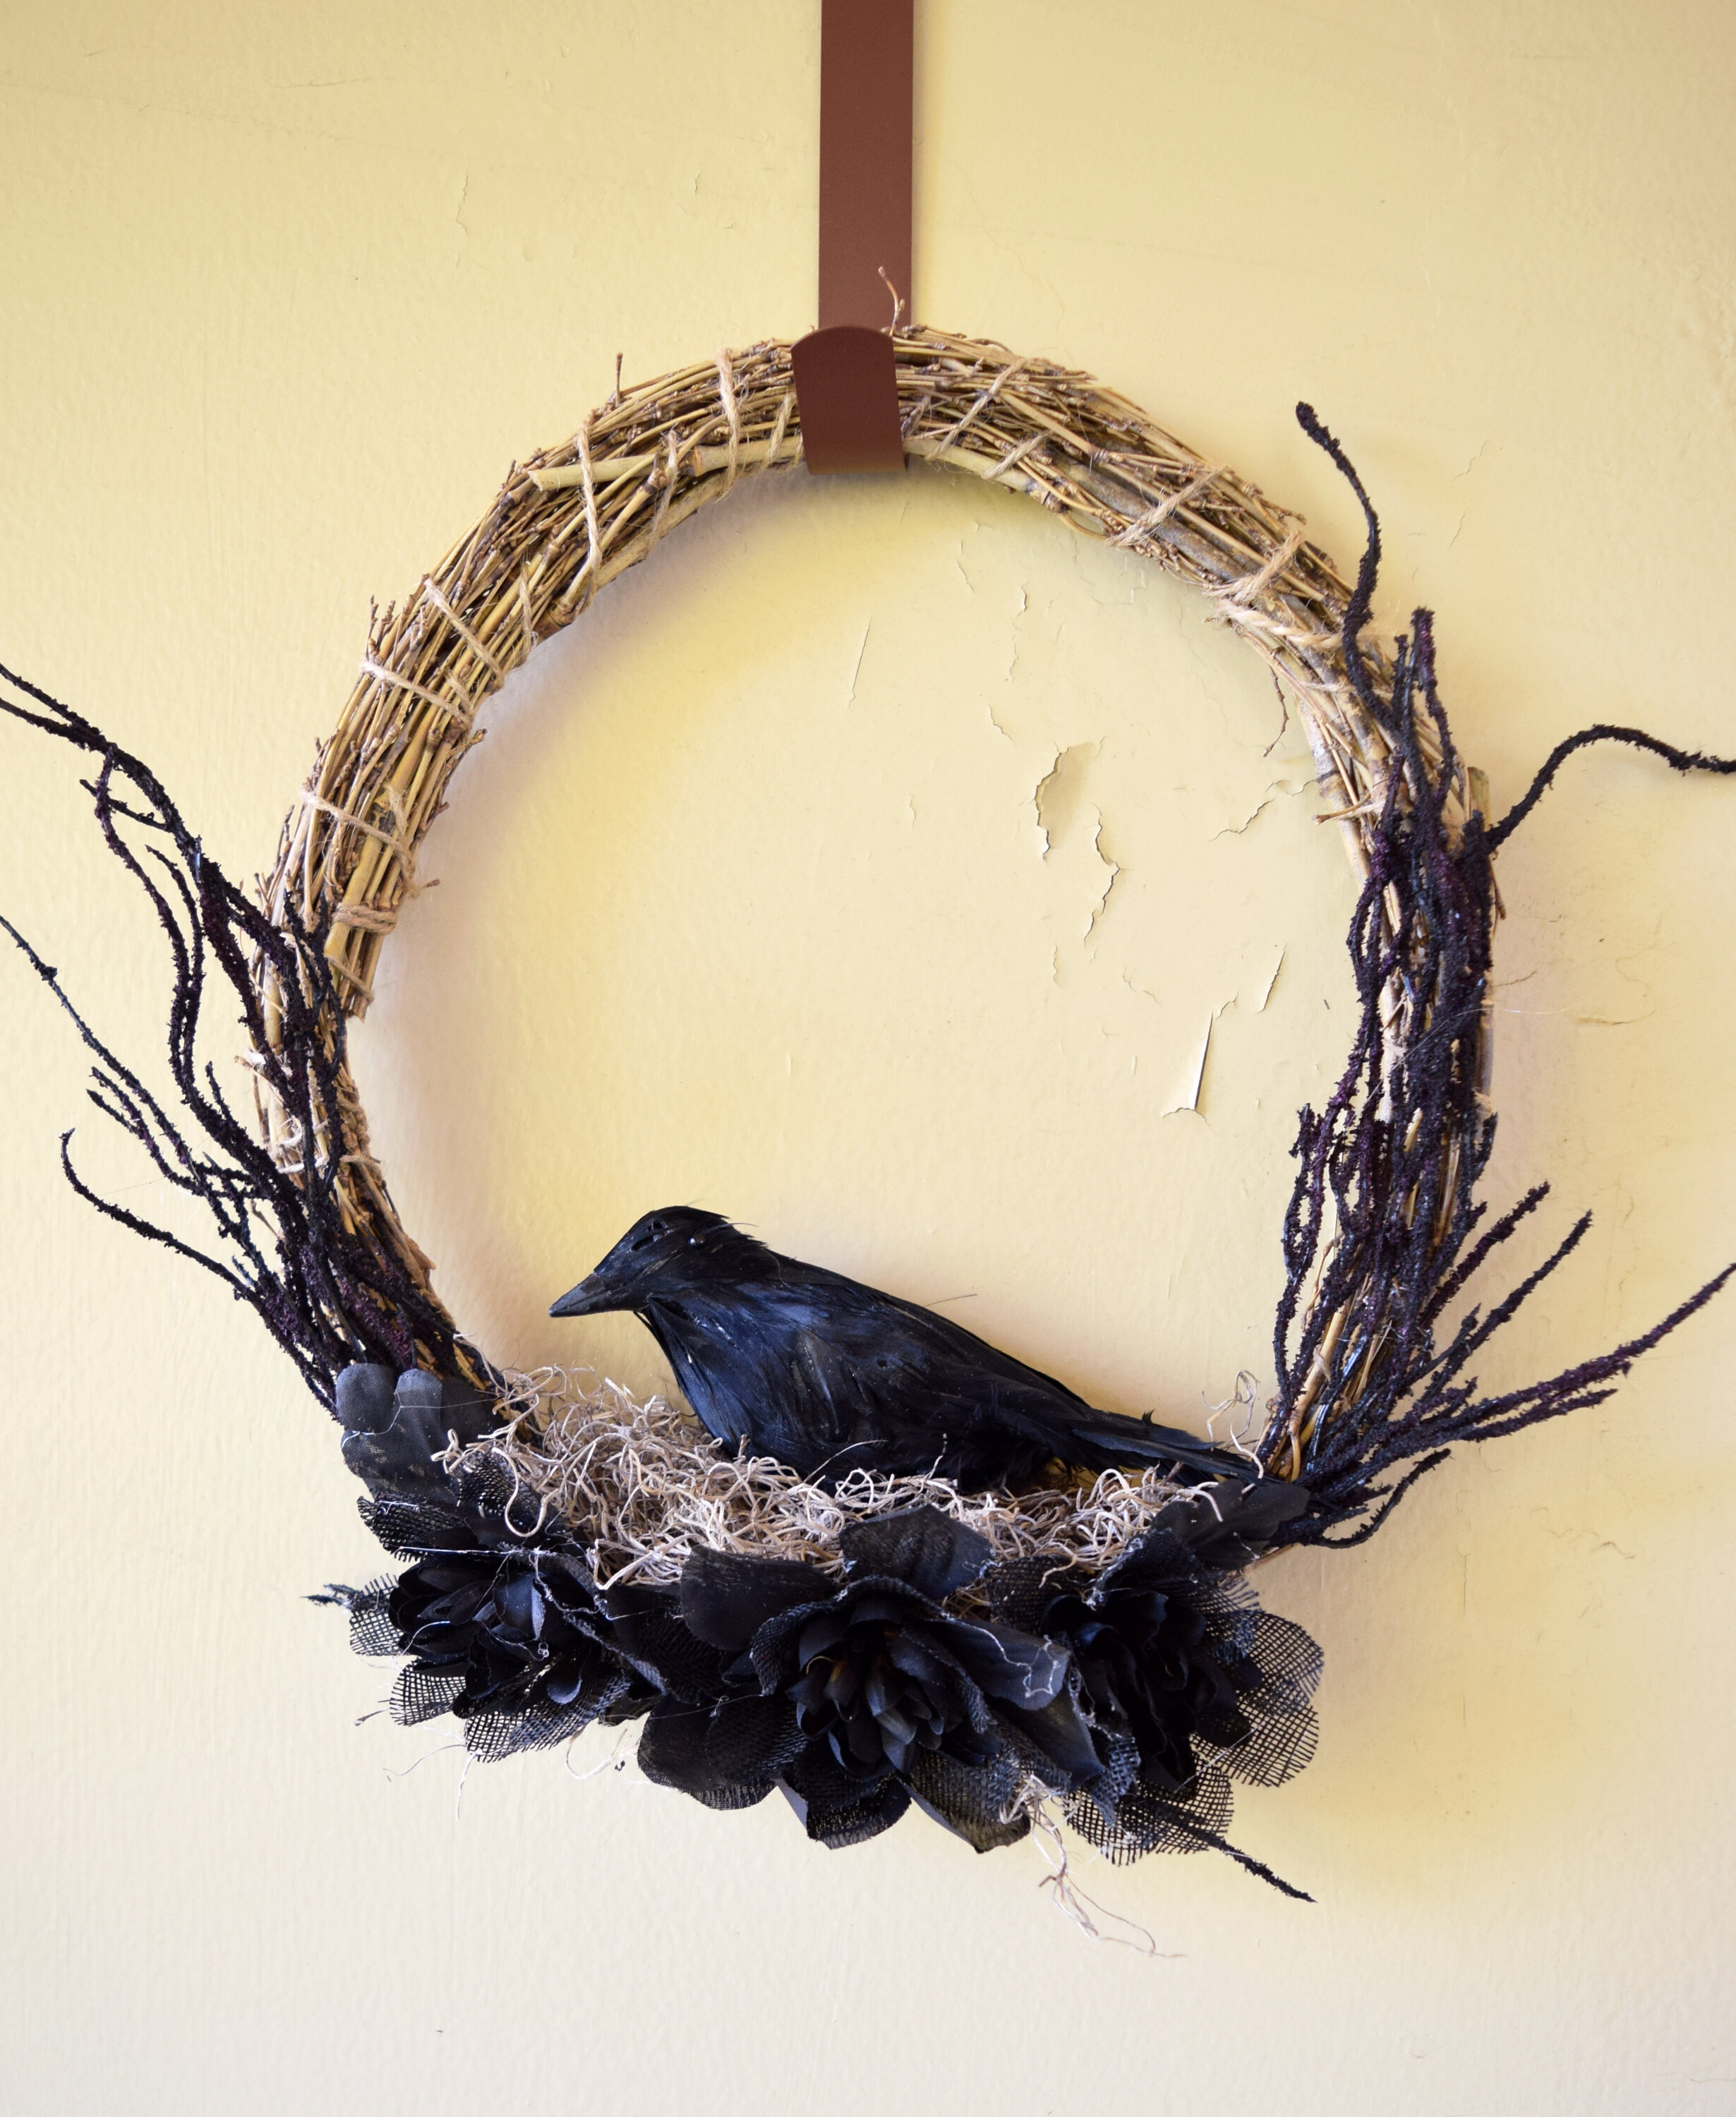
Finally, I wanted to make a wreath inspired by another wreath I’ve seen on Pinterest and have wanted to make for years.
Supplies
Grapevine wreath form
Various “spooky” looking florals
Spanish moss
Black spray paint
Hot glue
Wire cutters
1) I’m making the wreath my own by adding various florals. I took them outside and covered all the florals with black spray paint.
2) After the spray paint dried, I began assembling the wreath. I’m using a grapevine wreath I’ve had in my stash for a while.
3) I used my wire cutters to snip off the little “scraggly” floral pieces and then bent them to shape and used hot glue to attach them to the wreath.
4) Next I attached the flower pieces to the bottom of the wreath.
5) After that, I used Spanish moss to form a “nest” above the flowers on the bottom of the wreath. When working with moss, you’ll need to use a lot of hot glue and really push the moss into the glue so it holds in place.
6) Once the moss was how I liked it, I added this mini crow to the wreath. I used a lot of hot glue and the wires attached to the crow’s feet to help attach it to the wreath.
Well that does it for day three of my HalloWeek 2020 series, keep checking back for the rest of the content this week! I still have two more posts packed full of ideas to share!
Don’t forget to give me a follow on any and all of the social media at the icons below!
latest posts