DIY Summer IKEA Hacks For Your Patio
This post contains affiliate links. At no additional cost to you, I earn a small commission from items purchased through some of these links.
Summer is almost here and that means it’s time to give my patio a bit of a refresh. I decided in order to keep it affordable, I wanted to do some IKEA hacks.
So today we’re creating three outdoor (though totally could be used indoors too) DIYs using IKEA products. Just wait until you see how easy the second hack is!
The video above has all three tutorials in, well, video form. Below I’ve got all the details on the supplies and steps you’ll need to make these three projects.

DIY upholstered Vildapel stool hack
Supplies

1) First up, I spray painted the Vildapel plant stand with satin black spray paint. It took two to three coats for everything to be covered. I also made sure to rotate the pieces. Now one thing you don’t have to do is paint the actual top of the plant stand, just the bottom, because the top will be covered up.


2) Next, I traced the plant stand top onto a piece upholstery foam and just used my scissors to cut the foam out.

The next IKEA item I’m using for this DIY is the Klejs jute rug. This small rug is so cheap at ikea and I absolutely love the texture, especially for my outdoor decor. Of course, you could use any IKEA rug or fabric for this DIY.

3) I roughly traced out the shape of the plant stand top onto the rug and cut it out with fabric scissors.

4) Using a staple gun, I began stapling the rug to the bottom of the plant stand top.
The best way to upholster is to put in one staple, rotate the top 180 degrees, hold the fabric taut, then add another staple. Then rotate the top 90 degrees, hold the fabric taut, add a staple, rotate 180 degrees and add another staple.
Continue this process of adding a staple on the opposite side of the top until the rug is completely stapled down.

5) Just to clean up the bottom, I folded in the rug fabric and stapled to create a hem.
NOTE: Do not add a lot of fabric bulk around where the legs attach to the plant stand, otherwise you will not be able to assemble it.

6) Finally, just assemble the plant stand according to the IKEA instructions, and that completes your Vildapel plant stand transformed into a cute upholstered stool!

I think this project is so much fun and it’s a great beginner upholstery project too.
You could use this DIY as a stool, a plant stand or a foot stool for lounging outside, which is my plan!

Easy IKEA Gladom rattan table hack
Supplies
Zip ties
Wire cutters

1) I can’t get over how EASY this DIY is. It’s almost as if these two IKEA items were made for each other. The first step is to assemble only the legs of the Gladom table.

2) Next, flip the table legs upside-down so the bottom now becomes the top.

3) Now you’ll need one of the Sommardrom rattan trays. And I’m sure you can guess, it’ll fit perfectly onto the Gladom table legs.

4) To hold the tray onto the table (since I’m using this outside on my patio), I used zip ties to attach the tray onto the crossbars of the table. I used my wire cutters to snip off the excess tie tails.
This step could be optional if you plan to use this table inside or want it to be able to fold up the table and store it away when you’re not using it. Also, the great part of zip ties is you can cut them off and easily store the table when patio season is over.
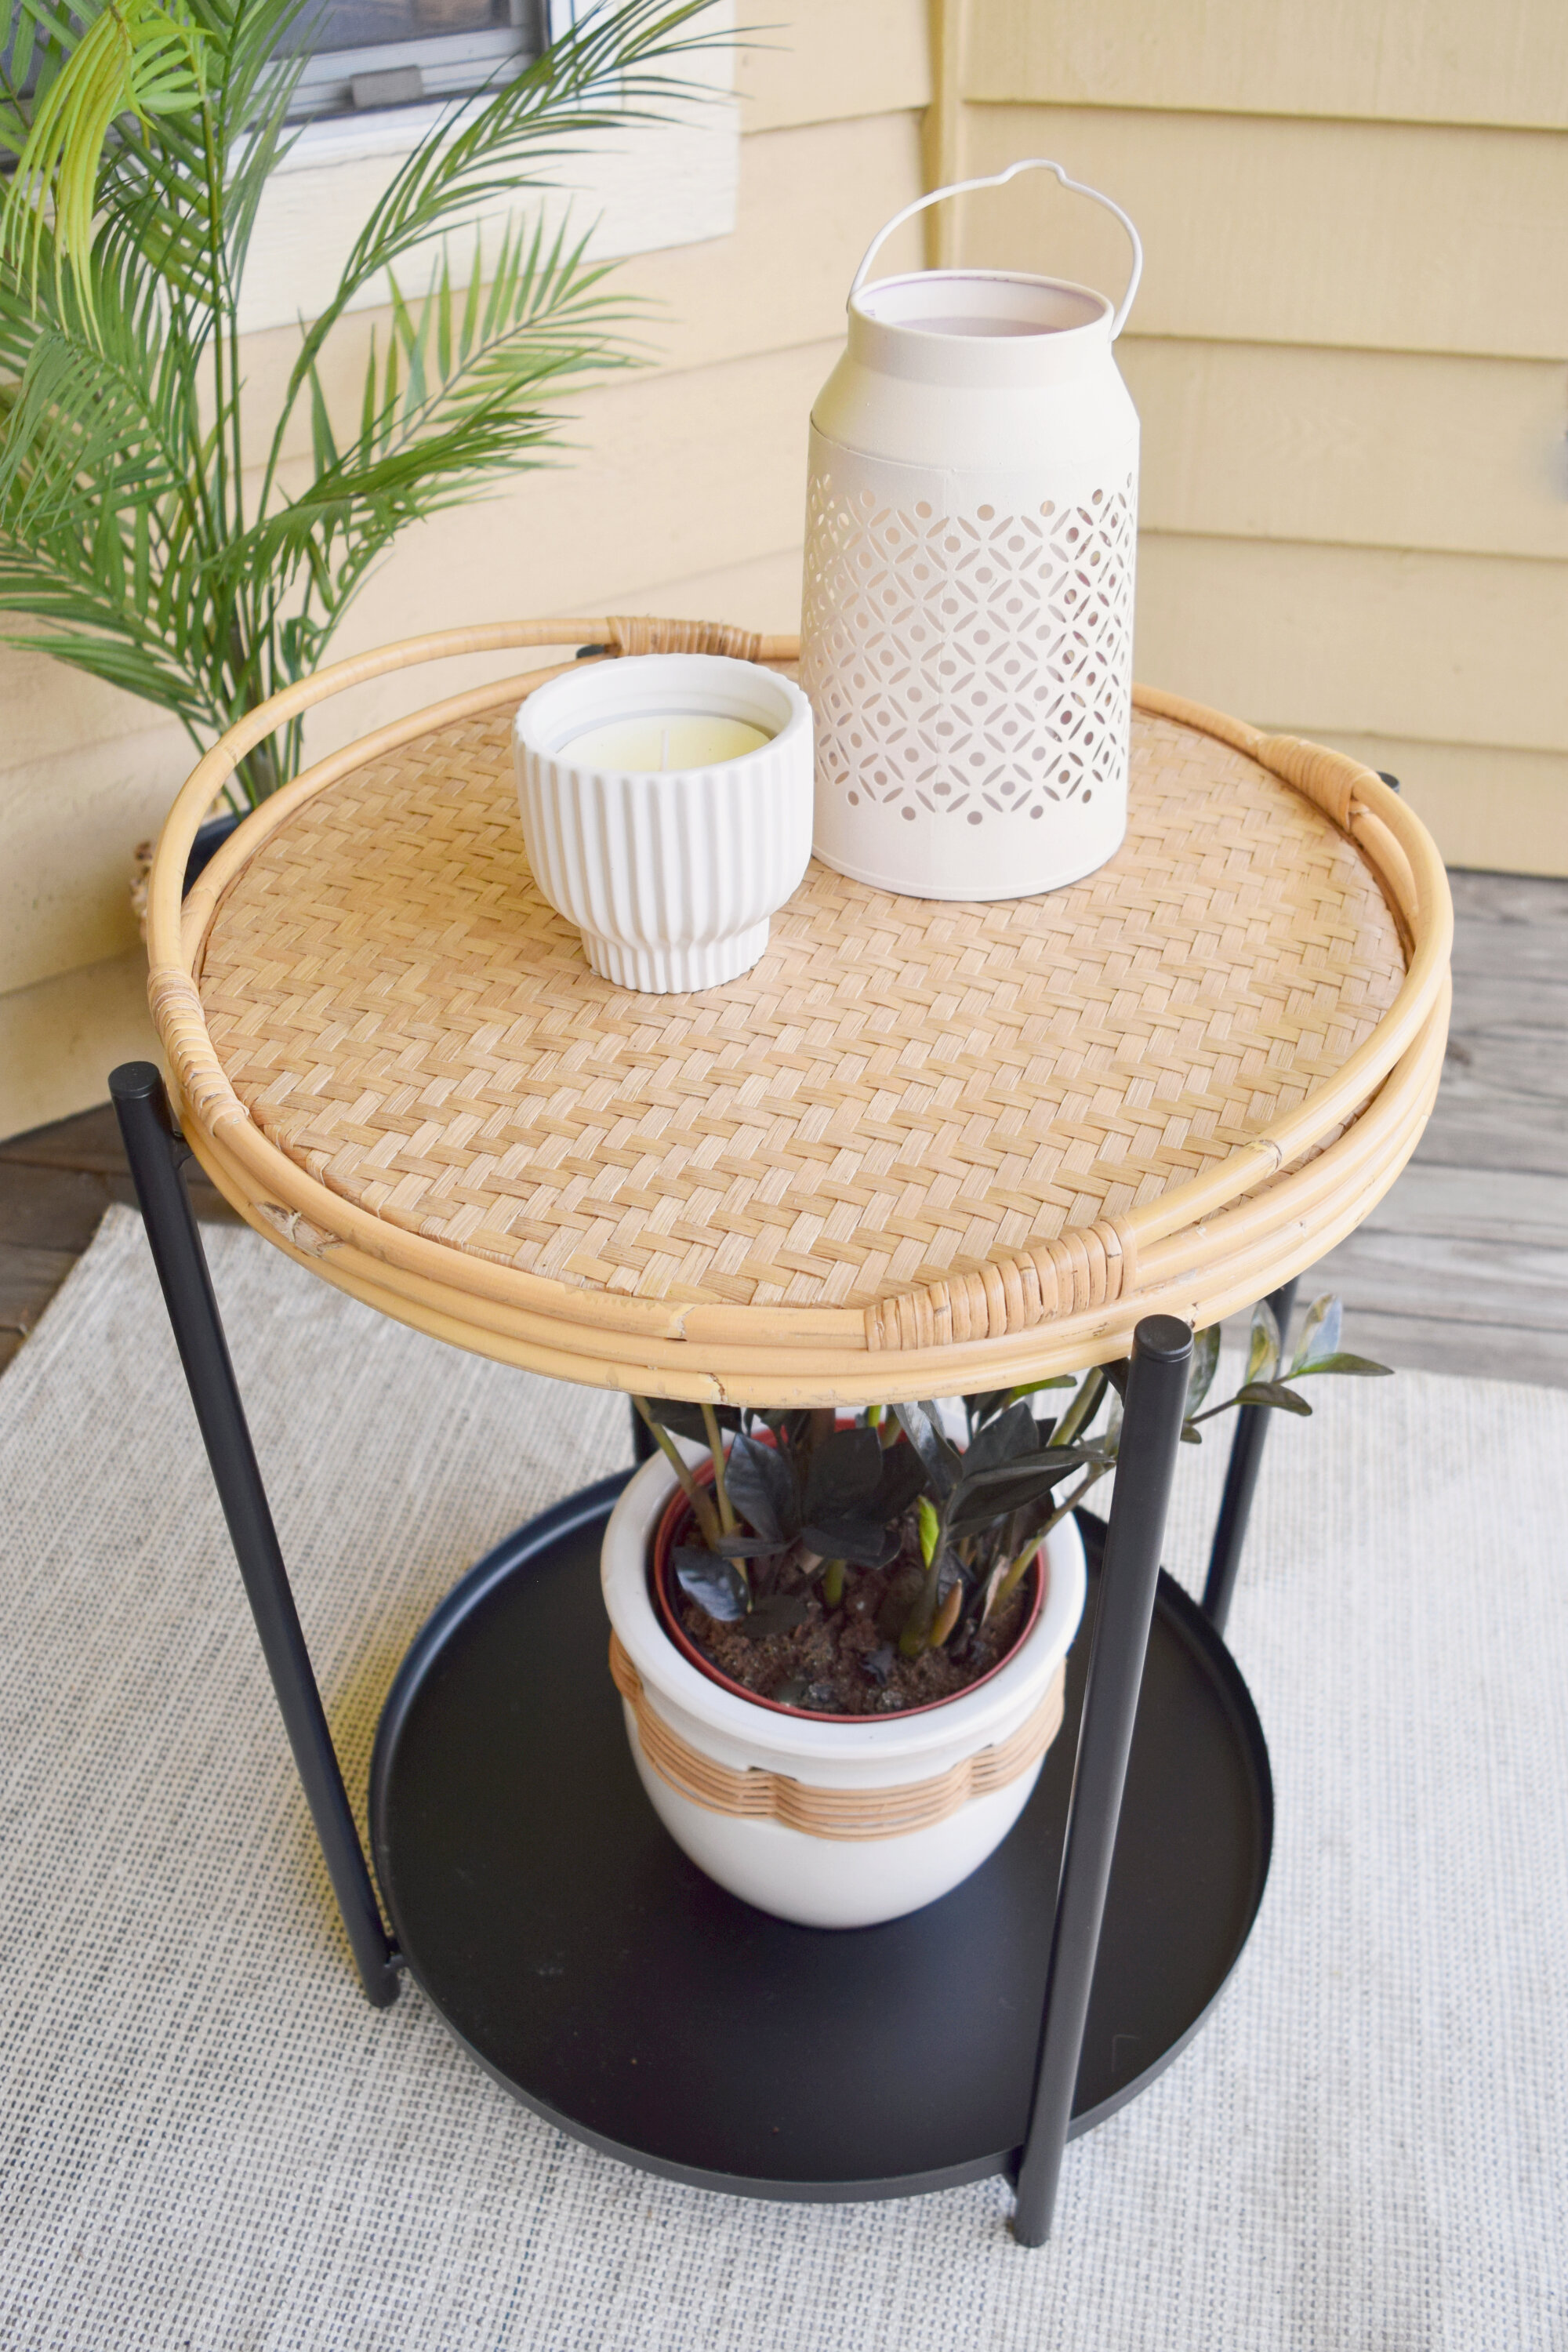
Also, since I had the metal tray that came with the Gladom table, I just set it on the bottom to create a two-tier table. The metal tray is heavy enough that I’m not worried about it coming off.
This DIY only took a few minutes but the results are incredible. I have already been enjoying this DIY’d tray table out on my patio. I can’t wait to share with you my full patio reveal next week so you can see it!

IKEA Nypon flower pot hack
Supplies
Hot glue
Acrylic paint in cream, tan and white
Foam brush
Bristly paint brush
Baking soda
Wood beads

1) First I wanted to give this gray flower pot a new color, so I mixed up a little paint with baking soda both for the better coverage and texture. I find the best way to apply baking soda paint is with a foam brush. I used a latex home paint sample in Navajo White, but any acrylic paint would work.

2) Next to add to the “stone” effect I’m trying to create, I used a coarse bristle paint brush and taupe/tan acrylic paint and flicked it onto the surface of the planter. I found the best way to create this effect is by dipping your brush into the paint, then dipping it into a little water, mixing that onto the brush, then flick it at the planter with your thumb.
3) After the tan paint dried, I repeated the same process with white acrylic paint to add a little more dimension.


4) So this next step I totally stumbled upon by accident. I found 4 inch embroidery hoops fit perfectly on the bottom section of this Nypon flower pot (if you are using the smaller Nypon pot).
I removed the outer ring (the one with the metal hardware), and slid them onto the base of the planter. The first one will fit on nice and snug, after that, I had to use a little bit of hot glue to fill in the gaps between the planter and the hoop, as seen in the second photo.
I just love this DIY because it creates a really neat “faux rattan” look on what is probably IKEA’s most basic planter.

5) As an optional final step, I glued four wood beads to the bottom of the planter to add some height, but I think it’d be cute without the beads too.

And here is how the little planter turned out! I think it would also be fun to try this on the bigger Nypon pot too. I love the texture the baking soda paint plus the splattered paint creates. I also think it fits right on-trend with all the rattan style planters that are out there right now.
And that wraps up these summer-themed IKEA hacks. I had so much fun making these and am looking forward to using them on my patio all summer. ✦
pin me!


Actually Alli is a DIY and home decor blog to help you craft your dream life through DIYs and home decor, all while on a budget. Here you’ll find DIY tutorials, home and apartment inspiration. ✦